

- Hermes FFXIV Guide - February 2, 2023
- Every Final Fantasy Game Ranked - January 28, 2023
- Hydaelyn FFXIV Guide: Facing your Maker - January 22, 2023
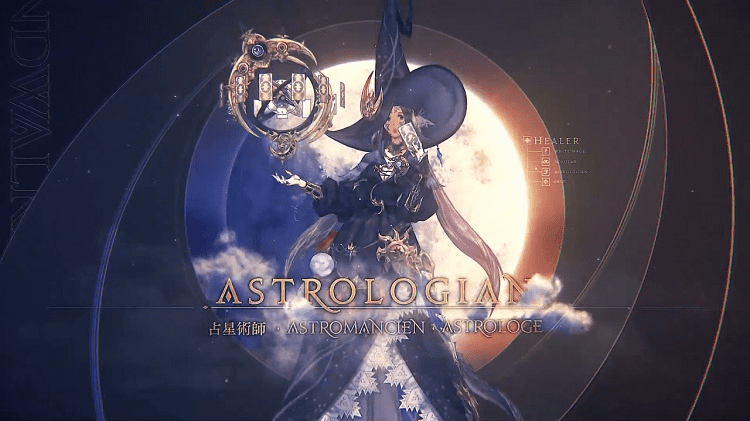
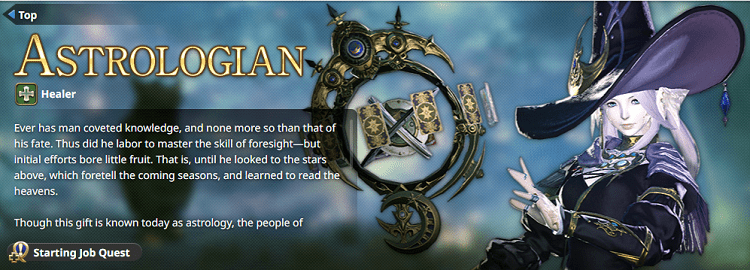
Final Fantasy XIV laid all its card on the table when it introduced the Astrologian job. A visually striking, cool-looking healer who can read party members’ horoscopes? Say no more.
Don’t get me wrong. White Mage is a good healer. However, it’s a standard, simple and traditional class. It doesn’t leave a lot of room for questioning.
But when the time finally came to pick a new class in Heavensward, Astrologian devoured my – and really, everyone’s- heart and soul. That hectic visual, intricate, complex-looking gameplay style intrigued players.
This class gives you all the fundamentals of the Healer– heals, cleansing abilities, and AoE skills. But then, it goes an extra mile by introducing tarot cards. Your card-reading fantasy is now becoming a reality- what else could we ask for?
This Astrologian Final Fantasy guide goes over the damage and healing abilities of an Astrologian, as well as the buffs and card system that will help you master this job.
The TL; DR
This Astrologian business also has me crystal gazing. My ball tells me you may not have enough time to read this guide. Fret not! Here’s a summary of what you can expect as an Astrologian.
- Job: Astrologian
- Type: Healer
- Playstyle: deal passive damage while buffing your party with your tarot magic
Healers don’t rely on rotations. It’s a more reactive job. Make sure you get to know your enemies and cast accordingly.
Astrologian Final Fantasy Guide
Astrologian’s Damage Abilities
I know I’m talking about a healing class. But I will start talking about the abilities intended to do damage.
Why? Because they are the skills that you are actually going to be using the most.
Wait, how so? Because when a healer isn’t healing, he deals damage. You can’t stay without doing anything throughout combat.
Fantasy XIV expects healers to contribute to damage. This is why these skills are critical.
Malefic
It’s your basic attack. You get your first Malefic at level one, which keeps growing until you reach Malefic 4 at level 72.
Malefic 4 will perform a magic attack of 250 power.
Combust
Combust 3 is your damage-over-time attack ability. You must keep this on the enemy at all times.
Combust 3 is the same as Malefic 4. It is a replacement ability that you will get the ultimate version at level 72. It is a reality that will leave damage over time to power 60 for the next 30 seconds.
Therefore, when those 30 seconds run out, always renew it. Why? Make sure you are still dealing passive damage even when you are healing.
Gravity
Gravity will be your AoE attack. That means it damages the target and all enemies near it with a power of 140. It’s just another damage ability since it does very little damage.
Astrologian’s Healing Abilities
With the damage abilities out of the way, let’s move on to the healing abilities.
Benefic and Aspected Benefic
Benefic is your most basic healing. It will perform a 400-power heal on the target. It has a 15% chance that the next Benefic 2 you use will be a safety critical.
Benefic 2 is your second cure in a single target. It will perform a 700-power heal on the target.
Aspected Benefic is an ability affected by the type of stance you have activated.
In any case, it will always be a 200-power heal to the target. Its additional effect varies.
Essential Dignity
Essential Dignity is a rather remarkable ability; a priori, it’s perfect. It will be a cure for power 400. But it will see its power increase according to the amount of life the target has left.
It is a skill, so you can instantly use it off your global cool down. It has a record of 40 seconds and can also accumulate a maximum of two charges.
Use this cure as an emergency mode.
Helios
Helios is your most basic heal in the area. It restores your health and your nearby allies with a 330-power heal.
In addition, you will have Aspected Helios. This is your AoE heal.
Collective Unconscious
Collective Unconscious creates a barrier that reduces incoming damage by 10%. In addition, it will apply the Well of Fortune effect to everyone who stays within that area.
The Well of Fortune effect lasts 18 seconds or 20 seconds.
This will reduce the damage received by these players by 10% for the next 20 seconds that this effect will last.
Celestial Opposition and Celestial Intersection
Celestial Opposition recovers your and your party’s health with 200 potency.
Celestial Intersection will perform a 200-power heal on the target.
Earthly Star
This ability deploys a star in the designated area. The star grants the effect of Earthly Dominance for the next 10 seconds.
How does this star work?
While Earthly Dominance is active, an ability called Stellar Detonation will become available.
When used, this ability will explode the star. The explosion causes 100 damage to all nearby enemies and heals all nearby allies with a power of 540.
If you don’t use Stellar Detonation in the first 10 seconds, Earthly Dominance will turn into Giant Dominance.
When the star explodes under the effect of Giant Dominance, the damage it will do to enemies will be 150 power. In addition, it will heal all nearby allies with a 720-power heal.
Horoscope
Horoscope reads the fortune of nearby party members, giving the Horoscope effect. It lasts for about 10 seconds once the effect has been applied.
When people with Horoscope receive healing from a Helios or Aspected Helios, Horoscope will last for 30 seconds.
The following reading you do of Horoscope, or members will receive a 200 cure when time runs out.
Ascend
Lastly, you have Ascend, which will be your ability to resurrect.
Astrologian’s Buffs
Now I want to tell you about the buffs available to you.
Lightspeed
Lightspeed reduces the casting time by 2.5 seconds for the next 15 seconds and has a cap of 90 seconds.
Most casts will be instant for the duration of the effect of this ability.
Neutral Sect
Neutral Sect increases the power of heals by 20% for the duration of its effect.
The use of Aspected Benefic will receive the effect of both sets at the same time.
That is, if while the Neutral Sect is activive you make an aspect of an Aspected Benefic, it will apply both the regeneration and the shield.
Synastry
When you apply Synastry on the target, it gets a Synastry buff. The marked target gets healed every time you perform a heal on yourself or any other member.
Healer Buffs
And, obviously, last but not least, as you are Healer, you will have access to the Healer role abilities.
- Repose: puts the target to sleep for the next 30 seconds or until it receives an attack.
- Esuna: this is a crucial skill, as it removes a harmful state on the target.
- Swift Cast: it will make your subsequent punishment instantaneous.
- Lucid Dreaming: this will allow you to recover MP gradually during the next 21 seconds.
- Surecast: it will make your casts uninterrupted when receiving physical damage. It also applies a barrier that nullifies most push or drag attacks for the next 6 seconds.
- Rescue: This ability will allow you to lure an ally from the party to your position.
Astrologian’s Cards
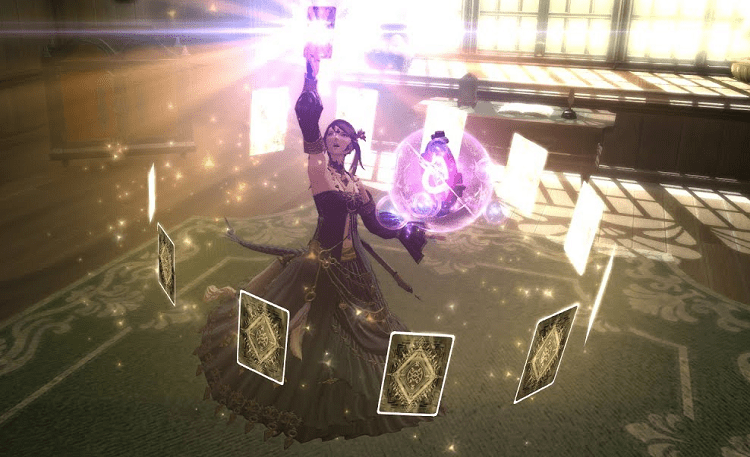
At level 30, you’ll unlock the Draw ability.
When using Draw, one of six cards will replace Draw on your hot bar. It will remain there until used in some way or until the card wears off after 15 seconds.
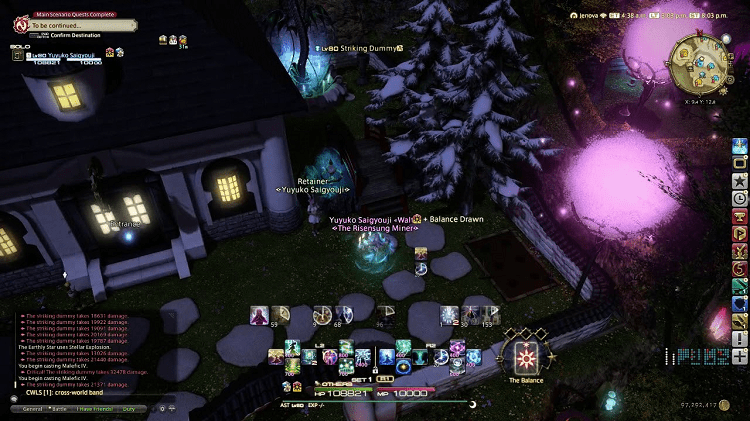
The Balance
The Balance is arguably the most powerful and most desired card. This will increase the attack power of the party member you place it on by 10% and will last for 30 seconds.
This card is best given to your hardest-hitting party members who output the most DPS.
The Bole
The next card is the Bole. This will reduce the damage taken by a party member by 20% and lasts for 30 seconds.
This card is underrated, as most Astros want to fish for the offensive cards. However, as far as defensive utility goes, this is a mighty card.
Even without any extensions, this card can be handy when you need more breathing room. Or even when your tank is low on defensive cooldowns. It is also powerful when reducing damage during large pulls and dungeons.
The Arrow
The Arrow will decrease the cast and recast time of your skills and spells. It will also reduce the delay of your auto attacks, and last for 30 seconds.
This card is mainly used offensively, similar to The Balance. This will be best given to your hardest-hitting DPS. But if given some close options, I prioritize giving the Arrow to casters. Namely, Black Mages. It allows them to get their cast off with a little more ease.
The Arrow is primarily used offensively. But you can use this more defensively by giving it to yourself to allow yourself to cast your healing spells a little more quickly in most situations.
The Spear
The Spear will increase the critical hit rate of your chosen party member and will last for 30 seconds.
This card is primarily offensive. But its effects are less tangible than the Balance or the Arrow. Still, it should increase the DPS of whomever you give it to with the Spear. Therefore, it is most effective to prioritize giving it to jobs that benefit the most from Crits, be it Bards or Monks.
The Ewer
The Ewer will place a 50 potency refresh on a party member that lasts for 15 seconds, which should total up to about 3000 MP at level 70.
This card is very occasionally sound. However, the only party members you should ever bother using this card on are the healers.
The Spire
The Spire will regen the TP of your chosen party member for 15 seconds.
This card is terrible,e and you should consider it as fodder for Royal Road or Minor Arcana. However, there are better options available for restoring TP. Not to mention that the TP is only ever an issue when forced to perform AOE skills.
Royal Road
Having talked about the original 6 cards, it is time to discuss Royal Road.
Royal Road will allow you to take your currently drawn card and sacrifice its use to instead gain a Royal Road Effect that will affect the next card you use. It has a 15-second cooldown.
While it should be available for each draw usage, Sleeve Draw throws a little wrinkle into that. As a result, there may be times when you cannot go on Royal Road right away.
What are the available effects that you can gain with Royal Road?
You will get the Enhanced Royal Road effect if you channel the Balance or the Bole. This will increase the effectiveness of your next card by 50%
If you channel the Arrow or the Spear, you’ll get the Extended Royal Road effect. This will double the duration of your next card.
You’ll get the Expanded Royal Road effect if you channel the Ewer or the Spire. This will affect your next card, but in exchange will allow you to give the card’s effect to all nearby party members.
The Enhanced Royal Road effect is the weakest. But it is ideal when you must deal more damage in a shorter period.
The Extended Royal Road effect is slightly better but has a longer duration.
The Expanded Royal Road is effective as the best option.
Minor Arcana
Minor Arcana allows you to access 2 new cards that were added in Stormblood.
You must channel your current Draw into the minor Arcana ability to access these cards. Then, Minor Arcana will be replaced with either the Lord of the Crowns or The Lady of the Crowns.
You can keep whichever card you obtain indefinitely until you decide you want to use it. Minor Arcana will cool down once the card has been used, but it only has a one-second cooldown now.
The Lord of the Crowns is a single-target damage ability that will deal 300 damage to the target.
This is relatively straightforward. It deals damage. You really should be fine finding a place to use this.
The Lady of the Crowns is a single-target healing ability that will heal your target for 500 potencies. Unlike the Lord, this card is worth holding on to.
You can keep this card as insurance if you need quick healing and don’t have access to essential Dignity or light speed.
There isn’t much harm in holding on to either card for as long as you want. Should you happen to draw a card that you do not want to use? You can quickly use whatever is in your minor Arcana and replace it with whatever is in your draw slot rather than discard the card.
The only issue with doing this is if you prefer keeping either card. There is a 50% chance that you won’t get it back, so it might be better to discard the card in some cases.
FAQs
Question: Why Pick Astrologian in Final Fantasy XIV?
Answer: The Astrologian is by far the most involved Healer in the game, thanks to its card system. The card system shakes up the moment-to-moment gameplay.
In addition, it makes Astrologian, the most involved Healer regarding its general rotation. Not to mention who doesn’t love buffs? This is going to make you a party favorite.
The card system feels good and has a tremendous payoff. If you -pun fully intended- play your cards correctly.
Question: What is the best Healing ability in Final Fantasy XIV?
Answer: Macrocosmos ability. Imagine an ability that has the potential to fully heal the entire party’s health to maximum after a set of mechanics. The
Question: Does an Astrologian struggle with MP?
Answer: Unlike other healer classes, Astrologian is a well of MP. MP is something you will be more than OK with for this job.
Parting Words
Astrologian is a healer that I can recommend to people full-heartedly. It has its own vibe and style and is unlike any other healer in Final Fantasy XIV. and.
Astrology is one of the best jobs in Final Fantasy XIV, thanks to the excellent set of tools it includes. It also allows us to improve healing or cause significant damage. In addition, this profession or job of Square Enix’s MMORPG adds a new healing rotation with exciting and significant options.