

- Hermes FFXIV Guide - February 2, 2023
- Every Final Fantasy Game Ranked - January 28, 2023
- Hydaelyn FFXIV Guide: Facing your Maker - January 22, 2023
Regardless of which Final Fantasy game you are playing; the Warring Triad are three gods whose sole purpose was to rage war. Whether that war is against each other or a nation of pricks… well, that depends on the roman number that follows the two Fs.
They were first introduced in Final Fantasy VI and brought back to life in Final Fantasy XIV. I never thought the FFXIV development team would be as ballsy as actually to bring in final fantasy VI characters. I mean, it’s not like they don’t have a vast treasure of resources to reengineer into this MMORPG. I could see them pulling in things like gunblades, materia, magitek armor, Gilgamesh, some sort of flying islands, the three gods… wait, I guess they do have some- no, all of that in the game already. Oh, well.
I’m not saying that as a bad thing. You can’t tell me you were not excited to see some of your favorite bosses or loot make a comeback in FFXIV. The Warring Triad makes an excellent comeback and even gets their questline in everyone’s favorite MMORPG.
Because it’s a full-on questline with some of the game’s most challenging bosses that get even tougher once you go into Extreme Mode, I have crafted this Warring Triad guide with a bit of lore, quest walkthrough, and boss-combat strategies for you. Enjoy!
My Bottom Line Up Front
Final Fantasy XIV revamps once exceedingly powerful beings capable of destroying the planet as valuable energy resources for the Allagan Empire. Once the slavers-turned-slaves beings are freed, you get the exciting yet scary opportunity to go up in arms against them… or, you know, run the opposite direction. You do you.
Lore
The Original Warring Triad
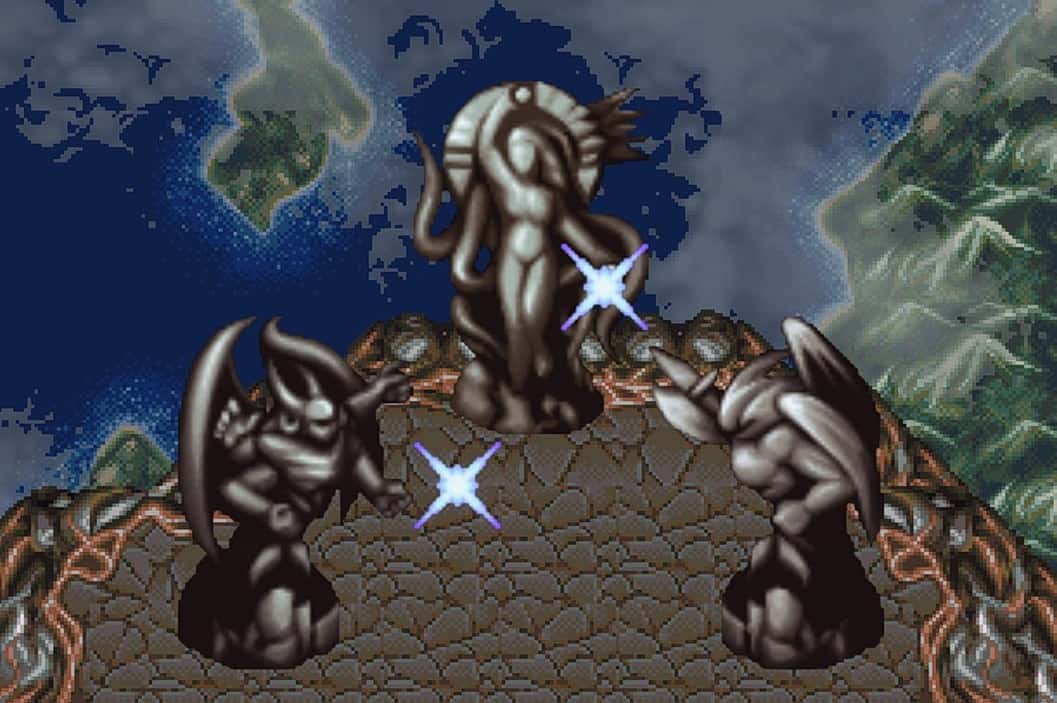
The Warring Triad is based on the Warring Triad from Final Fantasy 6. They were three mighty beings that came into existence. The three saw one another and, for some dumb reason, decided that it would be a great idea to fight one another, endangering the entire populace of the planet. Through them, the Espers were born through the enslavement of mortals to make an army. They were basically sent into battle with no will of their own.
Well, the Warring Triad had fought for many, many, many years before they realized how much they messed up since they not only shaped the landscape but possibly put the races on the planet to extinction. So, with all vigor, they decided it was a good idea to seal their powers.
In the end, when they see how much they screwed the world, they sealed themselves, freed the Espers -without changing them back, by the way- and told them never to awaken them. Don’t we love a master that enslaves you, frees you, and then decides to ask for a favor.
Anyway, because daddy issues apparently transcend into the fictional plane, Espers did as they were told, like the little magical slave labor as they were and attained to live their lives, which were eternal. However, after the war of the magi, the Espers left for a new realm, taking the Triad with them. That’s how they became statues and why they were sealed in the first place.
The Warring Triad, as retold by FFXIV.
Now, Final Fantasy XIV has a different story.
The Warring Triad was brought into the world due to desperation for salvation from a concrete nation: Allagan Empire. Because the Allag just couldn’t get enough of being to the entirety of the inhabitants of Eorzea, they decided to war with the three other nations to take them under their control.
To defend themselves, the three particular races brought about three extremely powerful primals who had the power to literally destroy the continent -if not the world. They are the Warring Triad, but now “warring” comes from the fact that they fought the Allag, not each other.
Since the Allag were badass geniuses, they captured the Warring Triad. Then, because they were so kind, they used their limitless power to keep them alive through artificial means and to siphon their energy constantly. This is what keeps their flying fortress or research site afloat in what keeps it from crashing into the abyss below.
Walkthrough
Gods of Eld
- Questgiver: Torsefers
- Location: The Pillars (X:11.7, Y:11.5)
- Level: 60
This quest is pretty straightforward: it just introduces you to the questline itself and provides some background on The Warring Triad.
Guard Torsefers tells you that a guest is waiting for you in The Rising Stones. As you arrive, your guest appears to be much younger than expected. So where is your parents’ kid? And what’s with the mask? He introduces himself as Unukalhai and is here to warn you of the rising threat of beings known as eikons.
He assures you that these eikons are not strictly primal but God-like beings, much like the dark divinity Odin. They have been around since the days of the elegant empire, and now the Garland empire has learned of their power.
These three eikons, Sephirot, Sophia, and Zurvan, would become known as the Warring Triad. It would not end there, though; as the Allegan learned to harness the icon’s powers, they refined this knowledge of the eikons at Aetherochemical Research Facility on Azys Lla.
You must be discreet in our journey as well. Should the Garland empire catch the wind, they would attempt to seize the limitless power for themselves. He says it’s his master’s desire that the Triad be dispatched before the Imperial forces delve too deeply.
When the Bough Wakes
- Questgiver: Unukalhai
- Location: The Rising Stones (X:6.1, Y:5.2)
- Level: 60
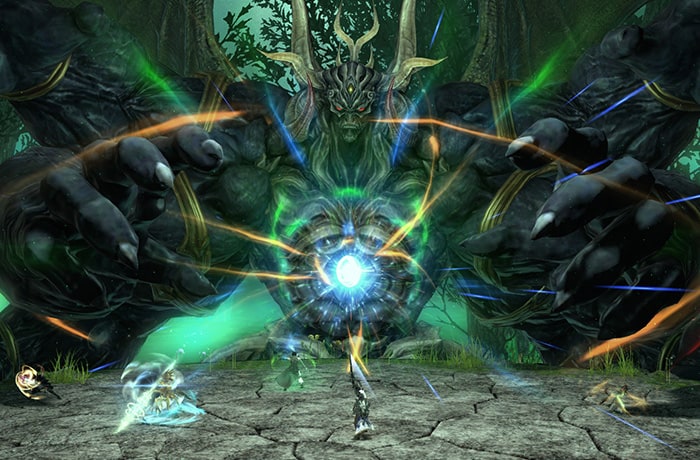
As you arrive at Aetherochemical Research Facility, Unukalhai tells you how the eikon Sephiroth’s dreaming mind drifts closer to consciousness. Sounds like he’ll be your first target. You’re joined by Y’shtola, Urianger, and Krile, who will aid you on the battlefield.
It is only by releasing his restraints that you can genuinely banish him; given the potential brainwashing influence of releasing an eikon, you head into Containment Bay S1T7.
Sephiroth Battle (Normal)
Moveset and strategy
| Attack Name | Description | Counter |
| Fiendish Rage | Marks a player with the four arrows indicator. | Non-targeted players should stack on the targeted player to share the damage. |
| Ratzon | Marks 6 players with a small green AoE circle. | Targeted players should spread out to avoid stacking damage. |
| Ain | Fires a massive 180° AoE across the side of the room on anyone in front of him | Stack behind him to avoid damage. |
| Triple Trial | Unleashes a frontal cone AoE | Stay behind him to avoid damage. |
| Chesed | Casts a telegraphed tankbuster. | Heal as necessary. |
Phase 2
| Attack Name | Description | Counter |
| Pillar of Mercy | Casts blue circles on the ground before slamming his fist down, knocking players outward from the impact. | Make sure you stand in an area where the knockback won’t knock you out of the platform. |
| Earth Shaker | Marks two players with diamonds and fires a cone AoE at them. | Targeted players should spread out, and untargeted players should stay away from them. |
| Fiendish Wail | Spawns of two orange towers (towers) appear on the side of the arena before slamming them. | Tanks should stand in each of them to absorb the impact. |
| Malkuth | Lowers his head and blows a gust of wind, knocking players back and spawning a Storm of Words and two Binah. | Heal as necessary. |
| Storm of Words | Casts a storm of words | Stack on it when the stack marker appears around it |
| Impact of Hod | Slams his arm at the side of the arena a few times before sweeping it across the entire surface | Anyone not standing in the Storm of Words will die. |
As the Garleans could not interfere with one of three eikons down, you decide to regroup at The Rising Stones. As you take our leave, Unukalhai senses another’s presence. It’s none other than Regula Van Hydrus, legatus of the 11th Legion. Unukalhai keeps this encounter a secret from the rest of the group.
The Fate of Stars
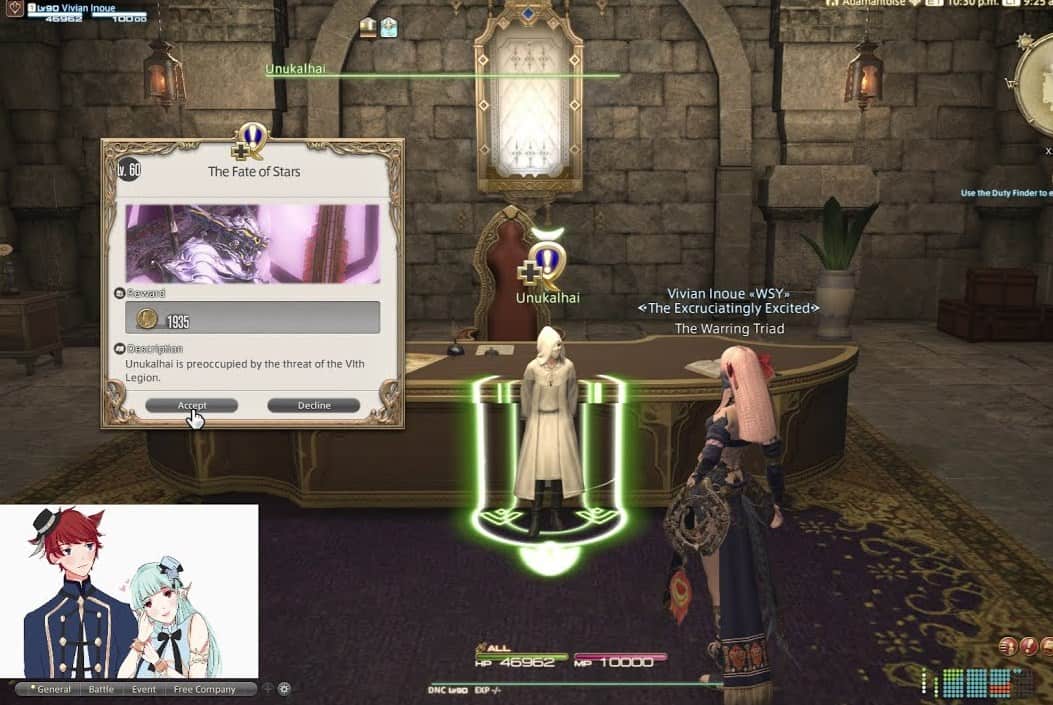
- Questgiver: Unukalhai
- Location: The Rising Stones (X:6.1, Y:5.2)
- Level: 60
Y’shtola warns you that the Garleans have breached the research facility, so you head there at once.
You arrive at the facility and make your way inside to prevent the Gaerleans from obtaining elegant secrets. However, Unukalhai wants to not only safeguard this information but also take out the head of the Garland Legion. uite the ambition there.
Your pursuit of the legatus has you pushing through his army of soldiers and mixing and catching up to him just in time. He draws his sword, which engages you, but not even his epic tiger servant can defeat you. realizing his defeat, Regula pulls a bright light out of his butt, and in his blinding glow, he disappears from sight
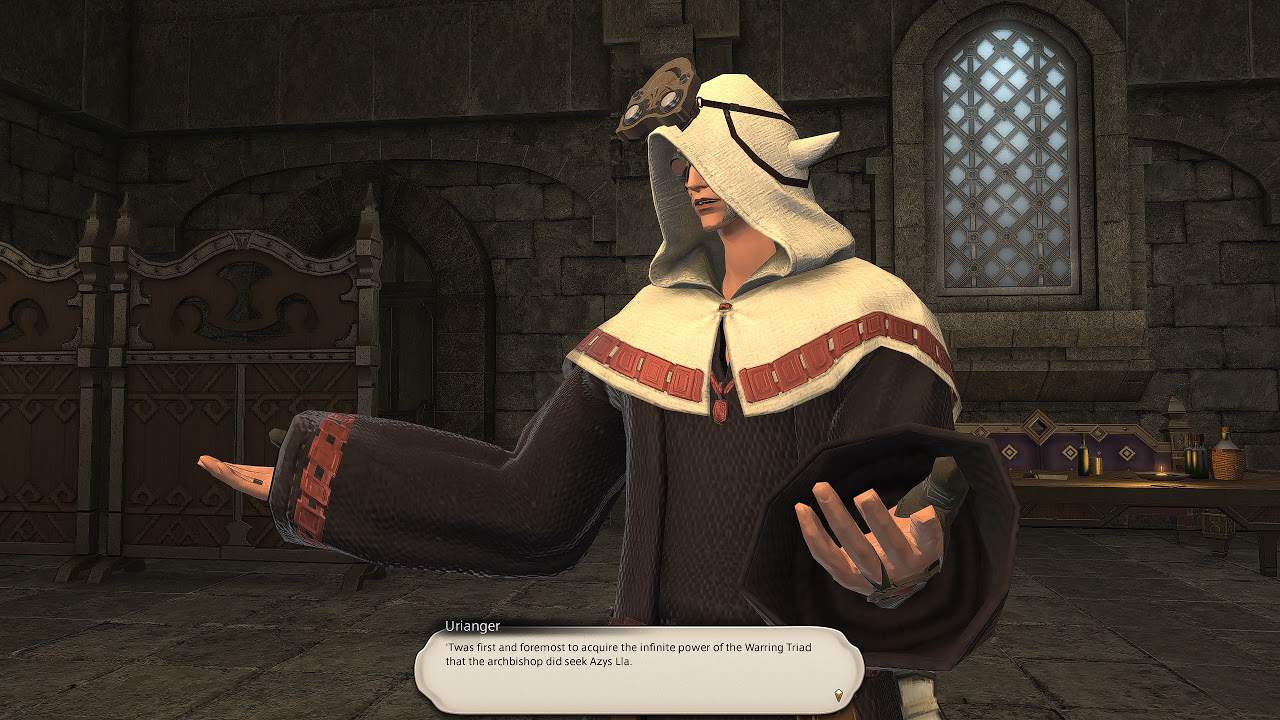
Under Urianger’s accusations, it becomes clear that the Garleans could not get through alone and that Unukalhai wanted to lure them in. Everything worked out this time, but it is apparent that our new child-friend is not so transparent after all.
Balance unto All
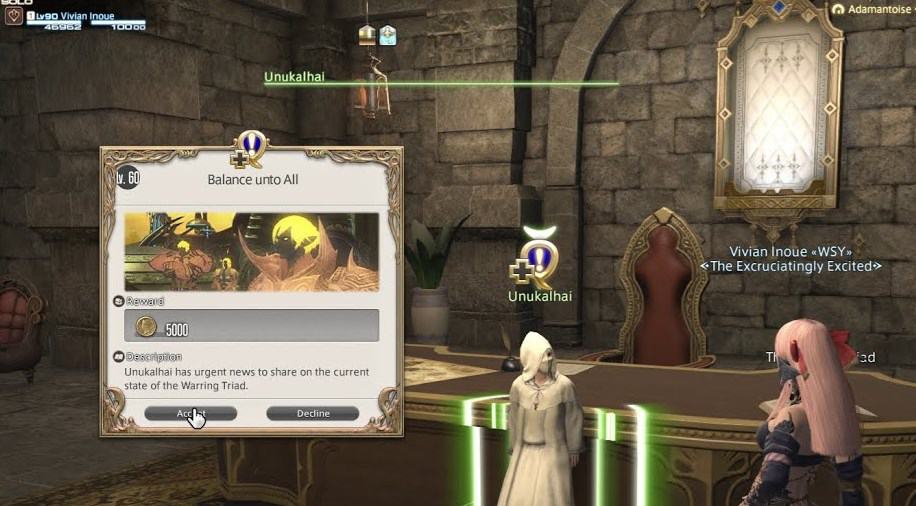
- Questgiver: Unukalhai
- Location: The Rising Stones (X:6.1, Y:5.2)
- Level: 60
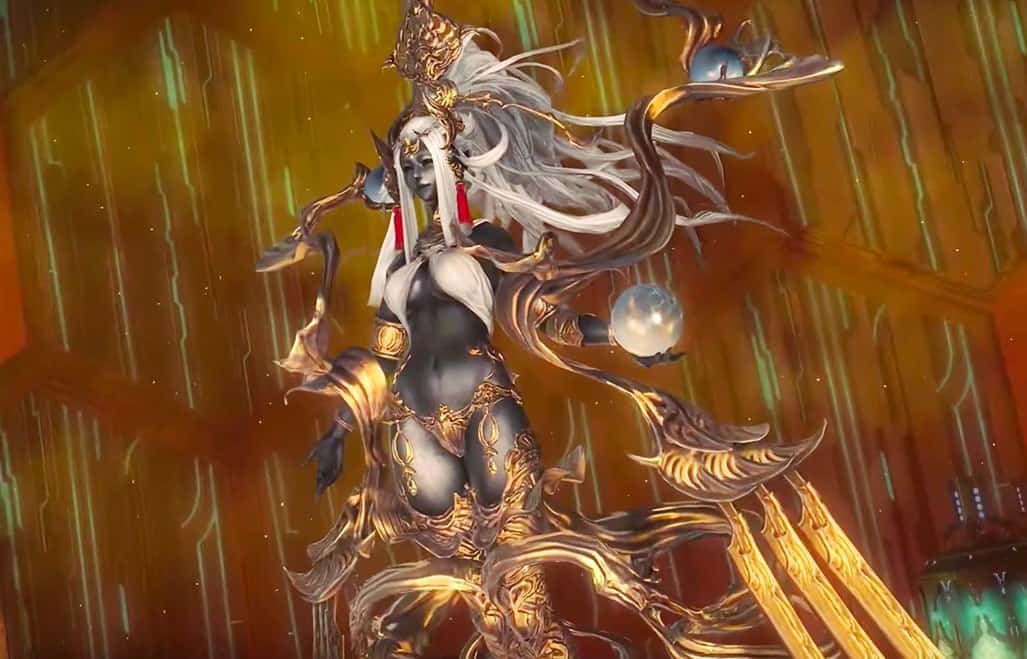
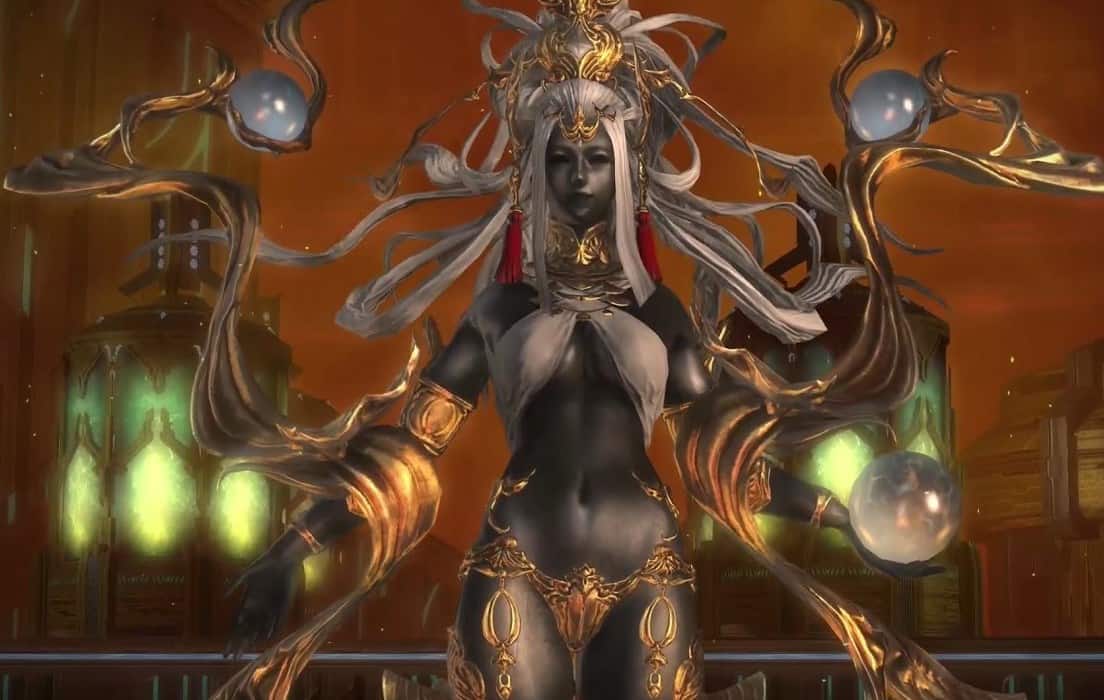
Back to the task at hand, Y’shtola detected erratic etheric waveforms from the sector containing the eikon Sophia, the goddess. Sophia is fixated on the idea of equilibrium, and her worshipers saw the rigging of their skills as sacred. Ironically, summoning an eikon only upsets their precious balance even more.
With Sophia close to waking, you make haste for the research facility, but we have yet another intruder on arrival here. It is time it’s a dark-figured Paladin with glowing yellow eyes and armor. H’s joined by a Dragoon in a white mage. Then, a ter reciting some poetry about his goddess, he teleports off.
Sophia Battle (Normal)
Phase 1
| Attack Name | Description | Counter |
| Thunder III | Casts a large conal AoE in front of her | Dodge to a side |
| Thunder III | Casts a giant donut AoE | Stay inside the safe spot in her hitbox |
| Aero II | Casts a large AoE that deals moderate damage and inflicts a knockback | Stay inside the safe spot in her hitbox |
| Light Dew | Fires a straight line-AoE across the arena | Dodge to a side |
| Sophia Rush | Moves to the eastern or western edge of the arena and charges a substantial straight line-AoE across the platform | Dodge to a side |
Phase 2
| Attack Name | Description | Counter |
| Cloudy Heavens | Makes herself invulnerable and marks all players with Eternal Doom | n/a |
| Eternal Doom | Turns players into mindless zombies that their teammates | Defeat the three ads |
| The First Demiruge | Spawns a paladin that deals AoE and parry damage | Defeat last |
| The Second Demiruge | Spawns a healer that heals other ads and confuses players | Defeat first |
| The Third Demiruge | Spawns a lancer that drops a puddle of ice | Defeat second, keep on the side of the platform |
Phase 3
| Attack Name | Description | Counter |
| Quasar | creates tethers to the east and west, which spawn Orange and Blue meteors | Calculate the weight of the meteor to decide which side of the arena is safe. I the weight difference is too much, the arena will tilt, and everyone will fall off. |
| Orange Meteors | Value: 1
Appear on both sides of the arena. |
n/a |
| Blue Meteors | Value: 3
Only appear on one side of the arena |
n/a |
After defeating Sophia, a question remains: how did she awaken so quickly? T e best answer is found in an observation Krilie made. S e noticed a subtle flaw in one of the mechanisms which kept the goddess in check.
T flaw was added purposefully. Perhaps one of the Garlean soldiers got too close to her sector when they infiltrated the containment facility earlier; Sophia could have claimed the soldiers’ will and released her thralls without even gaining consciousness.
The Last Pillar to Fall
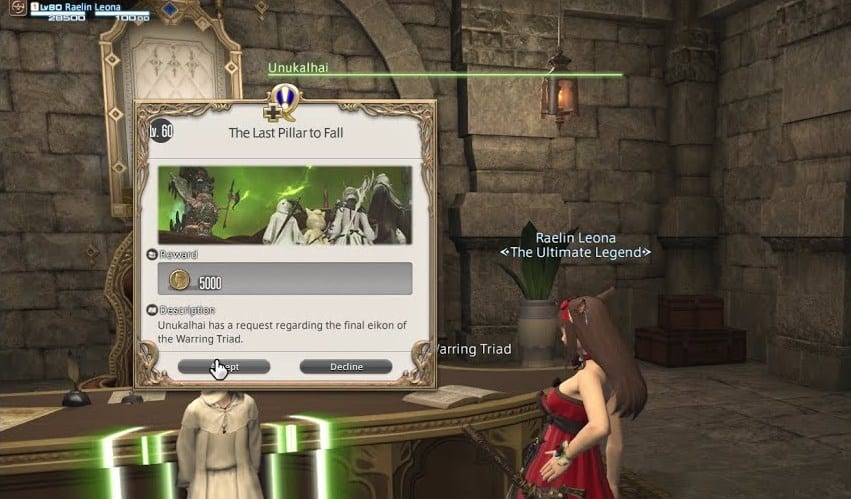
- Questgiver: Unukalhai
- Location: The Rising Stones (X:6.1, Y:5.2)
- Level: 60
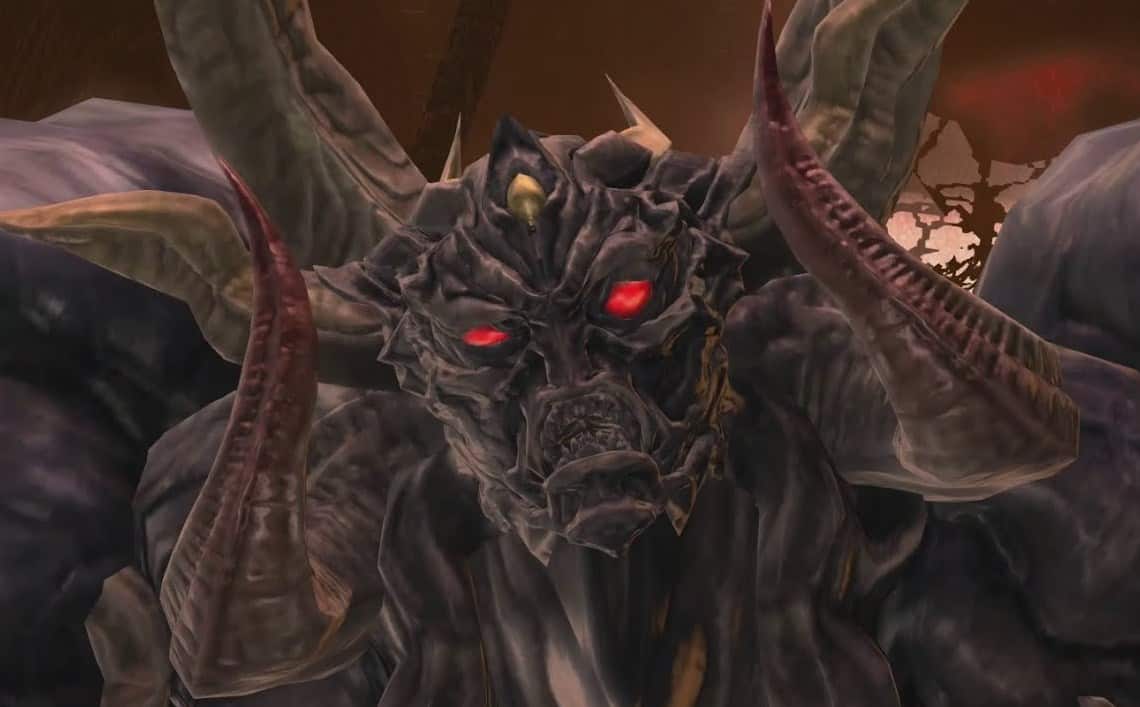
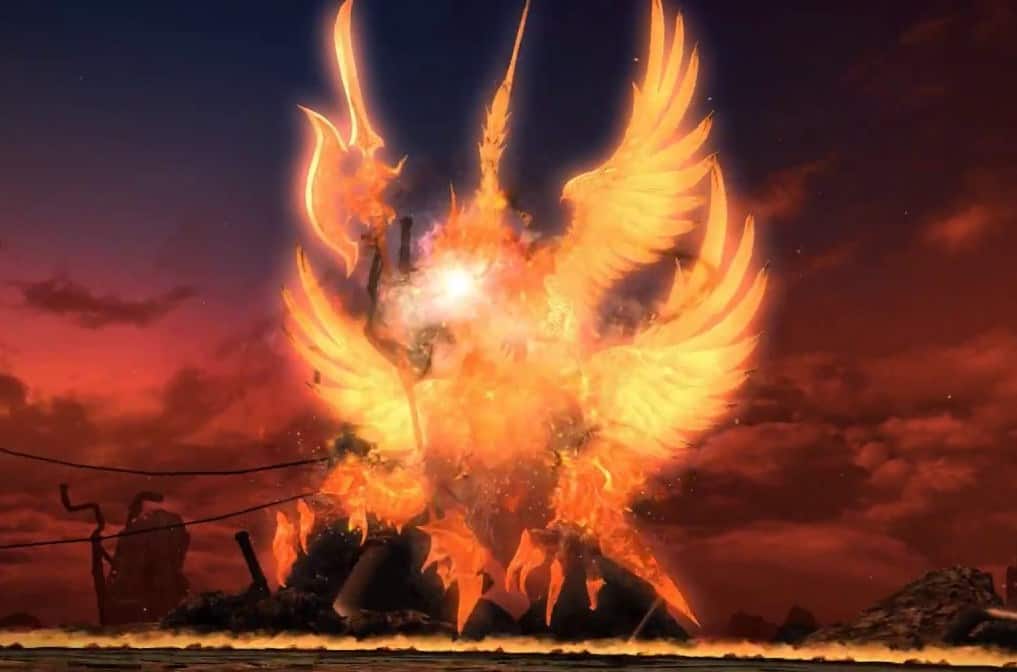
The last eikon is Zurvan, the demon. According to the records, he was worshiped by a Meracydian race of centaur-like beings. You make your way to the containment facility, searching for this final powerful being. On arrival, you find none other than Regula Van Hydrus. He claims that the followers have awakened and are also attempting to awaken their icon.
Now that Zurvan stirs, his men are putting their lives on the line to stop him, given that they do not possess the echo. So it appears the enemy of my enemy is my friend.
As expected, the Garlean soldiers have turned on each other, influenced by the sleeping Zurvan aura. The four towers around the arena must be destroyed to stop this madness.
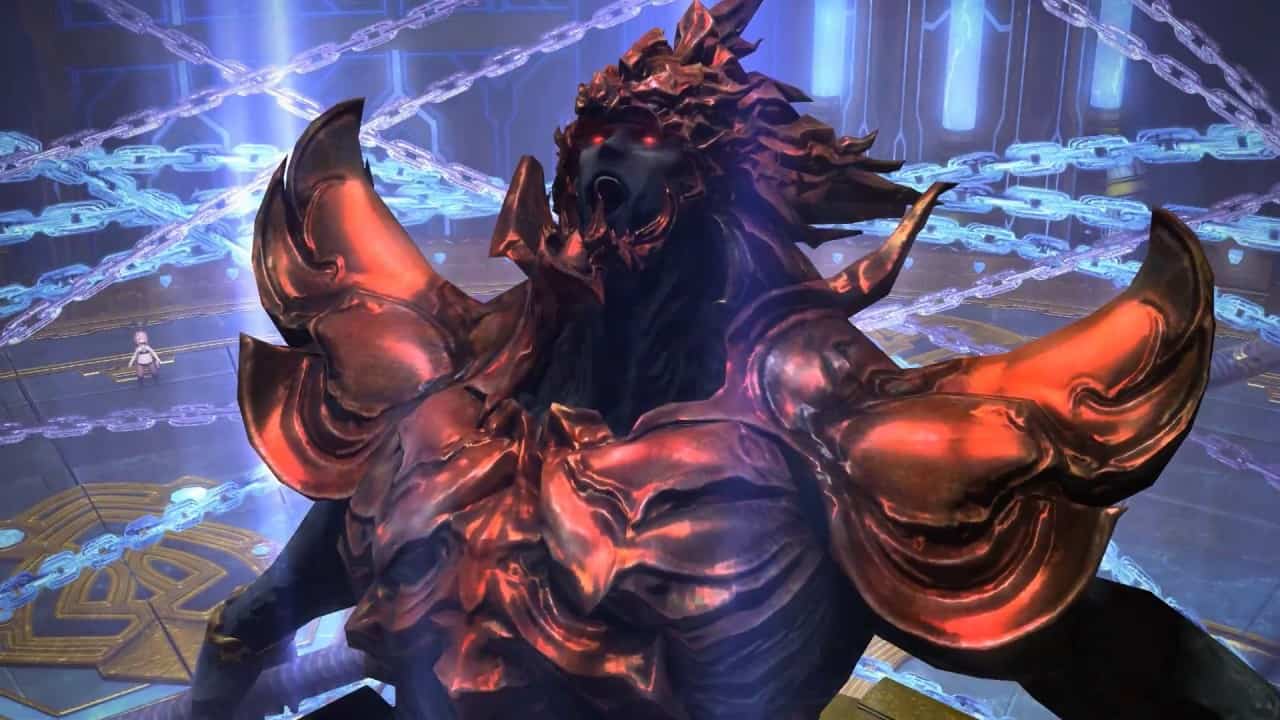
When we run out to destroy the towers, Zurvan breaks free of his restraints and has enough energy to strike Regula and pierces his totally epic gunblade, dealing a deadly blow. His last wish is that we lay low the beast that would end his life with that. You must take the chance you’ve been given and defeat Zurvan now.
Zurvan Battle (Normal)
Phase 1
| Attack Name | Description | Counter |
| Metal Cutter | Performs a frontal cleave that periodically targets the main tank. | The tank should deviate from the rest of the group. |
| Flare Star | drops circular AoE’s on random players | Avoid standing on the AoEs |
Phase 2
| Attack Name | Description | Counter |
| Soar | Jumps from the arena casts 2 line-AoE and spawns clones of himself that will also cast line-AoE. | Avoid the line AoEs by moving to the sides |
| Flaming Halberd | Targets some players with waves of circular AoEs and later leaves a flaming puddle. | Targeted players should spread |
| Demonic Dive | Deals damage to a healer | Group up to avoid stacking damage |
| Wave Cannon | Performs an unmarked line-AoE | Side-step to avoid damage |
| Ice Puddle | Casts a persistent AoE puddle that inflicts slow-damage movement | Avoid standing within it |
| Biting Halberd | Casts a massive conal AoE | Players should move behind the boss |
| Southern Cross | Targets multiple AoE to random players | Players should stack up to make these AoE land on top of each other |
| Ciclicle | Casts a massive donut AoE | Stay close to the boss |
| Tail End | Casts a massive AoE centered on himself | Move to the edges of the arena |
Phase 3
| Attack Name | Description | Counter |
| Wave 1 | Spawns three Execrated Threw | The tank should deal with them |
| Wave 2 | Spawns both Execrated Threw and Execrated Wit | The rest of the party should deal with the Execrated Will while the tank deals with the Execrated Threw |
| Wave 3 | Spawns two Execrated Will and one Execrated Threw | Same as before. |
Phase 4
| Attack Name | Description | Counter |
| Infinite Fire | Assigns this marker to a random player | n/a |
| Infinite Ice | Assigns this marker to a random player | n/a |
| Fire & Ice Meteors | Causes meteors to rain in the arena | Players with the Infinite Fire marker should stand within the Red Meteor; players with the Infinite Ice marker should stand within the White Meteor; |
| Tyrfing | Performs a tankbuster with increasing strikes | Make sure he goes down ASAP. |
With the final beast of the Warring Triad defeated, you regroup with the signs back at your home base. It is there that Unukalhai shows his true face… pun intended. Beneath the mask is a boy not of this world, a child born of a different star who could not stop the impending doom that swallowed his.
Though gifted with the echo, he had not matured enough to become a true warrior of light, a hero by any measure. The world that was destroyed is what we hear now as The Void.
The Extreme Trials, an Optional Must
You will now be able to find the Extreme versions of the Containment Bay trials through the Duty Finder. Though they are technically optional, I recommend mustering the courage to get through them.
Sephiroth (Extreme)
Killer tip:
Healers are a vital part of this fight, more so than in any other. To avoid overhealing, anticipate the damage and make the most of shields and regeneration. Actually, Medica II should always be up and running.
New mechanics:
Phase 1
- EIN SOB
4 orbs will spawn in a T-shaped pattern in any cardinal direction. They will grow over time, eventually covering large platform areas. Should players stand in the green area of effect, they will be debuffed with vulnerability stacks. As such, the tank should move Sephiroth to the free edge of the arena.
Phase 2
- 1 Cochma + 3 Binahs
- 3 Binahs
- 1 Cochma and later 3 Binahs
- 3 Binahs
Make sure one tank takes the Binahsand another one takes the Cochmas.
They all perform a room-wide AoE upon death but be careful that Binahs do ~1k, and Cochmas do ~10k.
Phase 3
- Yesad: This ability will take a snapshot of where you are standing at the time before causing a massive AoE pillar to spawn underneath you. And as soon as you see a massive yellow flash across the platform, you move the hell away as fast as you can. Ge ting hit by a single yesad will place a debuff on you and damage you. Ge ting hit by more than one is deadly throughout this phase.
- Spirit and Lifeforce AoE: Those with the orange debuff will stand on the side with the orange AoE. Those with blue will stand on the side of the blue blast. St; ending on the wrong side will kill you immediately.
- Da’at: All players with the orange debuff will be tethered and targeted with dots, which is pure magic damage. These players will run to the outer edges of the arena, safe from the SOF AoE. While those with the blue debuffs will grab the tethers off them safely, soaking the magic damage.
Sophia (Extreme)
Killer tip:
During the equilibrium stage, tank the boss near the center of the platform to minimize movement for upcoming mechanics during this phase.
New mechanics:
Phase 1 and Phase 2
No new mechanics.
Phase 3
- The Scales of Revelation: Two scales will form on either side of the platform, and the platform will begin to tilt, but there are no meteors yet.
- Daughter Beam: Spawns her daughter on the north or south of the platform. You’ll need to be prepositioned to avoid the blast and the tilt.
- On Rush: Sophia disappears and reappears on the West or East side of the platform.
- Sin and Punishment: Affects players with white and black circles that need to be overlapped to avoid severe damage and debuffs from the resulting explosion
- Cintamani: Deals raid-wide AoE damage. Lo k out for a yellow wind-up animation.
- Arms of Wisdom: Deals significant damage to the tank and knockbacks as well. The off tank will need to swap afterward.
Zurvan (Extreme)
Killer tip:
To skip or not to skip: a decision that splits an entire nation. So r is not a new mechanic for Zurvan trials. The fact that you can skip it through good DPSing, though. If you deal enough damage while he is charging up this attack, he will skip it altogether.
New mechanics:
Phase 1:
- Quadrants
Parts of the platform fall at set intervals counter-clockwise. Be careful!
Phase 2
- Southern Cross
Places AoE ice puddle on players. Pl yers should stack at Zurvan’s back to bait him and then move out.
Phase 3
- Wave Cannon
Marks a party member randomly and then spawns a giant column AoE at them. Ha e them move away from the group.
FAQ
Question: How do I unlock the Warring Triad?
Answer: The quest line can be started at The Pillars in Ishgard by speaking with Torsefers, an NPC who can be found at X:11.7, Y:11.5. Gods of Eld is the name of the quest, and to begin it, you must return to Mor Dhona.
Question: Who are the Warring Triad?
Answer: The Warring Triad comprises three primals or eikons Sephirot, the Fiend; Sophia, the Goddess; and Zurvan, the Demon.
Question: Is the Warring Triad optional?
Answer: The Warring Triad storyline is an additional feature. In the end, the quests are optional, but the narrative they tell provides loads of background information on events.
Conclusion
More often than not, the content that is introduced into a game is far less important when you compare it to how said content is introduced into the game. The Warring Triad questline could not be farther away from this statement.
You deal with three entities that are added to the game with The Warring Triad, and they are added to it in such a way that it also presents itself as a complete holistic story within the game. Th se fights are introduced one by one, every single one with its accompanying story, as well as a bit of a twist to keep the story interesting. Something terrible is happening that makes you have to rush to get them down. But, Pl s, the fights are entertaining.
If you love the primal story, which plays a big, big part in the story of The Warring Triad, then this questline is definitely worth your time.