

- Hermes FFXIV Guide - February 2, 2023
- Every Final Fantasy Game Ranked - January 28, 2023
- Hydaelyn FFXIV Guide: Facing your Maker - January 22, 2023
Bahamut, the Conqueror of the skies, has been a prominent figure across the Final Fantasy Franchise. Bahamut has exuded power, elegance, and grace in its many appearances. Due to the spectacle often afforded to players via powerful moves like Megaflare, Bahamut has never failed to leave a lasting impression. Unfortunately, Final Fantasy XIV is no exception.
In fact, Final Fantasy 14 provides the most comprehensive representation of Bahamut we have ever seen before within the franchise.
During Stormblood, you’ll experience a Bahamut-centered story told through several FFXIV raids.
As you might expect from the Kings of Dragons himself, brawling against him is no easy task. In fact, you’ll go through several lesser bosses and ads before you get to meet him in person.
I too felt highly intimidated to go up in arms against him, but then quickly grew fond of the encounter’s mechanics and the overall difficulty. When the Unending Coil of Bahamut pops up in my daily roulettes, you bet I have a big, defiant smile on my face… and sweaty palms.
This Bahamut FFXIV guide aims to help you reduce Bahamut to tears in Final Fantasy XIV’s The Binding Coil of Bahamut.
TL; DR
As you face one of the game’s most vigorous opponents, you should gear up on some mechanic and strategy knowledge before queueing up.
If the queue is less than five minutes and you can’t afford a long read, here’s a TL;DR of what awaits you.
The Binding Coil of Bahamut is a 5-phase raid, each offering a different encounter.
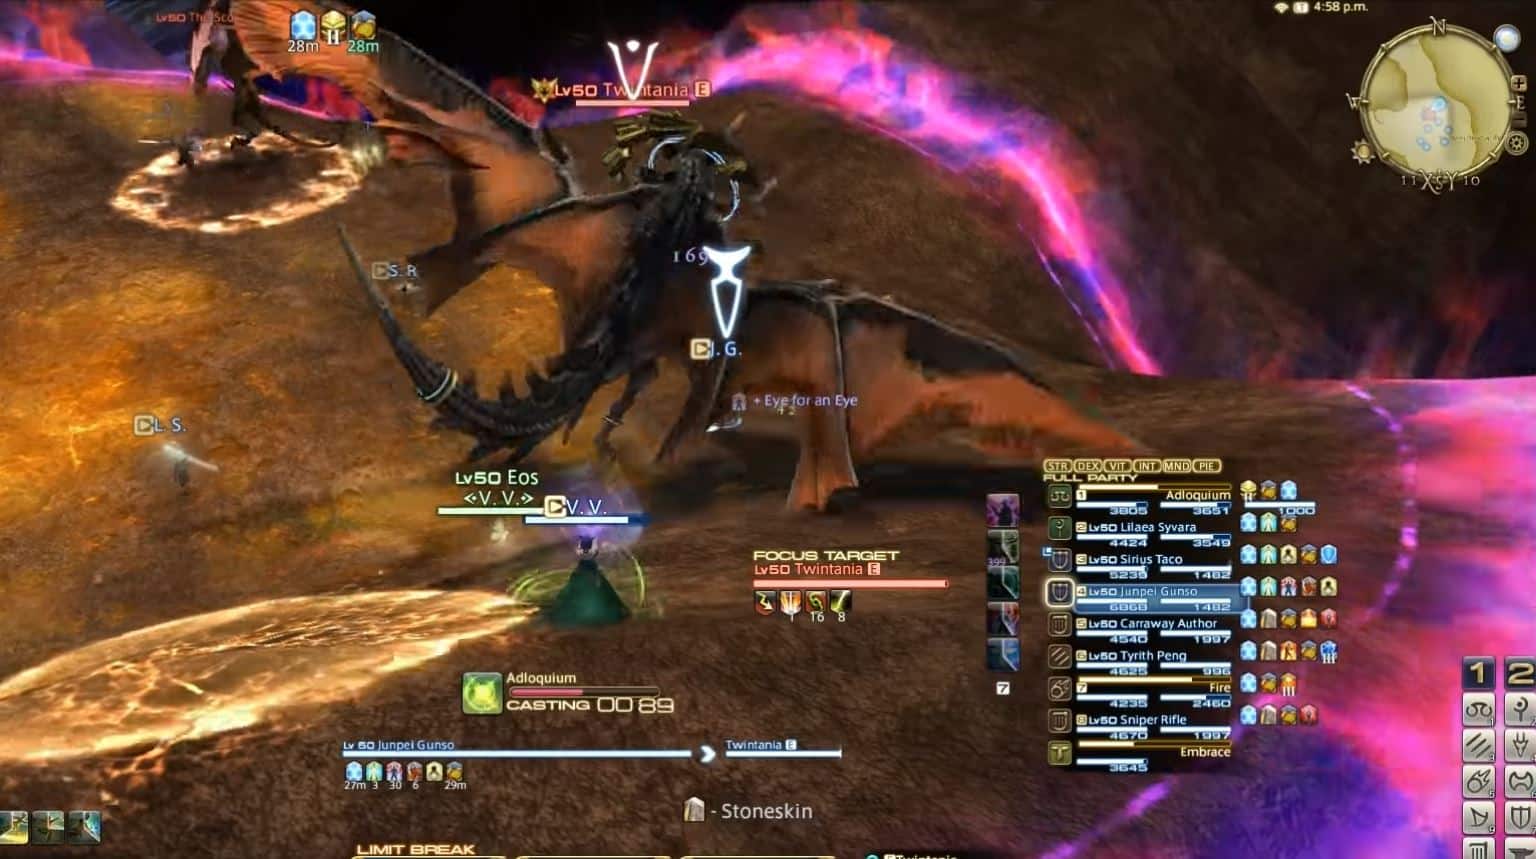
- Twintania is a level 50 (or 70 if you’re doing Ultimate) aggressive Dragon.
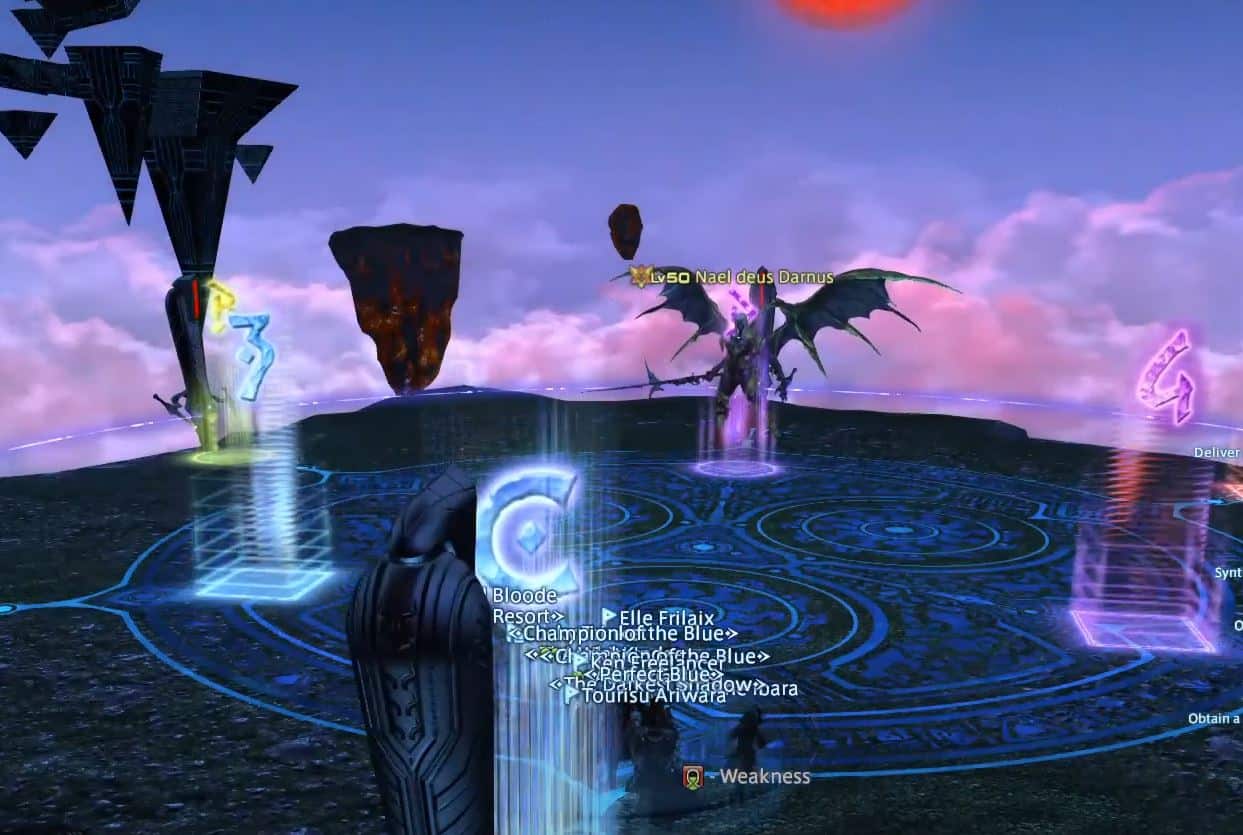
- Nael: a level 50 (or 70 if you’re doing Ultimate) Bahamut- influenced Garlean with a Wyrm appearance
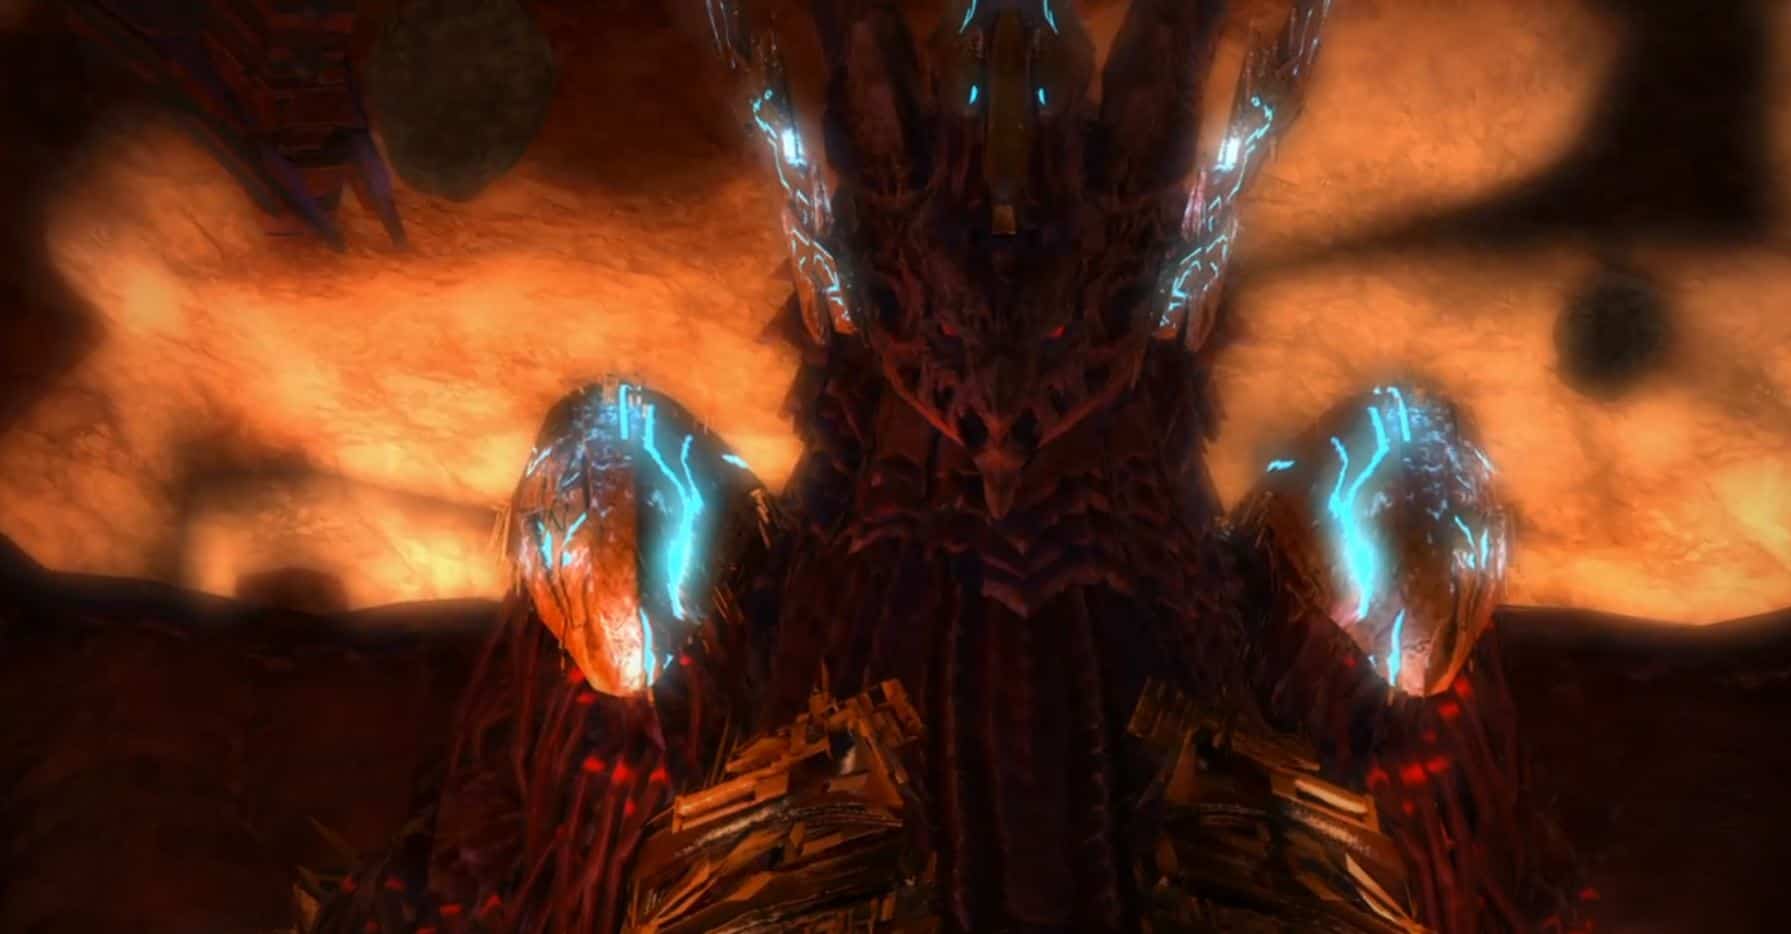
- Prime Bahamut: Bahamut in its prime form. Not to be underestimated.
- TeraFlare Phase: the penultimate phase will have you face both Nael and Twintania
- Golden Bahamut: the final and deadliest phase of the encounter
The Guide
Bahamut Lore in Final Fantasy XIV
Bahamut is one of the oldest living and most powerful beings on Hydaelyn.
As time passed, the Dragons often came into conflict with mortal beings. During the Third Astral Era, Bahamut was slain when his dwelling was attacked by the Allagan Empire.
This caused much distress to the other great worms, one of whom was Tiamat. After learning of Bahamut’s fate, Tiamat was manipulated into summoning a primal in the image of Bahamut. But, unbeknownst to her, the Allagan Empire had been taught a method through which this new Bahamut could be subdued and used.
It saw Bahamut incarcerated within an artificial satellite. But when Bahamut was free during the Sixth Astral Era, he sought revenge against the realm and displayed evident antagonistic qualities. It resulted in a devastating assault that climaxed to Final Fantasy 14 1.0.
As the conflict waged on, Bahamut was defeated, but he wasn’t slain. Instead, Bahamut retreated to the binding coil of Bahamut.
In the Seventh Astral Era, Bahamut attempted to regenerate its damaged body to seek revenge against mortals once again.
Players could then venture to the binding coil of Bahamut to participate in an optional raid. After progressing to turn four of the final coil of Bahamut, Bahamut would appear in all his glory as the Platinum Dragon to serve as the final boss of the Binding Coil storyline.
The Battle Itself
Phase 1: Twittania

Part 1
- Plummet
It is a physical TankBuster in Cleave format.
- Twister
Twittania casts Twister ability- You should move halfway through the cast. It will mark 4 players’ locations with a small tornado upon completion. If any player touches this tornado, it will explode, and whoever is close to this explosion will be knocked back so hard that they will be thrown into the wall and instantly die.
- Fireball
Twittania will mark a player with a red triangle with heavy magic damage. Players must share the damage.
- Death Sentence
Tankbuster deals physical damage and gives Physical Vulnerability debuff up. Time for a tank swap.
Part 2
- Generate
Twittania summons a purple sphere underneath her. Then, she targets a random DPS to enter the Neurolink. With the Neurolink buff active, the sphere must hit the target player.
Other players should not be near the Neurolinks because when the sphere comes into contact with the target player, it will create a small explosion that can kill any player who doesn’t have the Neurolinks buff. Be careful not to stay too long inside the Neurolink because the player’s damage will drop drastically.
- Liquid Hell
This AoE will leave a pool of fire on the ground. Any player above this pool will gain a DoT that deals 90k damage.
Liquid Hell will be marked by the farthest person from Twittania,
This mechanic will be executed consecutively 5 times. A Ranged DPS should take over.
Part 3
Twittania will tinker with her previous abilities:
- Generate
Creates 2 purple spheres. Two DPS will be randomly targeted.
- Liquid Hell
Distance will no longer be a factor in targeting this time. Any player can be targeted.
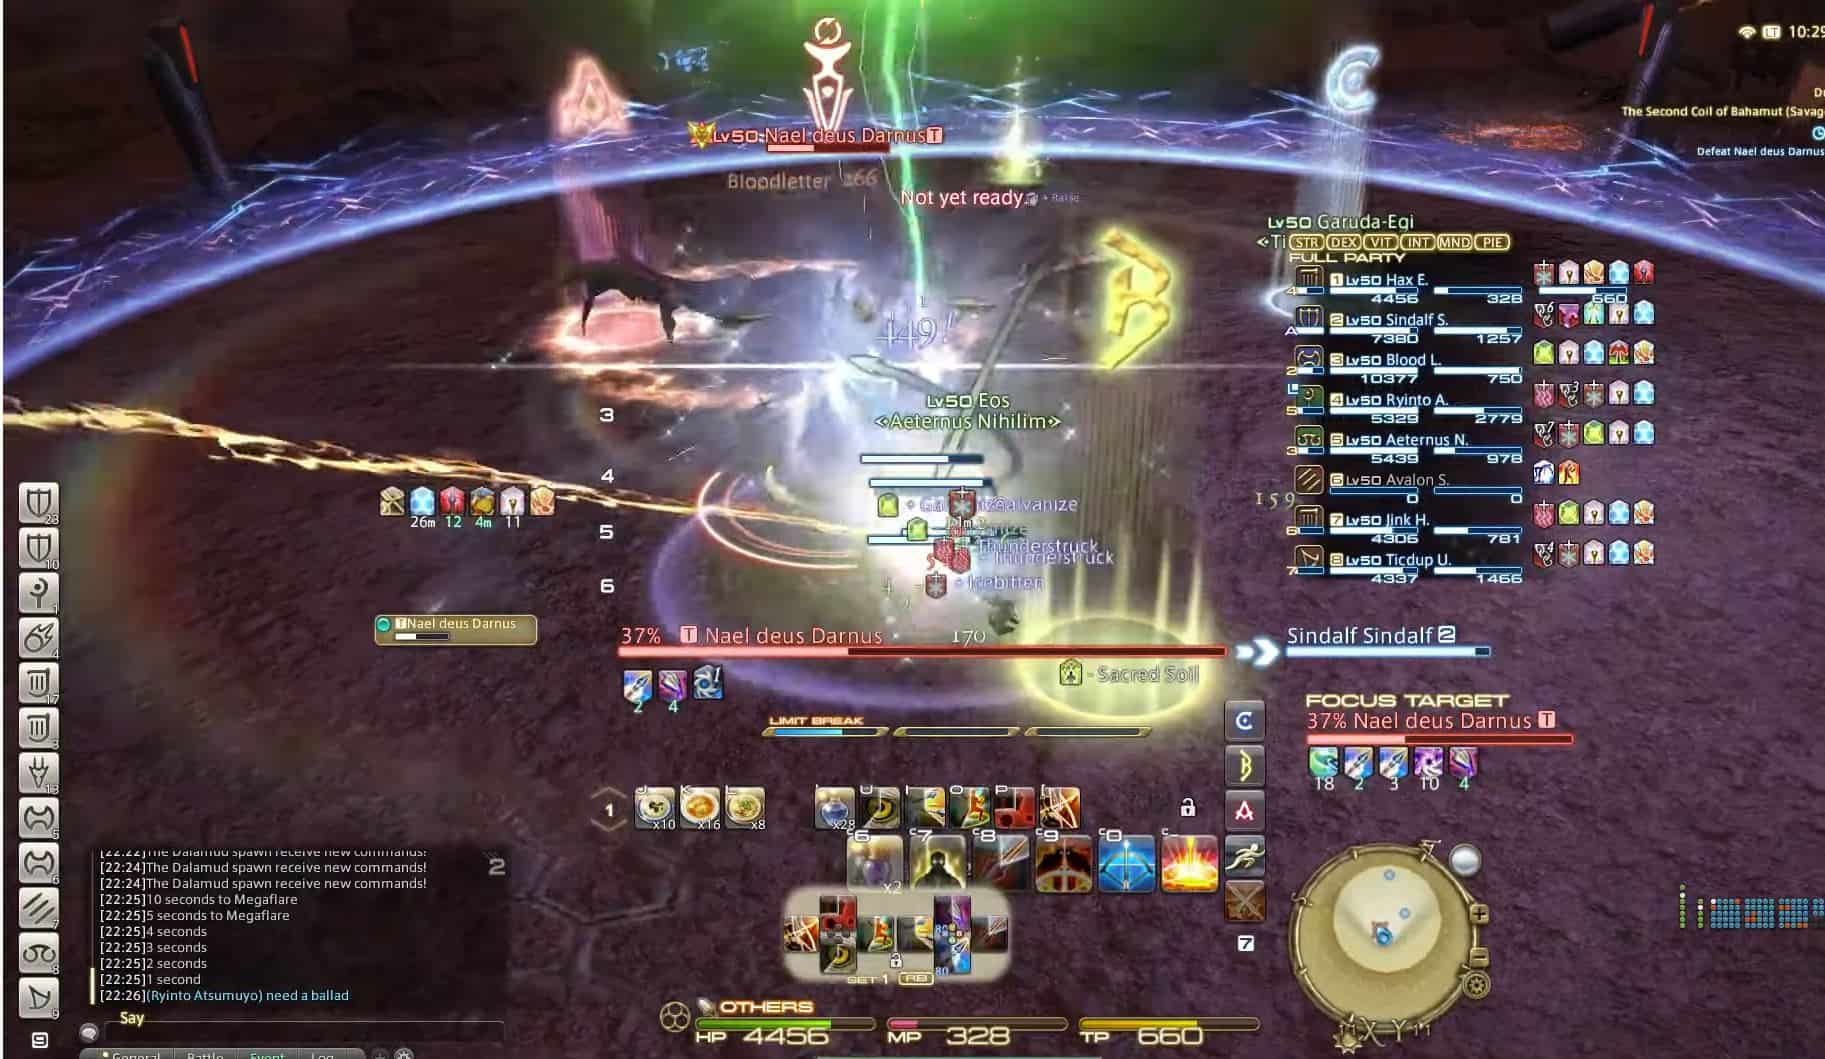
Phase 2: Nael

Heavenfall
A gigantic sword will be thrown into the center of the arena, where the players will be pushed. Depending on the distance, the player may be pushed into the wall.
If the sword hits a player, they will die instantly. After the push, the sword will summon several cone-shaped AOEs called Thermionic Bursts. Whoever is hit will take significant damage and get a paralyzed debuff.
Meteor Stream
Three dragons will be summoned, and each dragon will randomly target one player. Deal slight AOE damage.
Dalamud Dive
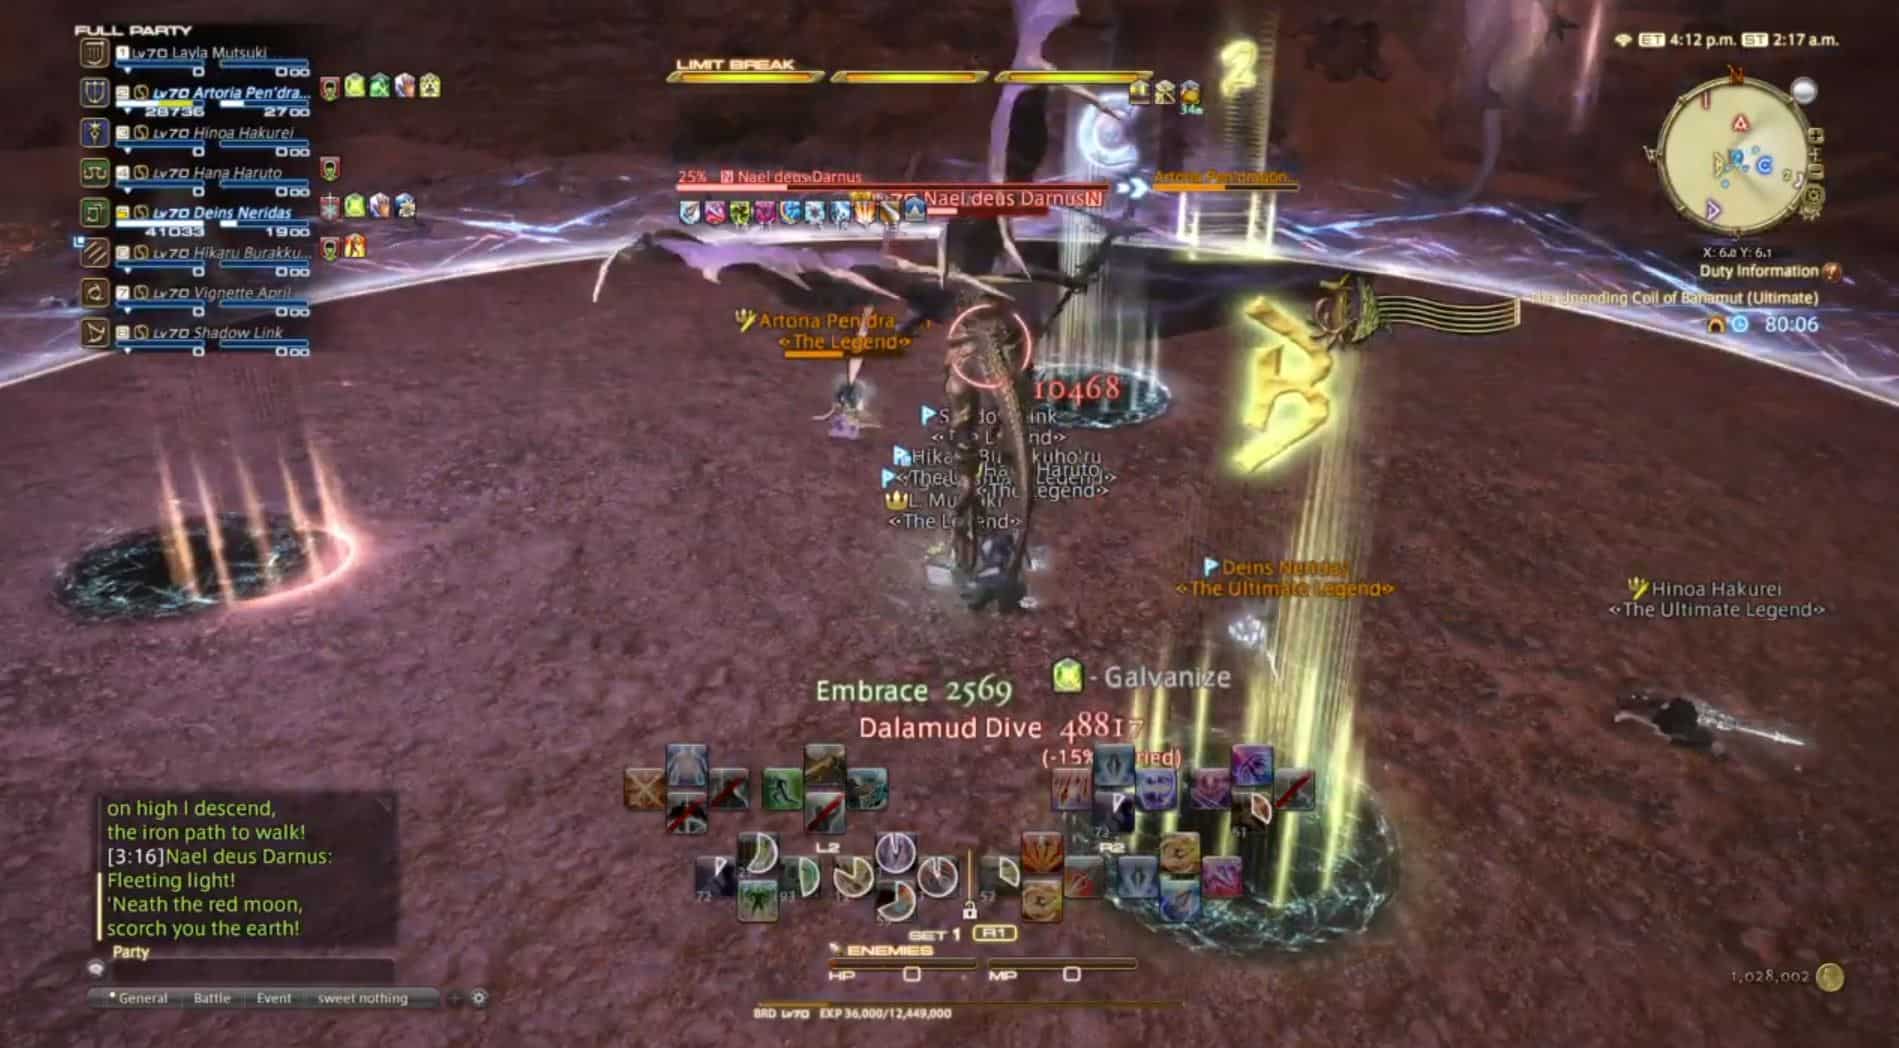
Nael will jump and deal heavy physical damage. Avoid standing near the Tank.
Bahamut’s Claw
Tankbuster physical damage, which will present 5 consecutive hits.
Bahamut Favor
Nael will gain a Damage Up buff and summon 5 Dragons in which, each representing an element:
- Thunder Dragon
This dragon will mark 2 players with 1 debuff called Thunderstruck and has a 5-second timer to execute the mechanic. When the timer is reset, the debuff will perform an electric AOE, and any player nearby will get a 40-second paralyze debuff.
- Ice Dragon
This dragon will sporadically inflict a debuff on players called Icebitten. This debuff will be played on all players randomly. If any player gets a 2x debuff from Icebitten, they will die instantly. The debuff can be removed by Fire Dragon Fireball.
Even if the player gets Fire Dragon’s Fireball before being hit by Icebitten, it will cancel Icebitten’s debuff.
- Fire Dragon
Targets a player with Fireball. This AoE will inflict damage on everyone nearby and give Firescorched debuff if the player doesn’t have Icebitten debuff. Players who have Icebitten debuff will cancel both Firescorched and Icebitten debuff.
And finally, anyone with Firescorched debuff, which is hit by another Fireball, will be killed instantly.
Summary of Firescorched and Icebitten Debuff:
- 2x Firescorched = Death
- 2x Icebitten = Death
- 1x Icebitten = Catch a Fireball
- 1x Firescorched = Expect to be hit by Icebitten
- Light Dragon
This dragon conjures the magic Wings of Salvation, randomly marking players with white puddles on the ground. This puddle will explode and kill anyone who is within that AOE. After it explodes, it will leave a mini puddle. If you need to remove the Doom debuff, walk over it.
- Dark Dragon
This dragon will inflict a debuff called Doom. When the counter is reset, it will kill the player instantly. It will apply this debuff to any player; even the counters can be different. This debuff can be removed through the mini puddles in Wings of Salvation.
Iron Chariot
Nael will spin his spear throwing everyone hit by it across the wall.
Thermionic Beam
Nael will randomly target a player and inflict massive magical damage. This damage can be shared with other players.
Lunar Dynamo
A gigantic AOE in the shape of a Thread. Here are the safe spots: Near it or far away from it.
Raven’s Dive
Nael will leap and land on a player randomly, pushing players nearby.
Ravensbeak
Physical damage Tankbuster that applies Piercing Resistance Up II debuff. Tank swap again!
Cauterize Markers
Dragons that have been summoned by Nael will randomly mark players. This marking will be indicated on the players’ heads. The moment this marking disappears, it is the direction that the dragon will throw its AOE line. This mechanic will be performed three times in a row.
Hypernova
A sphere will be thrown at the players. Move away from them as quickly as possible.
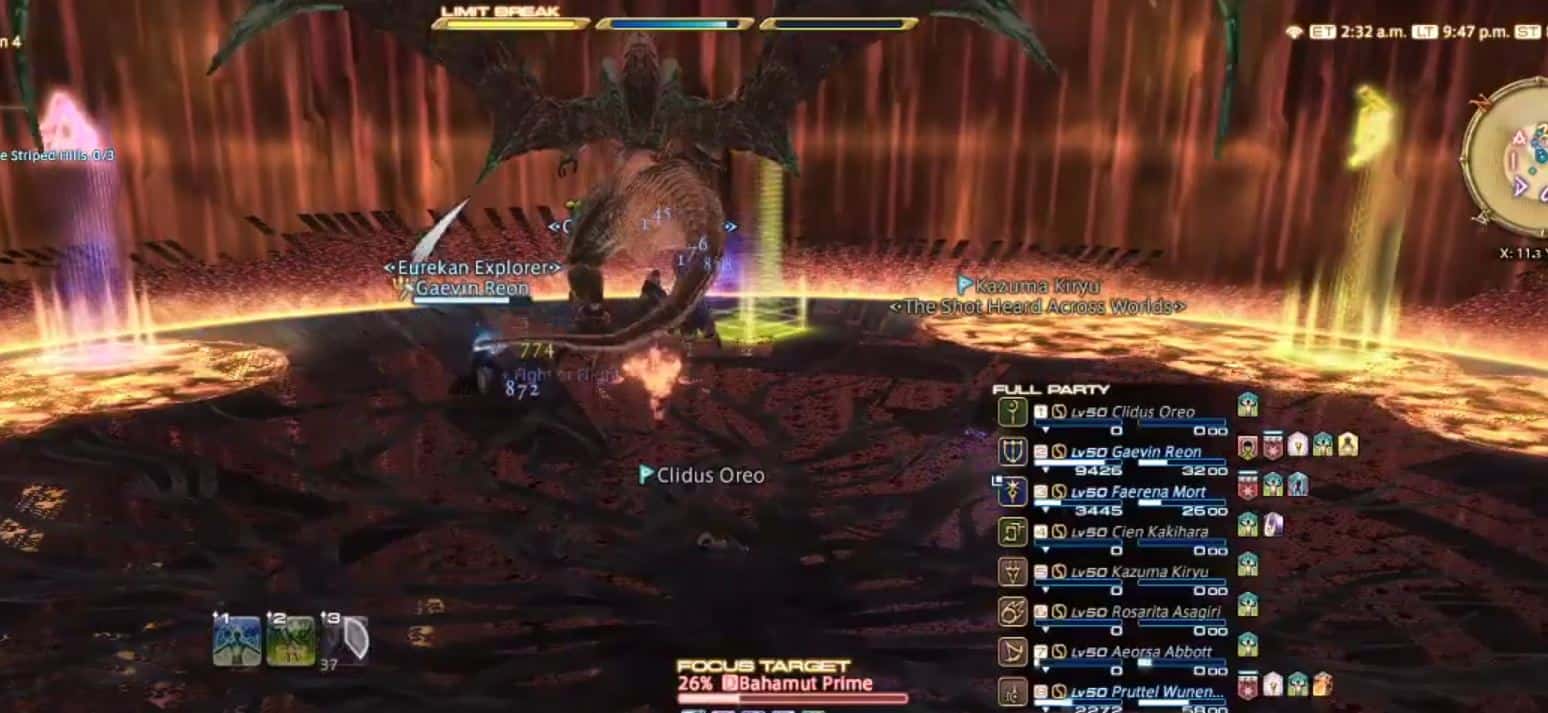
Phase 3: Prime Bahamut

Flare Breath
Deals magic cone AOE damage. It’s a mini tank buster.
Flatten
A physical tankbuster. This needs to be mitigated.
Earth Shaker
Bahamut will mark some players. The targets will see a giant cone between Bahamut and them. It deals tremendous physical damage and still leaves a puddle. If any player stands on this puddle, it will give Sludge debuff, Heavy, and a DoT that will quickly kill any player.
Tempest Wing
This is a tether that will target a random player. This tether can be intercepted by another player (usually Tank), passing between Bahamut and the target player. This mechanic will deal magic damage with a small AOE. If any other player is nearby, they will receive a knockback and paralyze.
Megaflare
3 players will be circled around the character, indicating that they must group together to share the damage. Megaflare should be shared between targeted players. This mechanic goes hand in hand with large, random AOEs on the ground.
Gigaflare
A magic raid-wide AOE. This needs to be mitigated.
Phase 4: TeraFlare

There are no new mechanics here.
You’ll face Nael and Twittania again. So here’s a lightning round of advice:
- Each Tank must take the bosses one at a time.
- If the Duty Gauge reaches 100, the fight is over.
- You must kill both bosses simultaneously before they conjure the ultimate (Twittania: Twin Fury, Nael: White Fury).
Strategy
The Ranged DPS will be ready to take Liquid Hells initially. Thermionic Beam will occur at the center, so stick closer rather than further away.
Twintania and Nael will use the mini-tankbusters at first. Next, Twittania will perform a positionable Liquid Hell, identical to her first phase. Then she will execute a Generate and Twister combo, in which case she will target 3 DPS.
The Melee DPS and one Ranged DPS will take Neurolink. The Caster will have to adapt to their positioning.
Ranged tip: You can stay completely away from the bosses and don’t even need to make any moves besides sharing the Thermionic Beam damage in the center of the arena.
Nael will use his three hits in sequence. Remember that Twittania is always auto-attacking, so be careful with whoever is tanking her.
After Nael performs her spins, Twittania resort to Twister, which you can dodge.
Nael will cast MegaFlare, which will deal massive magic damage.
Soon after, both will soon use Tank Busters, inflicting Slashing and Piercing Vulnerability debuffs, forcing the Tanks to switch.
Rinse and repeat. But with a minor tweak: Nael won’t use Megaflare right away. Before unleashing it, both bosses will weaken your tanks with their tankbusters.
Tera Flare will finish the fight unless Aethertrail Attunement has filled up to 100 and you have killed both bosses. Soon afterward, the Phoenix will appear and revive with a full HP bar and a Phoenix’ Blessing buff.
Phase 5: Golden Bahamut
Akh Morn
Tanks will get a strong tankbuster (multiple times). It starts with 3 hits, and the action will increase by a +1 hit each time it is cast.
Morn Afah
Deals magic damage, which must be shared between all players. Needs a lot of mitigation.
Exaflare
Places a series of circular AOE’s scattered around the arena, and any player who comes in contact with them will die instantly.
FAQ
Question: When do you unlock the Unending Coil of Bahamut in Final Fantasy XIV?
Answer: To unlock the Unending Coil of Bahamut in Final Fantasy XIV, you need to be level 70 and speak to the Wandering Minstrel in Kugane (X:11. 6; Y:12. 6).
Question: What are the rewards for completing the Unending Coil of Bahamut in Final Fantasy XIV?
Answer: You’ll be rewarded with a Dreadwyrm Totem for completing the Unending Coil of Bahamut. This totem can be exchanged at Rhalgr’s Reach (X:13.8; Y:11.8) to get an Ultimate Dreadwyrm weapon. You’ll also get 100 poetics.
Question: How difficult is the Unending Coil of Bahamut?
Answer: Though its official category is “Ultimate,” this could easily be regarded as Savage content. This raidraid allows next to zero room for error and will punish failure severely, so make sure you go in prepared.
Parting Words
This guide covered The Unending Coil of Bahamut’s mechanics and possible counterattacks. Bahamut’s raid can be unforgiving. You’ll face up against three bosses with a handful of mechanics that will not give you a minute to catch your breath. So make sure you and your party are up to speed with each of the bosses’ mechanics, and outline a strategy before stepping into battle. Having your party on a voice channel will definitely be helpful, too.
To be fair, we expected no less from Square Enix. Bahamut has been a boss, summon, and collectible that has evolved with players over the decades, and Final Fantasy XIV does it perfect justice with Stormblood.