

- Hermes FFXIV Guide - February 2, 2023
- Every Final Fantasy Game Ranked - January 28, 2023
- Hydaelyn FFXIV Guide: Facing your Maker - January 22, 2023
Introduction
Final Fantasy 14 offers the possibility of traveling in a myriad of ways. You can either walk, get a mount, or even fast travel. If jumping on the back of whichever creature Final Fantasy developers decide to come up with next sounds appealing to you, you might be interested in unlocking or purchasing some of the coolest-looking mounts in the game.
However, you might not be aware that Mounts are not only limited to chocobos and horses. In this game, you can actually ride previous entry secret bosses.
In Final Fantasy 9, you can fight a secret, optional super-boss named Ozma -an unusual-looking monster, a giant sphere that can shapeshift. This boss fight was so memorable for this game. So it was brought back in Final Fantasy 14. Except that now, instead of only fighting it, you can ride it as you sore through the skies or hover above the water.
Objectively speaking, this is one of the most incredible mounts in the entire game. Thus, it is no surprise that you must go through a significant amount of trouble to get your hands on it. If you’re set on getting this mount, You will need to clear a brutally difficult level 70 open dungeon that can be challenged by up to 56 players at once: The Baldesion Arsenal.
This FFXIV Ozma Mount guide will walk you through the bosses you will need to defeat before grabbing your Ozma mount if you are up to the challenge.
Key Info Up Front
Final Fantasy XIV Mounts
As in any MMORPG, mounts are designed to increase your movement speed and, in addition, to be shown off to your friends.
Final Fantasy XIV currently has 35 mounts, of which we can get 33 since 2 of them are exclusive to the old version of FFXIV.
Only after reaching level 20 with any combat class and completing the “My Little Chocobo” quest, you can acquire amounts.
The following are some of how you can acquire new mounts:
1. Beast Tribes
You will increase your reputation with the Beast Tribes factions through a series of daily missions. When maxed out, you’ll have access to their store, where you can purchase many collectibles in exchange for Giles, including mounts. There are 5 factions in total, and each one has its mount.
2. Achievement Rewards
You must first complete the achievement at hand to get the achievement rewards. Once you have done so, you will have to talk to an NPC named Jonathas located in Old Gridania, specifically in Apkallu Falls.
3. Gold Saucer
Everyone’s favorite amusement park can also reward you with special mounts by collecting a certain amount of points that can be exchanged for them.
4. Special Deals
These mounts are part of Square Enix sales promos such as the recruitment program or Veteran Rewards.
5. Cash Shop
Finally, some mounts can be obtained at the checkout counter.
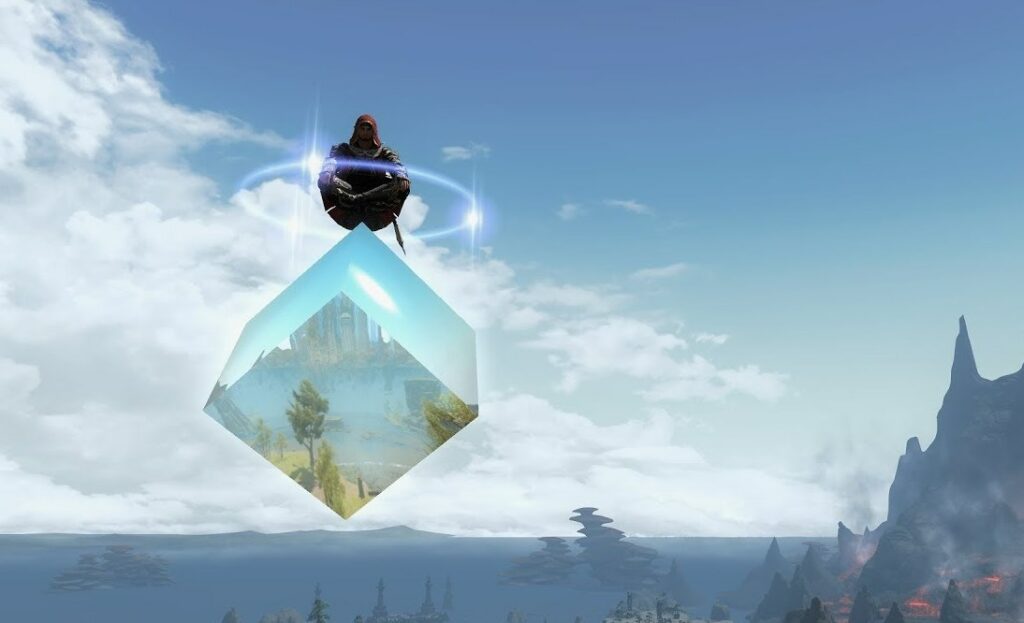
Demi-Ozma Mount
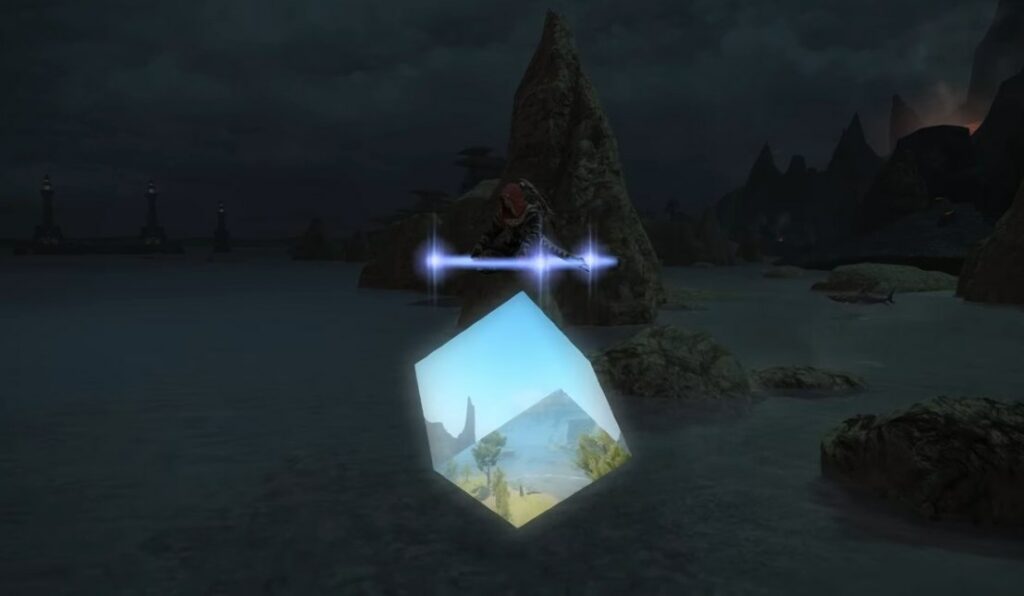
The Demi-Ozma mount is a flight-capable mount with three forms: a sphere, cube, and Pyramid. So basically, it’s three mounts in one.
You can only get this amount after you have earned the achievement “We’re On Your Side I.” To get this achievement, you will have to clear The Baldesion Arsenal.
The Baldesion Arsenal
Here is everything you need to know about the Baldesion Arsenal.
- A total of 56 people: It takes 6 full parties and a seventh that will be the support group.
- Limited resurrection: Inside the dungeon, there is a debuff that disables resurrections, the only ones available are through “logos actions” specific to Eureka.
- Hostile environment: Like the Eureka map, the enemies inside the Arsenal are pretty dangerous, killing practically in 1 hit anyone who is not a tank. There are also traps scattered around the stage, for which it is necessary to wear specific detection logos.
- Difficulty: The difficulty comes more from the tension of knowing that if you fail a mechanic, you may die and not be able to complete the run.
- Reach level 60. If you’re level 59, you won’t have the necessary buff to take the portal.
- 3 Logos is good, but more is better. You will need loads of logos at the Arsenal. If you get up to 6 slots, this dungeon will be much easier.
- All consumables work in Eureka, so take some with you. Food works, so feel free to take some just for the HP bonus.
Walkthrough
How to Get Into the Baldesion Arsenal
After reaching level 60 and doing the associated Baldesion Arsenal prequest at the base camp, you will need to defeat a notorious monster called Ovni.
Upon being defeated, Ovni will spawn a series of Unstable Aetherial Nodes, which are essentially just blue portals. Players will have to use a stabilizer item, which you can get from collecting materials from other NMs and turning them in at a vendor. Please note that once one portal has been stabilized, it will turn red, allowing all groups to go into The Baldesion Arsenal.
Art and Owain
General Strategy
When you enter the Arsenal, there will be two paths: east and west. The group will split up into two to deal with both bosses simultaneously. Keep in mind that neither will die unless both HP bars are reduced to zero.
Art, The Black Spear
| Move | Description | Counter |
| Thricecull | a vicious tank-buster | Throw 1 or 2 cooldowns to be safe. |
| Legendcarver | a point-blank AoE | Just move away from the area of effect. |
| Legendspinner | a donut AoE | Either stay really close or move really far away. |
| Spears | creates a set of spears around the arena that will mimic the boss’ next Legendcarver or Legendspinner | For Legendscarver, you’ll need to go either to the middle or the edge of the arena.
For Legendspear, get close to any spear. |
| Spiritcall | marks numerous players with downward-pointing (red) arrow markers | all marked players should stack with other players before it detonates. |
| Gravity Ball | leaves a chaser AoE marker in a player, which will hit them numerous times | The player marked with the chaser should run away from the rest of the group. |
| Legendary Geas | causes the arena floor to visibly turn black | If you move, a slow debuff will be applied to you. Stand still until the ground goes back to normal. |
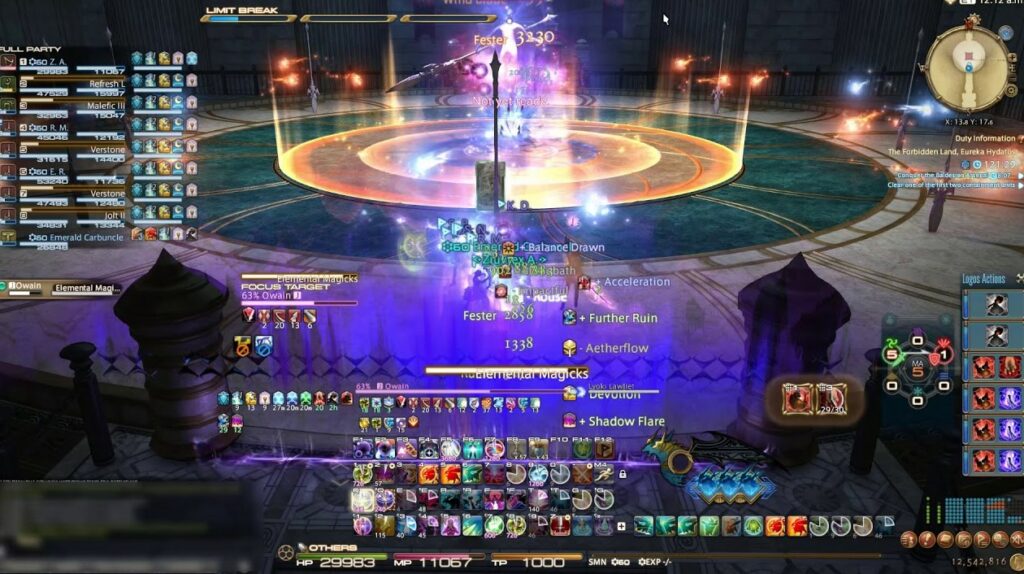
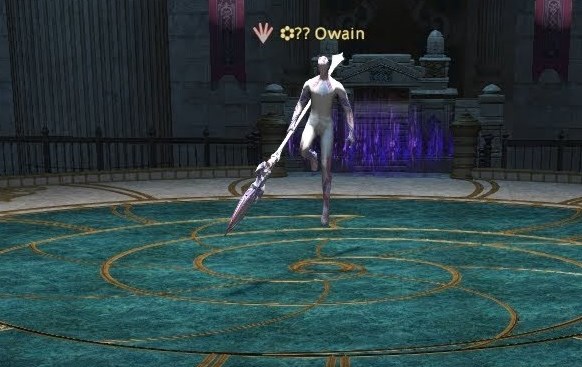
Owain, The White Spear
| Move | Description | Counter |
| Thricecull | a vicious tank-buster | Throw 1 or 2 cooldowns to be safe. |
| Elemental Shift | causes the boss to shift to either Fire or Ice | Take a look at the orbs that surround him, they will shift color depending on the element. |
| Elemental Magics | emits a point-blank AoE | Stay away from the area of effect. |
| Spears | creates a ring of spears around the arena which mimic the bosses’ elemental magics. | Go towards a spear that doesn’t match his current element, as those are the ones that won’t explode. |
| Spiritcall | marks numerous players with downward-pointing (red) arrow markers | all marked players should stack with other players before it detonates. |
| Hands | spawns a group of hands that walk toward the players to kill them | Marked players need to look directly at the hands to freeze them. |
Raiden
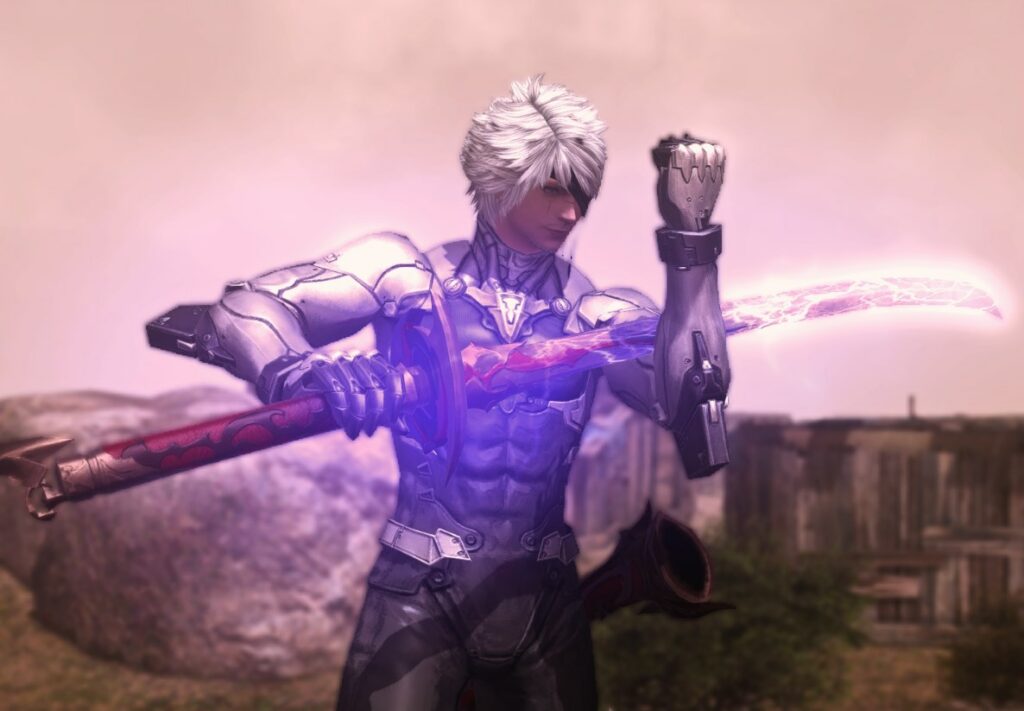
General Strategy
Raiden is the second (or third) boss in the Baldesion Arsenal. He will be waiting within a circular arena atop his faithful steed. Although he has several moves, they are quite straightforward and easy to get used to.
Moveset
| Move | Description | Counter |
| Spirits of the fallen | deals unavoidable raid-wide damage | Heal and mitigate. |
| Shingan | a vicious tank-buster | Heal and mitigate. |
| Thundercall | generates an electrical death-wall | Avoid going to that part of the arena. |
| Ame-no-Sakahoko | drops a huge AoE | Run away and stay far from him. |
| Whirling Zantesuken | blasts the entire arena with electrical damage | Stick very close to him |
| Lancing Bolt | Marks 6 random players with a large circle AoE | Spread AoE as much as possible |
| Ultimate Zantetsuken | marked players receive a spear that deals AoE damage | DPS the spears before they explode |
| For Honor | executes an untelegraphed frontal AoE | Move away to avoid damage |
| Cloud to Ground | spawns waves of exaflares in a straight line | Spot the line in which they will move and stick to one side. |
| Bitter Barbs | marks multiple players with small AoEs and chains pairs of players together | Chained players must move in the opposite direction to break the chain. |
| Levinwhorl | deals heavy, raidwide AoE damage | Swap to defensive to mitigate. |
Absolute Virtue
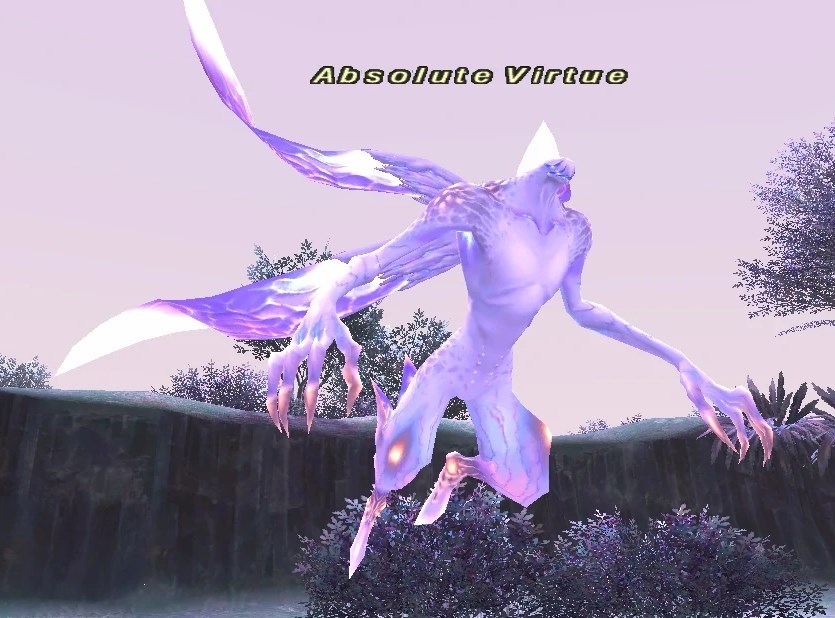
General strategy
Divide and conquer. Split up the party into six groups, and each should proceed to their designated rooms. Scout for traps using Perception, just in case.
Absolute Virtue is the first actual test in The Baldesion Arsenal, as he has a moderately complex Hard Enrage. After that, every player except the active tanks must use Offensive Wisdoms and Magia Elements.
Moveset
| Move | Description | Counter |
| Meteor | deals unavoidable raid-wide AoE damage | n/a |
| Auroral Wind | deals a vicious tank-buster with a light AoE component. | Stay away from them. |
| Medusa Javelin | emits a conal-AoE towards a random player | Stay away from them. |
| Eidos | casts a Light or Dark buff on himself. This is always paired with another mechanic. | n/a |
| Hostile Aspect | creates several Light or Dark small-sized AoE circles that will later expand and explode | Run as far away from the marked areas as possible. |
| Impact Stream | splits the arena into one Dark and one Light half, which will later detonate. | Go to the side with the opposite color of AV. |
| Turbulent Aether | spawns several light and dark player-chasing circles within the arena | Check the color and stand in an AoE of the opposite color. |
| Clones | leaves behind multiple proximity markers and spawns a set of clones that will use impact stream | Identify which one is casting and try to avoid the impact. |
| Lightning Wyverns | Summons two Lightning Wyverns | A tank will need to become their targets while the rest of the party deals damage. |
Ozma

Ozma’s arena is quite different from the rest. You can jump down and walk without getting pulled, but once you get too close, you will be pulled, which will most likely lead to a wipe, especially if not everyone has jumped down. You also need to watch your step as it is very easy to fall down.
General Strategy
Ozma requires 3 main tanks since he targets three different players with auto-attacks. All seven groups will be mainly split around three platforms. Every group except support will be assigned a specific black hole portal that they will have to go on every now and then during the fight.
Ozma has four different forms that it will shift between during the battle. This is not purely aesthetical, as each form has a different move set and needs to be tackled differently. The catch is that Ozma will not do them one after the other. Instead, it will be swapping multiple times between all of them.
Ozma’s phases
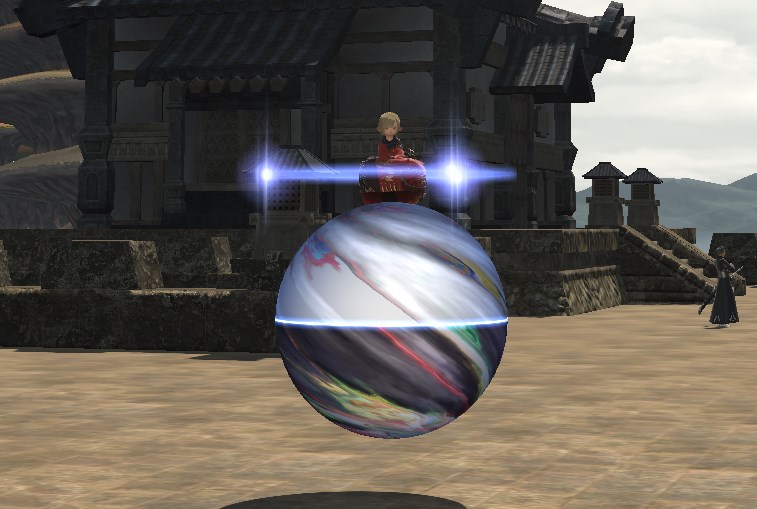
Now let’s get into the mechanics. Ozma has four different forms, which will change throughout the fight. His primary form is the sphere form, the spiky form, the cube form, and the pyramid form.
1. The Sphere Form
Moveset
| Move | Description |
| Autoattack | Deals a single target attack on the player with the highest threat on each platform |
| Black Hole | draws all players towards him, spinning them into the air and sucking them into the sphere |
General Strategy
The first and simplest form is the sphere. During the Sphere form, Ozma will cast a black hole. Everyone will be sucked out, and the raid will end there.
You need to activate the black hole portals and stand on them to prevent this. There are six portals: three on its platform and three on each bridge that connects the platforms. The six main groups will be assigned to a portal and go on it when a black hole appears.
You need at least one player in its portal to activate the protective barrier, but usually, whole groups are assigned to it for safety reasons since it will affect the entire raid if the mechanic falls.
After that, Ozma will do heavy-hitting auto attacks on the three main tanks. Healers need to be really careful during that part, and tanks should be ready to pop up their mitigation.
2. The Spiky Form
Moveset
| Move | Description |
| Autoattack | deals a shared damage AoE to a random player on each platform |
| Ozmashades | uses a large AoE |
| Meteor Impact | marks 2 players per platform for a total of 6 markers, who will later drop a proximity marker on their location. |
| Shooting Star | punts all players on the platform a small distance |
| Meteor | gives a random player a stack-marker that forces the party to group up in order to absorb upcoming damage |
General Strategy
The moment the transformation happens, Ozma will cast morning star, which covers a massive area of effect around it. You need to go back to the platform to dodge it.
Ozma will do a seared auto-attack on random players on each platform during this phase. That means you have to say stacked and move together for mechanics to keep soaking the damage. Spreading out will lead to players dying.
Next, Ozma will resort to a meteor impact attack. Two random players in each platform will be targeted with meteors, which are heavy-hitting proximity areas of effect attacks.
The players will have a few seconds to move and place them far away. One way to work around this is to have one of the players place it on the right bridge of the platform they are on and then place the other one on the back left of the platform.
The final mechanic for this form is Shooting Star. Shooting Star is a knockback coming from the black hole portals. You can get knocked to either the back or front of the platform. You only want to get knocked to the rear to dodge an attack. Shooting Star and Meteor will happen simultaneously, but Meteor will resolve before Shooting Star.
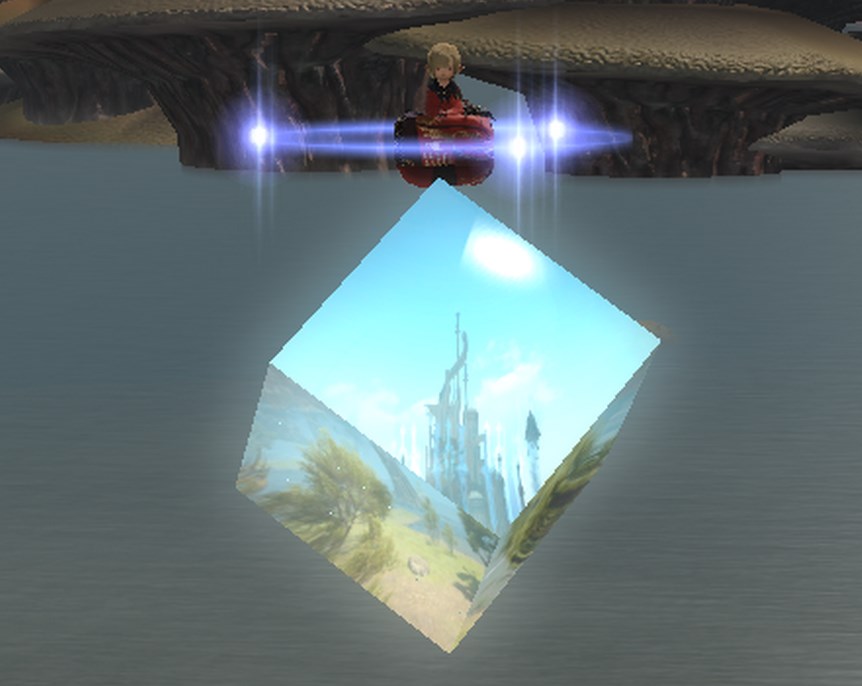
3. The Cube Form
Moveset
| Move | Description |
| Autoattack | deals a line AoE on player with highest threat on each platform. |
| Ozmashades | uses a large donut AoE. |
| Meteor | gives a random player a stack-marker that forces the party to group up in order to absorb upcoming damage |
| Holy | unleashes a raid-wide AoE that inflicts a small knockback |
General strategy
Just as the transformation occurs, Ozma will do a donut attack with area of effect damage cleaving the entire arena. You will have to go really close in front of the platform to dodge this.
Instead of regular auto attacks, Ozma will shoot lasers on the three main tanks. These lasers have area of effect damage. And they deal quite a bit of damage. So, you want to have the tank on one side of the platform and the party on the opposite side to ensure the tanks are the only ones getting hit.
Right after, two orbs will spawn in each one of the bridges. These orbs will start moving clockwise and eventually explode, killing everyone around them. Ozma will then cast holy, which is really easy to deal with. You have to avoid being near the back ends of the platform or a bridge since it’s so tiny, and you can even dodge it anywhere you are. However, it can be sneaky and catch you off guard.
At last, Ozma will do a stack marker on its platform, and all you have to do is stack, although it does apply Magic vulnerability ability debuff.
4. The Pyramid Form

Moveset
| Move | Description |
| Autoattack | hits a random player who isn’t in melee range with an AoE Bleed debuff. |
| Ozmashades | shoots a laser through main platforms. |
| Meteor Impact | marks 2 players per platform for a total of 6 markers, who will later drop a proximity marker on their location. |
| Acceleration Bombs | Inflicts an 8-24 seconds debuff. The player cannot move until the timer reaches 0. |
General strategy
Now let’s move on to the final form, the Pyramid.
The auto attacks in this phase will be in the form of a small circular area of effect attacks that apply a bleed debuff. These debuffs can be cleansed. Thankfully, there is a way to avoid healing.
The circle area of effect attacks with the bleed can be baited so that the only player that gets them is the one that is furthest away in the back of the platform. For that reason, it’s a good idea to assign a Bard or Healer to position themselves as far away as possible and cleanse the bleed effect on them.
During this phase, players will get inflicted with acceleration bomb debuffs. This debuff will have a timer. You must not perform any actions once the timer reaches 0. Otherwise, the acceleration bomb will explode.
Potentially killing everyone on the platform, you’re on. The Acceleration bomb debuff looks something like this. You need to be very careful, and you need to pay attention if you get it. Once the timer is close to zero, seat your weapon and do not do anything until it goes away.
At the same time, there will be a meteor impact cast. It’s precisely the same as one during the spiky form. The only trick here is to look out for both the Meteor and the acceleration bomb if you get them.
Depending on your timer, you will have to decide what to prioritize first. If you know, something will surely go wrong. Don’t be afraid to ask for a tank. After all this, there will be a stack marker in the platform that will apply a magic vulnerability debuff again. Just stack altogether. This will mark the end of the triangle form. Which includes all of Ozma’s formations.
FAQ
Question: How do you get the Ozma Mount?
Answer: To get this mount, you need to earn the “We’re on Your Side I” achievement, which requires players to defeat the last boss of the Eureka area, The Baldesion Arsenal.
Question: Can you still get Demi Ozma?
Answer: It is still possible to get this mount nowadays. Moreover, many groups get organized through Discord channels.
Question: How do you unlock The Baldesion Arsenal?
Answer: To access The Baldesion Arsenal, you need to be level 60 and complete the Eureka storyline.
Question: How long does The Baldesion Arsenal take?
Answer: It takes around 2 hours to beat The Baldesion Arsenal. It might, however, take more than one run to finally clear it.
Conclusion
After beating Ozma, you will have successfully cleared The Baldesion Arsenal. It has been a challenging and long ride, but you did it after collectively getting 56 people to collaborate and beat some of the game’s most difficult bosses.
Once you clear this dungeon, you will earn the achievement “We Are On Your Side I,” which means you will have unlocked arguably the coolest-looking mount in the game: Demi-Ozma! So ride that shapeshifting mount anywhere you want.