

- Hermes FFXIV Guide - February 2, 2023
- Every Final Fantasy Game Ranked - January 28, 2023
- Hydaelyn FFXIV Guide: Facing your Maker - January 22, 2023
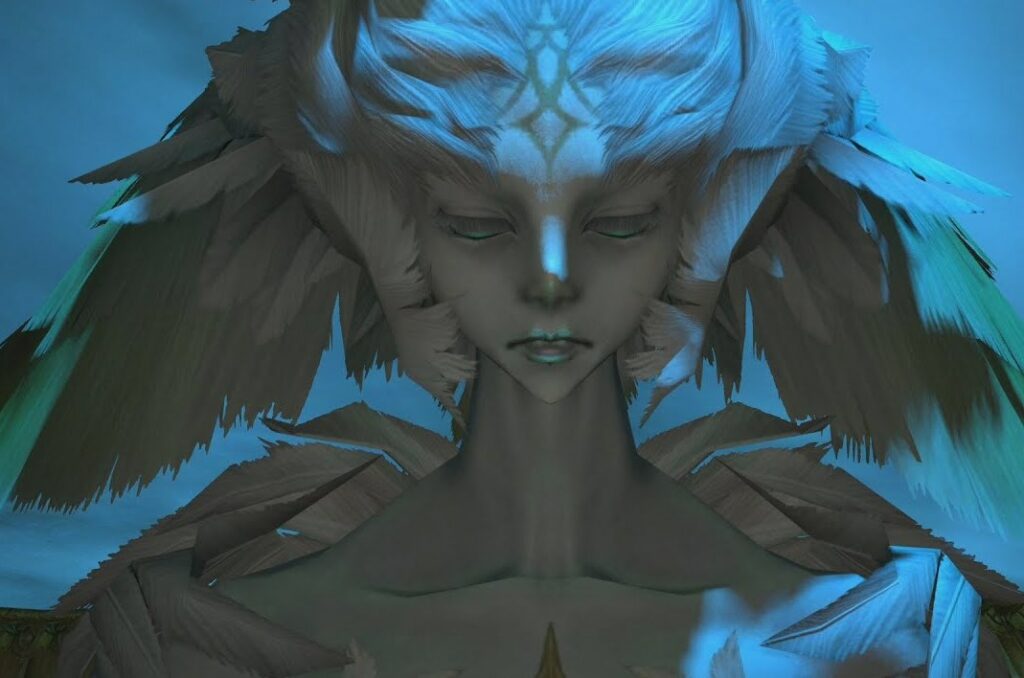
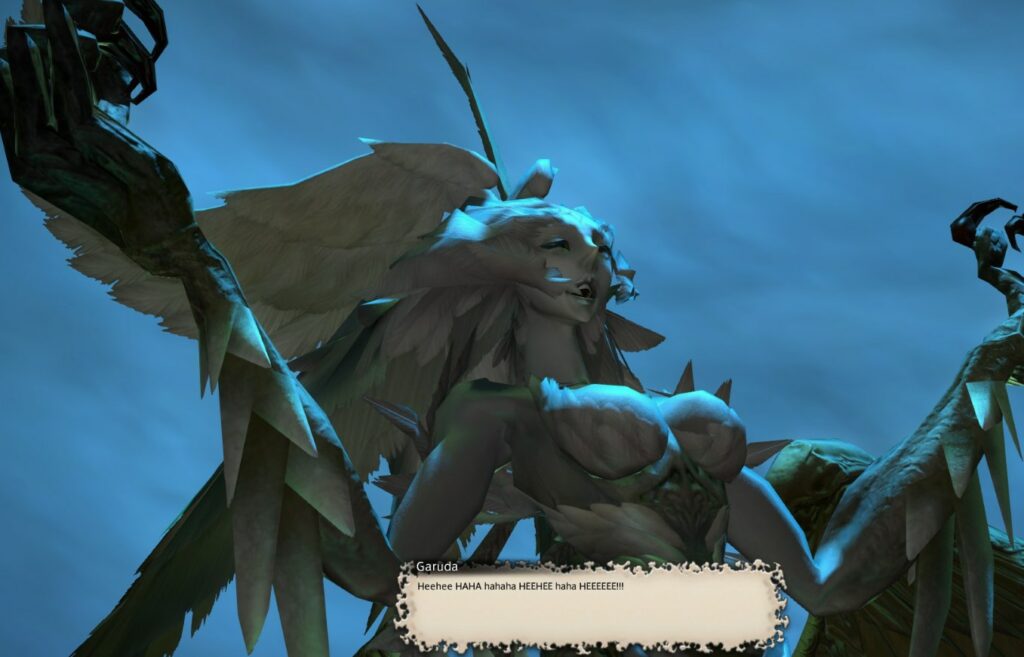
Final Fantasy XIV’s Garuda is not an easy breeze by any means. When pursuing A Realm Reborn main questline, you will be tasked with the challenge of defeating several Primals, the powerful creatures that roam Eorzea. After beating the first two, Ifit and Titan, it won’t be long until you come across the third and most challenging yet: Garuda, The Lady of the Vortex
To every player’s dismay, Garuda is one of the most formidable enemies in the game. Throughout the battle, she will be switching between a series of mechanics and spawning adds that make up four phases. If you are going up against Garuda, put on your windcheater, grab some hot tea, and gobble up the following Garuda FFXIV guide.
Key Info Up Front
Modes
Depending on your level and how much patience you have, you can go up against Garuda in 3 modes: normal, hard, and extreme. As you might have guessed, the difficulty level only increases with each mode, but so do the rewards.
Prerequisites
Normal Mode
- Level: 40
- Quest: “Lady of the Vortex” by Cid – New Gridania (X:11,Y:14)
- Prerequisites: Finish the quest “Late than Never.”
Speak with Cid at X:11, Y:13 in New Gridania. Speak with Alphinaud after a lengthy sequence. This will allow you to access the Garuda combat in the Duty Finder. After completing the fight, you will be awarded an impressive cutscene. After the scenario concludes, speak with Alphinaud to complete the quest.
Hard Mode
- Level: 50
- Prerequisites: Completing the quest “The Ultimate Weapon” and the sidequests “A Recurring Problem,” “Ifrit Bleeds, We Can Kill It,” and “In for Garuda Awakening.”
Extreme Mode
- Level: 50
- Prerequisites: Picking up the quest “Gale-force Warning.”
Rewards
- Normal: Garuda’s Card
- Hard: Garuda Card and Garuda’s Feather
Normal
| Loot | Type |
| Garuda’s Gaze | Sword |
| Garuda’s Scream | Greataxe |
| Garuda’s Pain | Greatsword |
| Garuda’s Beak | Polearm |
| Garuda’s Talons | Fist Weapon |
| Garuda’s Blood | Katana |
| Garuda’s Plumes | Daggers |
| Garuda’s Spine | Bow |
| Garuda’s Abandon | Firearms |
| Garuda’s Van | Staff |
| Garuda’s Will | Book |
| Garuda’s Honor | Rapier |
| Garuda’s Tail | Cane |
| Garuda’s Embrace | Book |
| Garuda’s Lift | Star Globe |
| Vortex Weapon Coffer | Other |
Extreme
| Loot | Type |
| Vortex Ring of Fending | Ring |
| Vortex Ring of Slaying | Ring |
| Vortex Ring of Aiming | Ring |
| Vortex Ring of Casting | Ring |
| Vortex Ring of Healing | Ring |
| Vortex Feather | Crafting material |
| Xanthos Whistle | Other |
| Nightmare Whistle | Other |
| Faded Copy of Fallen Angel | Orchestrion Roll |
Party Must-Haves
You will need two tanks are required for this trial because Garuda will spawn two ads in Phase 2. Each tank (which can be referred to as Main Tank and Odd Tank) should care for each spawn. Healers should be absolute pros, especially for phase 4.
Avoid using your AF armor for Garuda. You should have some Darklight by now, and while a complete set isn’t necessary for the fight, possessing some pieces will assist everyone in the squad.
This is especially critical if you are the primary tank. If the group is under-geared, you will struggle to kill Garuda’s adds in time, and the party will be wiped.
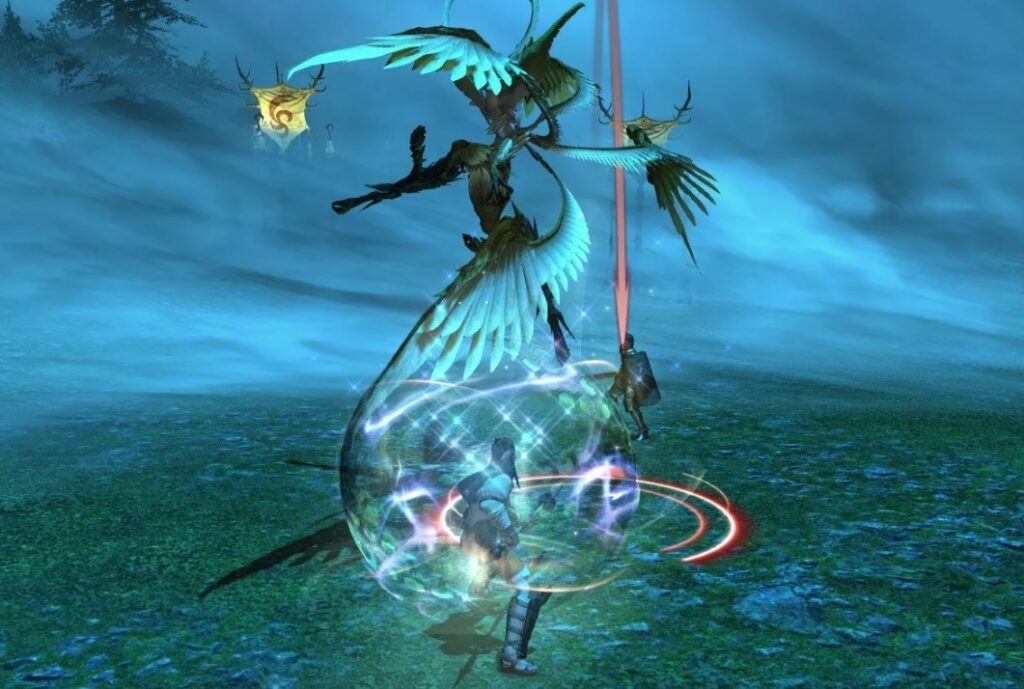
Walkthrough
Move Set
| Skill | Description | Counter | |
| Downburst
|
PHASE 1 | Performs an instant frontal cleave that deals a moderate amount of damage to all players in front of her. Occurs on all modes. | Avoid standing in front of her. |
| Friction | Unleashes a ranged attack that will damage a random player and all players near them. Damages stone pillars. Occurs on all modes. | Drag her away from the stone pillars and keep your distance. | |
| Wicked Wheel | Deals instant AoE damage to all players around her. Damages stone pillars. Occurs on all modes. | Drag her away from the stone pillars and keep your distance. | |
| Slipstream | Deals a large amount of damage and stuns the targets hit. Occurs on all modes.
|
While it is not telegraphed, it can still be dodged. | |
| Mistral Song | Vanishes and reappears on one side of the room, firing a blast of wind through the area. This skill deals hefty damage to all targets in her line of sight. Occurs on all modes. | Hide behind stone pillars. | |
| Aerial Blast | Teleports to the center of the room and casts this ability. The more damaged the stone pillars are, the more damage you will take. Occurs on all modes. | Protect the stone pillars throughout the battle. | |
| Eye of the Storm | They are used at the start of the second phase. Creates a whirlwind with an opening at the center of the room. Occurs on all modes. | Stay at the center of the room to avoid heavy damage from the swirling wind. | |
| Mistral Shriek |
PHASE 2 |
Unleashes an AoE ability that deals hefty damage to all players around her. Occurs on all modes. | Stand far away unless you are the tank. |
| Great Whirlwind | Releases a gigantic tornado that deals massive damage. | Avoid being caught. | |
| Eye of the storm | Shrieks the Arena. | n/a |
Adds
| Normal Mode | Razor Plume | Airy balls that damage the stone pillars and deal AoE damage to players. |
| Hard and Extreme Mode | Razor Plume | Deals damage to players. |
| Satin Plume | Casts sleep on the entire party. | |
| Suparna | Links Garuda with a red or green beam, increasing her damage or health. Casts Mistral Shriek if not put down quickly. | |
| Chirada | Links Garuda with a red beam or green beam, increasing her damage or health. Casts Mistral Shriek if not put down quickly. | |
| Extreme mode | Spiny Plume | Deals no damage but applies a debuff called “Thermal Low,” which can cause a party wipe if it reaches three stacks. |
Strategy
Normal Mode
Phase 1
Garuda’s Arena has four stone pillars surrounding the room. Protect them at all costs to survive her signature attack.
Tank Garuda against the far stone wall, keeping eyes open for Slipstream, which will hit you if you stand right in front of her.
When Garuda teleports to one side of the room, she will perform Arial Blast to the center of the room. If anyone is around, they will die, so make sure you place yourself behind the rocks. Each time she performs this attack, the stones will take damage, which means they will do less protection.
As soon as she spawns the Razor plumes, make sure you defeat them as quickly as possible to avoid losing the vital stone pillars.
Phase 2
Garuda will teleport to the opposite end of the room and cast Mistral Shriek when entering this phase. After this blast, the rocks will be destroyed. No more hiding now. The battle arena is narrowed down, and you will have to face all adds summoned by Garuda.
The way to deal with the lack of stone pillars is to move as far away from her as possible without stepping into the wind. Having a AAA healer is vital at this stage of the fight and an intense damage dealer that can end the fight quickly.
Hard Mode
Phase 1
Ensure that all members are geared up. The first phase is almost identical to that of the Normal Mode. Keep in mind that, although your goal is to keep Garuda against the central stone wall at the back to deal as much damage as possible, she will teleport every now and then. Teleports usually follow this order: North, Middle, East, Middle. Note that after each teleport, she will spawn Razor Plumes.
Phase 2
The only thing that reduces the damage of Mistral Shriek is how many rocks you have up by the time Phase 2 starts, so make sure you protect them.
At this point, Garuda will cast three massive tornadoes into the arena. You can still tank her at the corner left untouched by the tornadoes.
Right after, she will summon two adds: Suparna and Chirada. They will buff her damage or health. If the add’s color is red, it buffs her damage; if the add’s color is green, it buffs her health. The green add should be killed immediately, and then move on to the red one.
Then, many Razor Plumes and a Satin Plume will be spawned. While you can ignore Razor Plumes, you should target the Satin one.
Once this is over, she cast Eye of the Storm to shriek the arena. Adds will again be spawned but outside your area of reach. This means you will need to do ranged damage to defeat them.
Extreme Mode
Phase 1
In the first phase, you will have 20 seconds to pump up as much damage as possible. All attacks from Garuda deal way more damage than before, so be extra careful.
After this period, she will disappear, leaving you some time to hide behind the stone pillars. It would be best if you stepped away from her original spot every time she disappears, as this area will receive a debuff.
Then she will reappear to cast Mistral Shriek at the center of the room. The tank should take Garuda to the northernmost pillar while the rest of the groups scatter throughout the rest of the arena to reduce damage.
Garuda will spawn Razor and Satin Plumes, as she usually does. Priorize the Satin Plume and then go for the Satin ones. If you take too long, your pillars will be destroyed.
Phase 2
Both Chirana and Suparna will get spawned early. You should separate them into the North and South, as the closer they are to each other, the stronger the buff will be. Both adds should be killed before resuming Garuda. The party will be wiped if they are still alive when Garuda goes into Phase 3, so be careful.
Phase 3
Garuda will destroy the pillars with her skill and reduce the arena size. She will cast a new set of Plume’s, including the Spiny Plume, which should be ignored completely. Do not kill this plume until you no longer need it.
This strategy is a double-edged sword: it gives you an advantage, keeping you on your toes. The Spiny Plume’s target should be changed periodically to prevent it from stacking to three.
Garuda will eventually disappear to cast Mistral Shriek. Here is when Spiny Plume comes in. Target the Spiny Plumes with all your might and kill it as soon as she goes away. It will cast an AoE that can be avoided within the arena range when it dies.
Once the explosion occurs, a protective shield will appear. All players should jump inside to avoid taking damage from Garuda’s otherwise unavoidable Mistral Shriek.
Phase 4
Chirada and Suparna will be spawned together with a triad of whirlwinds during this phase. Tanks should be allocated in the Northeast and Southwest, while healers and ranged damage should go to the Northwest to avoid taking damage from the whirlwinds.
To make things worse, another Spiny Plume will spawn, which you will need to keep alive and keep an eye out on to avoid stacking debuffs. Once the rest of the adds are down, Garuda will disappear again. Repeat the strategy from the previous phase to survive Garuda’s AoE wipe.
Key Tip
Triangle Strategy: Garuda can get hard to beat, especially in Extreme Mode. A Triangle Strategy has been designed to take care of her and her adds. In this strategy, the Main Tank grabs Garuda, the Odd Tank grabs Suparna, and the DPS and healers grab Chirada.
Chirada’s auto attacks do virtually no damage, and Downburst’s damage is split between all targets hit (so instead of 2.5k nuke on the tank, it’ll tickle the 4-6 members for 300-500 apiece. paltry amounts of damage). The only thing to look out for is Slipstream, so avoid standing in the front.
FAQ
Question: At What Level Should You Fight Garuda?
Answer: The Normal Mode fight becomes available at level 40, but the Hard and Extreme ones at level 50. You should be fine as long as you bring the right gear and a well-communicated party with you.
Question: How Much Health Does Garuda Have?
Answer: Although Garuda’s Health Bar is always at 340,630, it certainly gets harder to DPS in the Hard and Extreme mode.
Question: What is Garuda’s Weakness?
Answer: Garuda’s only weak point is one-handed swords. Make sure one of your DPS players brings one to the fight.
Conclusion
This guide has walked you through every step of defeating Garuda, from accepting the unlocking quest to grabbing the rewards. By now, you should be fully prepared to go up against this wind-up beast and walk off with some shiny loot.