- Hermes FFXIV Guide - February 2, 2023
- Every Final Fantasy Game Ranked - January 28, 2023
- Hydaelyn FFXIV Guide: Facing your Maker - January 22, 2023
Introduction
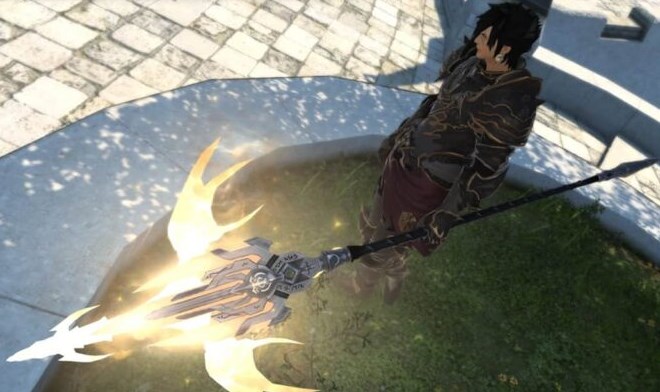
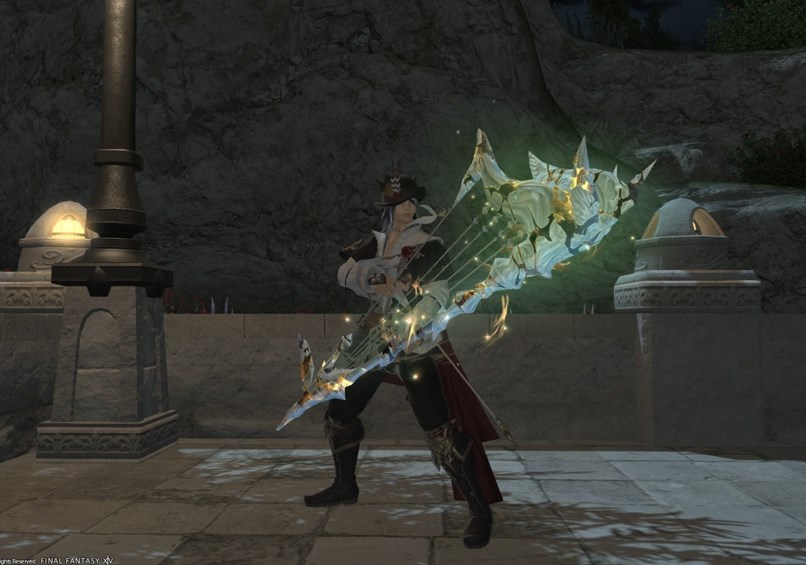
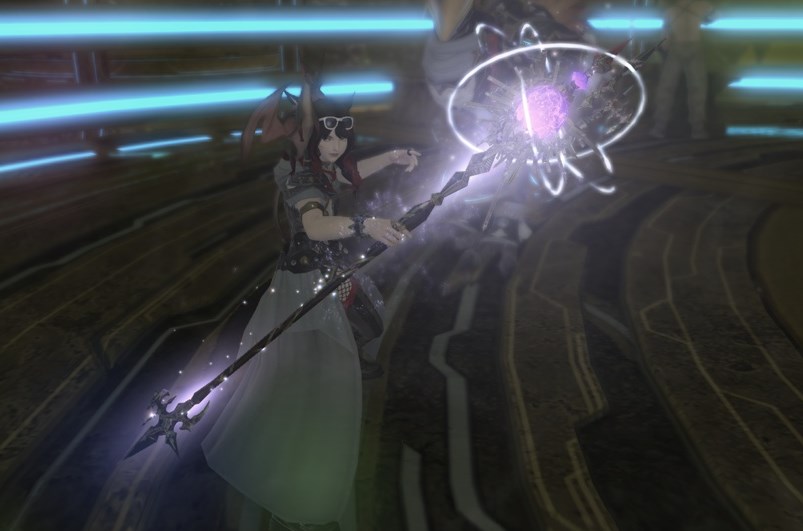
Final Fantasy XIV’s Anima Weapons are a series of relic weapons from Heavensward, the first expansion. Relic weapons are fancy upgraded weapons obtained by completing many chores for an enormous number of NPCs.
There are only two reasons to work on a relic weapon from a previous expansion: for achievements and shiny weapons. Also, poetics, the currency you will be spending to get your Anima Weapon, eventually, stop being useful – so why not pay them on a polished weapon?
All relic weapons are broken into multiple quests, and you will need to meet a series of requirements before you can progress to the next. This guide will go through all quests and their requirements in detail.
Key Info Up Front
As with most things in XIV, Anima Weapons are a slow burn – although the process can be rushed with some tricks outlined in this Anima Weapons FFXIV guide, patience is the most critical factor in completing Anima Weapons.
Managing your resources is a significant portion of completing an Anima Weapon from start to finish. Time, Poetics, Gil, and Company Seals can all be used.
Walkthrough
Base Weapon
Head towards Rowena’s Center for Cultural Promotion in Idyllshire, speak to Rowena (x:5.7, y:5.6), and accept the quest “An Unexpected Proposal.” She will ask you to go on a trip to and speak with Ardashir, a researcher who has been investigating the creation of artificial life─something he refers to as “anima.”
Yes, this fellow will be the one to craft your Anima Weapons. He and Gerolt that is. Gerolt, in turn, is a blacksmith capable of crafting a series of legendary weapons and relics throughout the game.
Thus, your quest to create one of the most potent and sought-after weapons begins.
Animated Weapon
Speak to Ardashir at the Alpha Quadrant, Helix (x:7.1, y:10.5) to begin the quest “Soul without Life,” which asks you to speak to a jeweler who can produce necessary materials for weapon crafting. The jeweler, in turn, will request that you bring her the raw materials.
For this quest, you will need 6 Luminous Crystals. They can be obtained by running FATEs in Heavensward areas. Note that you may not need to run them all to acquire the necessary materials.
| Luminous Crystal | FATE Area | FATEs | Coordinates |
| Luminous
Wind Crystal |
The Sea of Clouds | Anzu trois | (X:29, Y:35) |
| Mint Condition | (X:14, Y:37) | ||
| Food Fight | (X:28, Y:32) | ||
| Saved the Nests for Last | (X:20, Y:32) | ||
| Leech the Sky | (X:25, Y:35) | ||
| One Turned Over the Cloudkin’s Nest | (X:20, Y:32) | ||
| This Is How We Gundu | (X:34.2, Y:30) | ||
| A Long Way Down | (X:36, Y:33) | ||
| Youth Must Be Severed | (X:30, Y:30) | ||
| Hearts Like Steel, Fists Like Thunder | (X:29, Y:15) | ||
| The Fugitive | (X:28.5, Y:10.5) | ||
| Leather and Mace | (X:26, Y:10) | ||
| Zuns on the Run | (X:16.9, Y:9.6) | ||
| Obey their Thirst | (X:12.1, Y:12) | ||
| Bones | (X:23, Y:19) | ||
| On Dangerous Ground | (X:21, Y:13) | ||
| Come to My Window | (X:6, Y:20) | ||
| Let There Be Acolytes | (X:20, Y:23) | ||
| The Sound of Madness | (X:10, Y:25) | ||
| A Disturbing Lack of Faith | (X:20, Y:23) | ||
| You Eat What You Aren’t | (X:36, Y:8) | ||
| A Dream, Perchance to Eat | (X:21.6, Y:6.3) | ||
| Guano a Mano | (X:36.4, Y:36.4) | ||
| Bismarcking Time | (X:20, Y:23) | ||
| Rebel Yehl | (X:37, Y:14) | ||
| Luminous
Fire Crystal |
Azys Lla | Slay enemies | (X:36, Y:29) |
| A Bug’s Death | (X:18.1, Y:18.5) | ||
| The Late Escape | (X:19, Y:7) | ||
| Life of Brain | (X:30, Y:7) | ||
| Phi Slamma Gamma South | (X:28, Y:38) | ||
| Phi Slamma Gamma West | (X:28, Y:38) | ||
| A Room Without Books | (X:13, Y:29) | ||
| The Monster Mass | (X:37, Y:6) | ||
| No Greater Goryshche | (X:12, Y:33) | ||
| Prey Online | (X:38, Y:18) | ||
| Curiously Strong Things | (X:30, Y:11) | ||
| The Mystery Machine | (X:38, Y:24) | ||
| Out of Sight, Out of Mind | (X:9.5, Y:21.3) | ||
| Put the Knives Down | (X:34, Y:36) | ||
| Rampant Speculation | (X:25, Y:29) | ||
| Do Spinners Dream of Electric Rooks | (X:12, Y:13) | ||
| The Root of Evil | (X:34, Y:9) | ||
| Pet, Smart | (X:35, Y:12) | ||
| Scared Sylla | (X:34, Y:36) | ||
| Still Ticking | (X:18, Y:12) | ||
| Harvest Moon | (X:12, Y:18) | ||
| Yak It Up | (X:6, Y:34) | ||
| Luminous
Lighting Crystal |
The Churning Mists | Wave Good-bye | (X:27, Y:32) |
| Corporal Pomishment | (X:20, Y:23) | ||
| Sprite Club | (X:33, Y:34) | ||
| Aevis Has Left the Building | (X:17, Y:32) | ||
| Whole Food | (X:29, Y:23) | ||
| End of the Rainbow | (X:13, Y:24) | ||
| Supper Time | (X:36, Y:32) | ||
| Vouivre Believre | (X:25, Y:19) | ||
| Glycon Air | (X:32, Y:25) | ||
| The Nuts | (X:30, Y:27) | ||
| Ain’t Misbehaving | (X:17, Y:31) | ||
| It’s the Moogle, Reinvented | (X:19, Y:28.8) | ||
| How to Cane Your Dragon | (X:17, Y:32) | ||
| Waugyl Waugyl Waugyl | (X:33, Y:16) | ||
| Asah, I Came, I Conquered | (X:21, Y:29) | ||
| Mogicide | (X:22, Y:21) | ||
| Say it Tulihand | (X:27, Y:20) | ||
| Coin Toss | (X:34, Y:21) | ||
| Waiting for Fjalar to Stall | (X:13, Y:21) | ||
| From Dusk Till Gone | (X:20, Y:17) | ||
| Darkscale Descendeth | (X:18, Y:12) | ||
| Infamous | (X:12.1, Y:25.5) | ||
| Darkscale Disappeareth | (X:18, Y:12) | ||
| Rastaban Vibration | (X:14, Y:13) | ||
| Darkscale Devoureth | (X:18, Y:9) | ||
| Treehouse of the Spirits | (X:8, Y:14) | ||
| Vedrfolnir Devoteth | (X:11, Y:36) | ||
| As the World Burns | (X:25, Y:8) | ||
| Don’t Know Wyvern | (X:8, Y:17) | ||
| Luminous
Ice Crystal |
Coerthas Western Highlands | What You See Is What You Get | (X:30, Y:28) |
| Null and Void | (X:31, Y:32) | ||
| Follow the Sleet | (X:33, Y:14) | ||
| Dawn of the Mylodons | (X:30, Y:21) | ||
| Sugar, Sugar | (X:26, Y:18) | ||
| Land of the Freeze | (X:24, Y:22) | ||
| No Ifs, Ands, or Butts | (X:31, Y:32) | ||
| A Dung Deal | (X:31, Y:31) | ||
| One Whiskey, One Goat, One Spear | (X:27, Y:26) | ||
| Panic Rheum | (X:26, Y:18) | ||
| Apparent Trap | (X:27, Y:14) | ||
| Run, Riders, Run | (X:31, Y:34) | ||
| Don of the Mylodons | (X:30, Y:21) | ||
| Eye in the Sky | (X:27, Y:31) | ||
| In Command | (X:17, Y:13) | ||
| We Fought a Dzu | (X:20, Y:33) | ||
| Unsilent Vigil | (X:19, Y:14) | ||
| Requiem for a Dragon | (X:13, Y:19) | ||
| Pico de Gallows | (X:19, Y:14) | ||
| Sick Pack | (X:12, Y:10) | ||
| Abominable Me | (X:8, Y:10) | ||
| The Polar Express | (X:16, Y:20) | ||
| Dishonored | (X:17, Y:22) | ||
| True Convictions | (X:19, Y:21) | ||
| A Stihi Situation | (X:12, Y:23) | ||
| Sphenopalatine Ganglioneuralgia | (X:23, Y:27) | ||
| Luminous
Earth Crystal |
The Dravanian Forelands | Dead Meat | (X:24, Y:20) |
| Ladies First | (X:35, Y:26) | ||
| Drone Under | (X:26, Y:33) | ||
| The Rite Stuff | (X:26, Y:13) | ||
| Nothing but the Truth | (X:25, Y:22) | ||
| Who’s the Moss | (X:35, Y:17) | ||
| Glawackus On, Glawackus Off | (X:36, Y:8) | ||
| The Whole Truth | (X:24, Y:21) | ||
| By the Horns | (X:34, Y:31) | ||
| The Migas Touch | (X:22, Y:31) | ||
| Long Live the Coeurl | (X:35, Y:25) | ||
| Birds of a Feather | (X:32.8, Y:19.6) | ||
| Bear Apparent | (X:30, Y:16) | ||
| Run, Run Away | (X:38, Y:20) | ||
| Hearing Voices | (X:13, Y:18) | ||
| Cerf’s Up | (X:19, Y:27) | ||
| The Mourning After | (X:18, Y:6) | ||
| El Miacid | (X:22, Y:33) | ||
| Stamp the Yard | (X:15, Y:20) | ||
| Elephant in the Brume | (X:16, Y:35) | ||
| Special Tarasque Force | (X:13, Y:36) | ||
| Ware the Maiden Fair | (X:12, Y:38) | ||
| Come to My Arms | (X:27, Y:8) | ||
| Coeurls Chase Boys | (X:27, Y:21) | ||
| Coeurls Chase Boys Chase Coeurls | (X:12, Y:10) | ||
| Luminous Water
Crystal |
The Dravanian Hinterlands | Silkworm | (X:14, Y:19) |
| Metal Gears Revengeance 2 | (X:31, Y:22) | ||
| Tome Raider | (X:13, Y:23) | ||
| Olympus Has Pollen | (X:23, Y:25) | ||
| Pop Goes the Whizzle | (X:21, Y:18) | ||
| Sun Bear, Sun Bear, What Do You Eat | (X:16, Y:22) | ||
| Dobharch Did It for the Best | (X:28, Y:26) | ||
| Toss ‘Em Back | (X:11, Y:31) | ||
| On Melancholic Hill | (X:12, Y:23) | ||
| Metal Gears Rising | (X:32, Y:24) | ||
| Tarantula Hawk, Pro Stinger | (X:21, Y:16) | ||
| Feed Me, See More | (X:36, Y:24) | ||
| Wild Wilde Death | (X:33, Y:26) | ||
| Out of the Woodwork | (X:10, Y:25) | ||
| Revenge of the Vengeful Revengeance | (X:22, Y:18) | ||
| The Bear Up There | (X:7, Y:20) | ||
| Gets the Red Out | (X:38, Y:22) | ||
| Ratel and Hum | (X:37, Y:25) | ||
| Metal Gears Revengeance | (X:32, Y:22) | ||
| The Birds and the Bears | (X:14, Y:29) | ||
| Infant Vangob | (X:26, Y:23) | ||
| Poroggo Stuck | (X:10, Y:30) | ||
| Frog Days of Summer | (X:20, Y:37) | ||
| Toad Alone | (X:11, Y:34) | ||
| How Do You Feed a Hungry Manlike Monster | (X:14, Y:36) | ||
| Makes the Very Best…Nests | (X:26, Y:34) | ||
| Cockatrice Block | (X:25, Y:38) | ||
| Morbol Man | (X:13, Y:31) | ||
| Come Shells or High Water | (X:15, Y:33) |
With the 6 Luminous Crystals, head back to Sydony and exchange the crystals for the required Nodules. Taking the Nodules back to Ardashir will grant you an Animated Weapon.
Awoken Weapon
Speak to Ardashir again to begin your next quest, “Toughening up.” This time, you will need to clear every dungeon from Snowvault to The Vault using this weapon.
Technically, you don’t need to use the weapon inside the dungeon as long as you exit with your Animated Weapon equipped. If you have something with higher stats that can help you clear the requested ten dungeons faster, go for it.
Snowcloak
- Location: Coerthas Central Highlands (X:3, Y:21)
Bosses:
- Wandil: In theory, you can avoid the freeze stacks by moving whenever the wind blows. It can cast Snow Drift, and then 3-5s later, the wind comes.
- Make sure you kill adds and avoid touching the frozen edge, as it will cause you to freeze
- Yeti: Aim his giant frontal cone at the fuzzies to turn them into snowballs. Make sure a tank takes him to a wall and then turns around to blast the whole zone at once.
- Make sure you put down the big add that kills snowballs and fuzzies and hit Yeti with giant snowballs. When he starts using Ripples, hit him with a snowball.
- Fenrir: Be wary of the three ice pillars that eventually drop as two make attacks and explode immediately. Every time they drop, Fenrir performs Lunar Cry as well, so hide behind the remaining pillars.
Sastasha (Hard)
Location: Western La Noscea (X:28, Y:21)
Bosses:
- Karlabos: Make every effort to interrupt his Tail Screw attack. The tank will get first, and a DPS should get second. His Prey attack targets the tank.
- Captain Madison: Make sure you kill the adds. When he targets a player and starts firing, hit him to interrupt him. The third time he adds a spawn, stay on him as he will begin his constant barrage. When he flees, the Slaves will grab a player’s ankles and lock them in place; kill those first.
- Kraken: Ignore the tentacles; they target the boss’ center. Make sure you kill the arms, which will cast tornados. When he cannot defend himself, hit him in the face.
The Sunken Temple of Qarn (Hard)
Location: Southern Thanalan (X:25, Y:12)
Bosses
- Damaged Adjudicator: Make sure you kill the significant part of the boss in each round and beat the adds. The quicksand runs out, so be careful.
- Sabotender Emperatriz: When the boss starts counting, hit it to interrupt the countdown. Kill the adds, especially Guardia, who tends to be tethered to the boss.
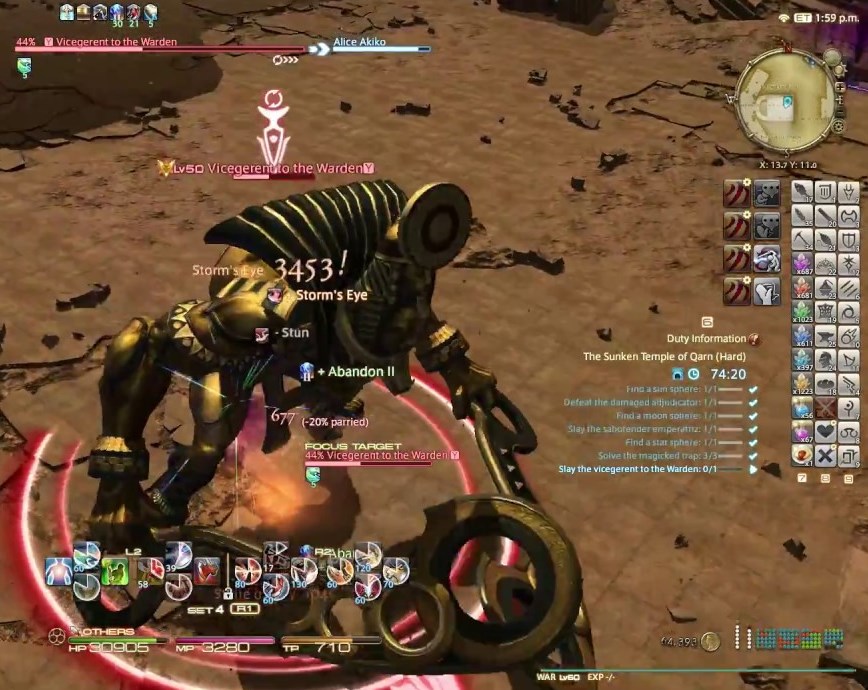
- Vicegerent To The Warden: Avoid the mummies at all costs (even party members). Light of Anathema is an untelegraphed AoE with mummy stacks. If the boss is looking at you when performing this attack, just run sideways.
Keeper of the Lake
Location: Mor Dhona (X:28, Y:14)
Bosses:
- Einhander: This boss’ adds drop canisters that explode after the boss’ AoEs hit them, which can cause a chain reaction by igniting others. Make sure you knock these away from the boss.
- Magitek Gunship: His frontal cone hits after the mark disappears, so don’t run back in like usual. He drops a trail of AoE circles in different patterns and often targets a player and beelines for them, so make sure you bait him to the edges.
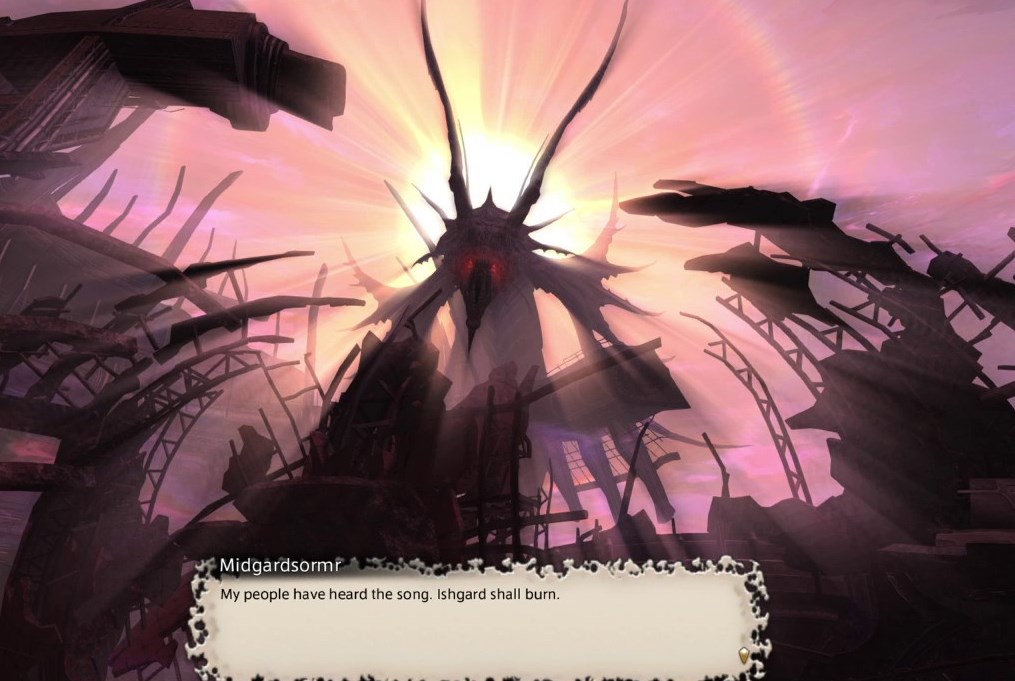
- Midgardsormr: Focus on killing the dragons that make the boss invulnerable and target him.
Wanderer’s Palace (Hard)
Location: Upper La Noscea (X:26, Y:22)
Bosses:
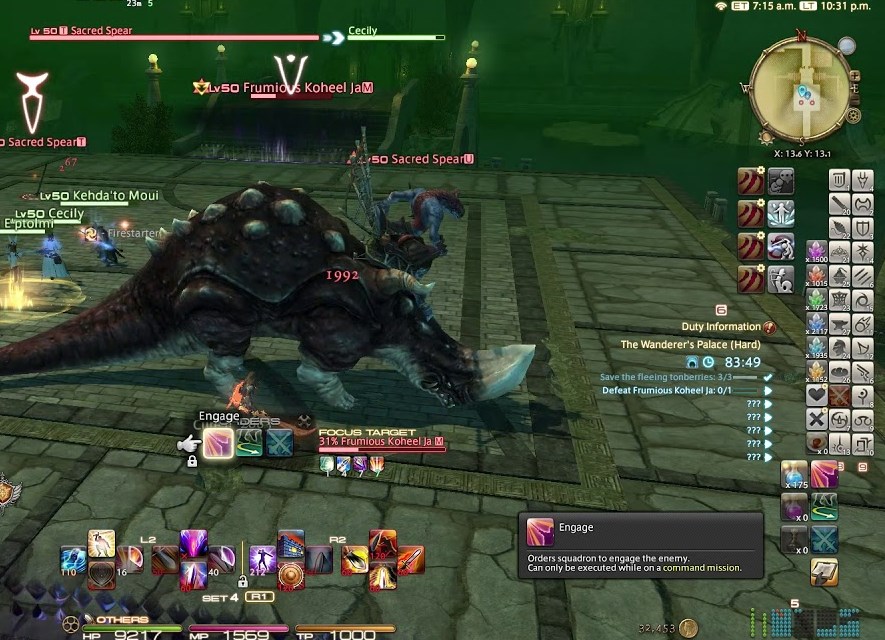
- Frumious Koheel Ja: Make sure you kill the spears that come as you deplete the boss’ HP. If you just burn the boss, too many spears will appear, which results in too many debuffs and then death.
- Slithy Zolool Ja: This boss summons totems that may grant buffs; if they are not claimed after a while, he will recall them and gain the buffs himself.
- Manxome Molaa Ja Ja: He multiple banners on the ground during the fight, which will buff his defense. Make sure your tank pulls the boss away from the banners.
Amdapor Keep (Hard)
Location: South Shroud (X:24, Y:24)
Bosses:
- Anchag: When he targets you with the beam, hide behind a statue. If possible, stun the beam before it is unleashed.
- Boogyman: When the boss goes invisible, burn the Luminescense, stand in the AoE to get the buff, and then stand next to the (invisible) boss. If adds are spawned, prioritize killing the big one.
- Ferdiad: This boss drops a slime add on your head that locks you in place while also aiming a growing AoE at you; kill the add so you can move out and stop the spread of his AoE.
The Dusk Vigil
Location: Coerthas Western Highlands (X:20, Y:7)
Bosses:
- Towering Oliphant: Towering Oliphant marks a player, then stuns them. Its charge attack deals damage relative to your distance, so get as far away as possible.
- Ser Yuhelmeric: Make sure you keep the boss away from adds; they buff him. Watch out for room-wide AoE with a safe spot near the boss.
- Opinicus: When the Whirlwind spawns in the middle, run behind a pile of rubble.
Sohm Al
Location: The Dravanian Forelands (X:8, Y:6)
Bosses:
- Raskovnik: If the adds are devoured, the boss gets damage stacks. This might be tempting, but instead, ignore adds and burn the boss.
- Myath: The key to dominating this battle is the marks. Make sure you stack on red marks and spread on the blue marker. Prioritize killing the big add to avoid AoE damage.
- Tioman: When you spot meteor marks, run to the edge; get far away once the mark disappears. Target the wings.
The Aery
Location: Foundation (X:7, Y:10)
Bosses:
- Rangda: Make sure you drag the lines to the pillars and kill the adds.
- Gyascutus: The adds leave Tears behind on walls, which you should avoid touching.
- Errn Scorh: Avoid the marching adds and kill them as soon as possible.
The Vault
Location: The Pillars (X:11, Y:7)
Bosses:
- Ser Adelphel: When the floor turns into ice, slide on the backside to avoid AoE damage. Defeat the adds first.
- Ser Grinnaux: Kill the add to get a tethered orb, which you should then drag orb into the boss to make him vulnerable again.
- Ser Charibert: Ser Charibert has a light system that needs to be dissipated. The number of lights on the platform represents the number of players that need to stand on it to lock it simultaneously.
- 1 light = all platforms need to be touched
- 2 lights = half platforms
- 3 lights = 2 platforms
| TIP: | |
| This is a good downtime activity – do it before bed or while watching a show or something. | |
Head back to Ardashir once you have cleared all dungeons to get your Awoken Weapon, which is more or less the same weapon, only it now has some cool-looking visual effects.
Anima Weapon
Speak to Ardashir again and accept the “Coming Into Its Own” quest.
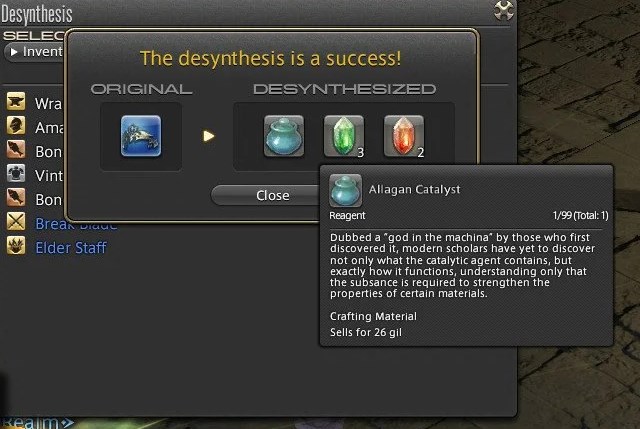
Ready for some grinding? Well, you will have to be. To complete this quest, you will have to get an Enchanted Rubber, a Fast-drying Carboncoat, Divine Water, and a Fast-acting Allagan Catalyst from Cristiana, a merchant located at the Revenant’s Toll (x:21.4, y:5.5). Ah, if only she traded these items for Gil. She, in turn, wants you to grab some exotic materials for her.
| Item provided in exchange | Unidentifiable needed (10x) | Craftable needed (4x) |
| Enchanted Rubber | Unidentifiable Bone | Adamantite Francesca |
| Fast-drying Carboncoat | Unidentifiable Shell | Titanium Alloy Mirror |
| Divine Water | Unidentifiable Ore | Dispelling Arrow |
| Fast-acting Allagan Catalyst | Unidentifiable Seeds | Kingcake |
Though they can be crafted or purchased with Gil, poetics, lore, or esoterics, the optimal strategy here is to go for company seals. Each item will cost you 5000 company seals each, but it will ultimately save you time and effort.
Give these god-forsaken items to Cristiana, and she will hand you the items Gerolt required.
Hyperconductive Weapon
Return to and accept “Finding Your Voice” from Ardashir. You’ll need 5 Aether Oil. The optimal strategy here is to do repeatable weekly quests and poetics.
If you complete the Crystal Tower Weekly quest “The Gift of the Archmagus” from Koh Rabntah at Mor Dhona (X: 21.8 Y: 8.1), you will get one, which saves 350 poetics.
You can also buy these items in exchange for 350 poetics from Hismena, which will be located in Idyllshire (X: 5.8, Y: 5.4).
With five bottles in hand, return to Ardashir and get your Hyperconductive weapon.
Reconditioned Weapon
Ardashir will hand you the quest “A Dream Fulfilled.” This quest will help you allocate the stats of your relic. Before that, you will need to get 60-80 Crystal Sand and 60-80 Umbrite to create Treated Crystal Sand, the necessary catalyst for the process.
Umbrite can be obtained in exchange for 150 Lore tomes from Hismena in Idyllshire (X:5.8 Y:5.1).
Crystal Sand can be obtained by offering several different items to Ulan. You can check what items are required to obtain Crystal Sand by looking at Ulan’s Note obtained from Ulan during the first steps of the quest. You’ll find it in the Key Items section of your inventory. Each trade grants 2 Crystal Sand.
If you have a high-level gatherer, complete the Custom Deliveries, thus capping out on yellow crafter scrips, turning them in for Rowena’s Token (Blue Crafters’ Scrip) in Idyllshire, and in turn, trade them in with Ulan for two Crystal Sand per five tokens (125 Yellow Crafter Scrips).
After you have completed the quest and acquired your ilvl 240 Anima Weapon relic, you can reallocate the stats of your weapon should you feel the need. It’s a simple process, and it only requires Crystal Sand, no Umbrite.
Sharpened Weapon
Accept the quest “Future Proof” from Ardashir, who will ask you to get 50 Singing Clusters.
You can obtain Singing Clusters by purchasing them from Hismena, completing the Weekly Quest Seeking Inspiration, or the Daily Ques Cut from a Different Cloth.
This step shouldn’t take too long. You should do the Weekly Quest, which requires you to complete three Duty Roulette: Leveling. The other 32 Singing Clusters are only 1280 poetics.
Once finished, return to Ardashir and get a glowing version of the Reconditioned Weapon.
Complete Anima Weapon
Accept the quest “Born Again Anima” from Ardashir, who will first ask you to clear three level 60 dungeons: The Lost City of Amdapor (Hard), The Great Gubal Library (Hard), and Sohm Al (Hard).
Once you have cleared these dungeons, you will have to pick up two additional quests: one asks you to bring 15 Pneumites, and the other sends you off to acquire Aetheric Density by completing duties with the weapon equipped.
One asks you to bring it 15 Pneumites (see above on how to get them), the other sends you off to acquire 2000 units of Aetheric Density by completing duties with the weapon equipped.
You can purchase the Pneumites from Hismena; they cost 100 poetics each.
As for the Aetheric Density farming bit, you will need to grind your way through it. With your weapon equipped, you can earn aetheric density by running various Heavensward activities, including FATEs, dungeons, trials, and raids.
| Tier | Amount needed | Location |
| Vague | 4 | Heavensward FATEs |
| Meager | 16 | The Limitless Blue (Hard) and Extreme
Thok ast Thok (Hard) and Extreme |
| Vigorous | 32 | Alexander Creator (9-12) Normal raids
Heavensward Minstrel’s Ballad trials |
| Robust | 48 | Heavensward dungeons
ARR lv 50 dungeons |
| Sturdy | 64 | Heavensward Alliance raids |
| Hardened | 96 | Alexander Creator (9-12) Savage raids |
| Stalwart | 128 | Possible bonus from Alexander Creator (9-12) Savage raids |
| Nigh Unyielding | 2000 | Upon completion |
With both quests completed, head back to Ardashir to receive your Complete Anima Weapon! Their glows have unique designs, and all of them look great.
Lux Anima Weapon
If you thought that was the last step, you were wrong. There is still one more thing to do before your Anime Weapon is complete.
Ardashir will ask you to complete two one-time fetch quests: “Body and Soul” and “Words of Wisdom.” Then, you will receive your final quest, “Best Friends Forever,” which asks you to complete 12 trials with your Anima Weapon:
| Trial | Boss | Level | Tips |
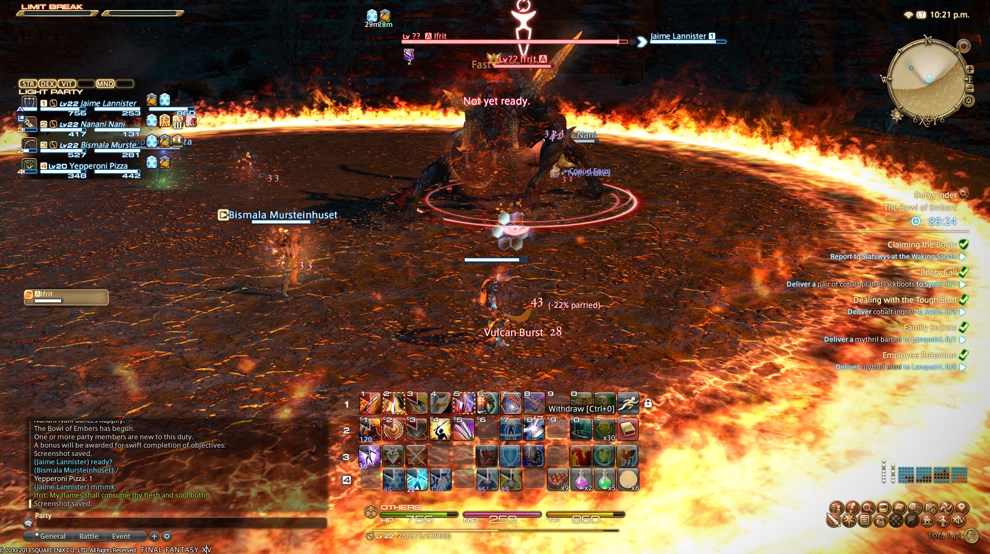
| The Bowl of Embers | Ifrit | 50 | When Ifrit reaches certain health thresholds, he will spawn Infernal Nails, which should be destroyed immediately. |
| The Howling Eye | Garuda | 50 | Throughout the fight, Garuda will spawn feathers that attack the pillars. Destroy the feathers, as you will use pillars to avoid her abilities.
Eventually, she will clear out all pillars and spawn whirlwinds around the arena. Dodge them, and she will spawn two adds which will thether to her. Make sure you clear the green tether first and then the red. |
| The Navel | Titan | 50 | Never stand in front of Titan unless you are the one tanking it.
I am falling off means permadeath in this battle. Titan will leap into the air and damage the arena at certain thresholds. This will make the arena smaller and smaller each time. He will also perform some attacks that could easily knock you off the hall, so be on the lookout. |
| Thornmarch | Good King Moogle Mog | 50 | The fight begins with individual moogles. Defeat them consecutively until King Mog appears.
Instead of targetting him, the main tank should take King Mog, the Paladin Moogle, and the Warrior Moogle to one edge of the room. The rest of the group should kill the remaining moogles. Once they are defeated, bring back the King and beat him. |
| The Whorleater | Leviathan | 50 | Leviathan will spawn various adds. Take them all out right away, especially caster enemies.
Leviathan will split early into the fight: attack its head or tail. The head represents physical range damage; the tail represents magic. Target accordingly. |
| The Striking Tree | Ramuh | 50 | Ramuh has a potent tank buster, so avoid being in front of him.
If he freezes a player with Chaotic Strike, unfreeze them using thunderbolt. Kill spawns immediately and do not stand in the water. |
| Akh Afah Amphitheatre | Shiva | 50 | Most of the fight consists of avoiding AoE. Make sure you kill the spawned Ice soldiers. |
| Thok ast Thok | Ravana | 53 | The platform is relatively small, and the fences can break with Ravana’s attacks. Be careful of knockback damage.
|
| The Limitless Blue | Bismarck | 57 | The two cannons on the sides of the platform will help you bring down Bismarck. Get the Bismarck gauge to zero before the Island Integrity gauge dies down. Click the Field Generator whenever Bismarck goes down. |
| Containment Bay S1T7 | Sephirot | 60 | When Sephirot turns at a random player, get behind him as he is about to deal massive frontal damage. To dissuade his vulnerability, kill all adds. |
| Containment Bay P1T6 | Sophia | 60 | Look out for AoE magic attacks and dodge them. |
| Containment Bay Z1T9 | Zurvan | 60 | Don’t stand on the glowing platform. Make sure you kill the casters first. |
You will need to purchase an Archaic Enchanted Ink with 500 Allagan Tomestone of Poetics from Hismena in Idyllshire.
Return to Ardashir with the Archaic Enchanted Ink, turn it in, and reward you with the final relic weapon in Heavensward!
FAQ
Question: Are Anima weapons worth it?
Answer: Stats-wise, Anima weapons can easily be replaced for other weapons later in the game. However, if you are looking for a glamorous weapon and motivation to complete most of the game’s side content, you are in for a treat.
Question: How do I get Company Seals?
Answer: If you have not already, get in the habit of turning dungeon gear to your Grand Company for company seals. They can be spent on a myriad of valuable resources and can save you a ton of poetics or Gil when it comes to specific stages of Anima Weapons. If you’re not ranked up far enough to do that… now’s a good chance!
Question: How can I get Anima Weapons?
Answer: Anima Weapons are acquired through a quest chain that is unlocked at level 60 for Disciples of War and Disciples of Magic, who have completed the Main Quest Scenario Heavensward.
Conclusion
The Anima Weapon questline to obtain the relic is much more enjoyable than what other relic’s have to offer. That being said, it does require loads of effort to get to the final step.
Also, if you do not push yourself to complete the weapon in a rush, you can acquire poetics passively as you play along. Doing it that way lets you finish it without any real effort being put into it.
It really is a choose your own adventure situation, but you will always have a glamorous, cool-looking weapon at the end.


