

- Final Fantasy XVI Curiosities Guide - July 23, 2023
- Final Fantasy XVI The Dame Guide - July 14, 2023
- Final Fantasy XVI Eikon Guide - July 13, 2023
Final Fantasy XIV is an MMORPG, and due to its nature, I would consider it a live service game. As such, it has to constantly push new updates, content, and more to keep the player base engaged, gladly paying their monthly fee – which I do.
Version 6.2 of Final Fantasy XIV was released, and a few new additions came. A new dungeon, raids, and the topic in question, a new trial fight called Storm’s Crown. Be advised that if you still haven’t drifted through 6.2 content, you will face spoilers here.
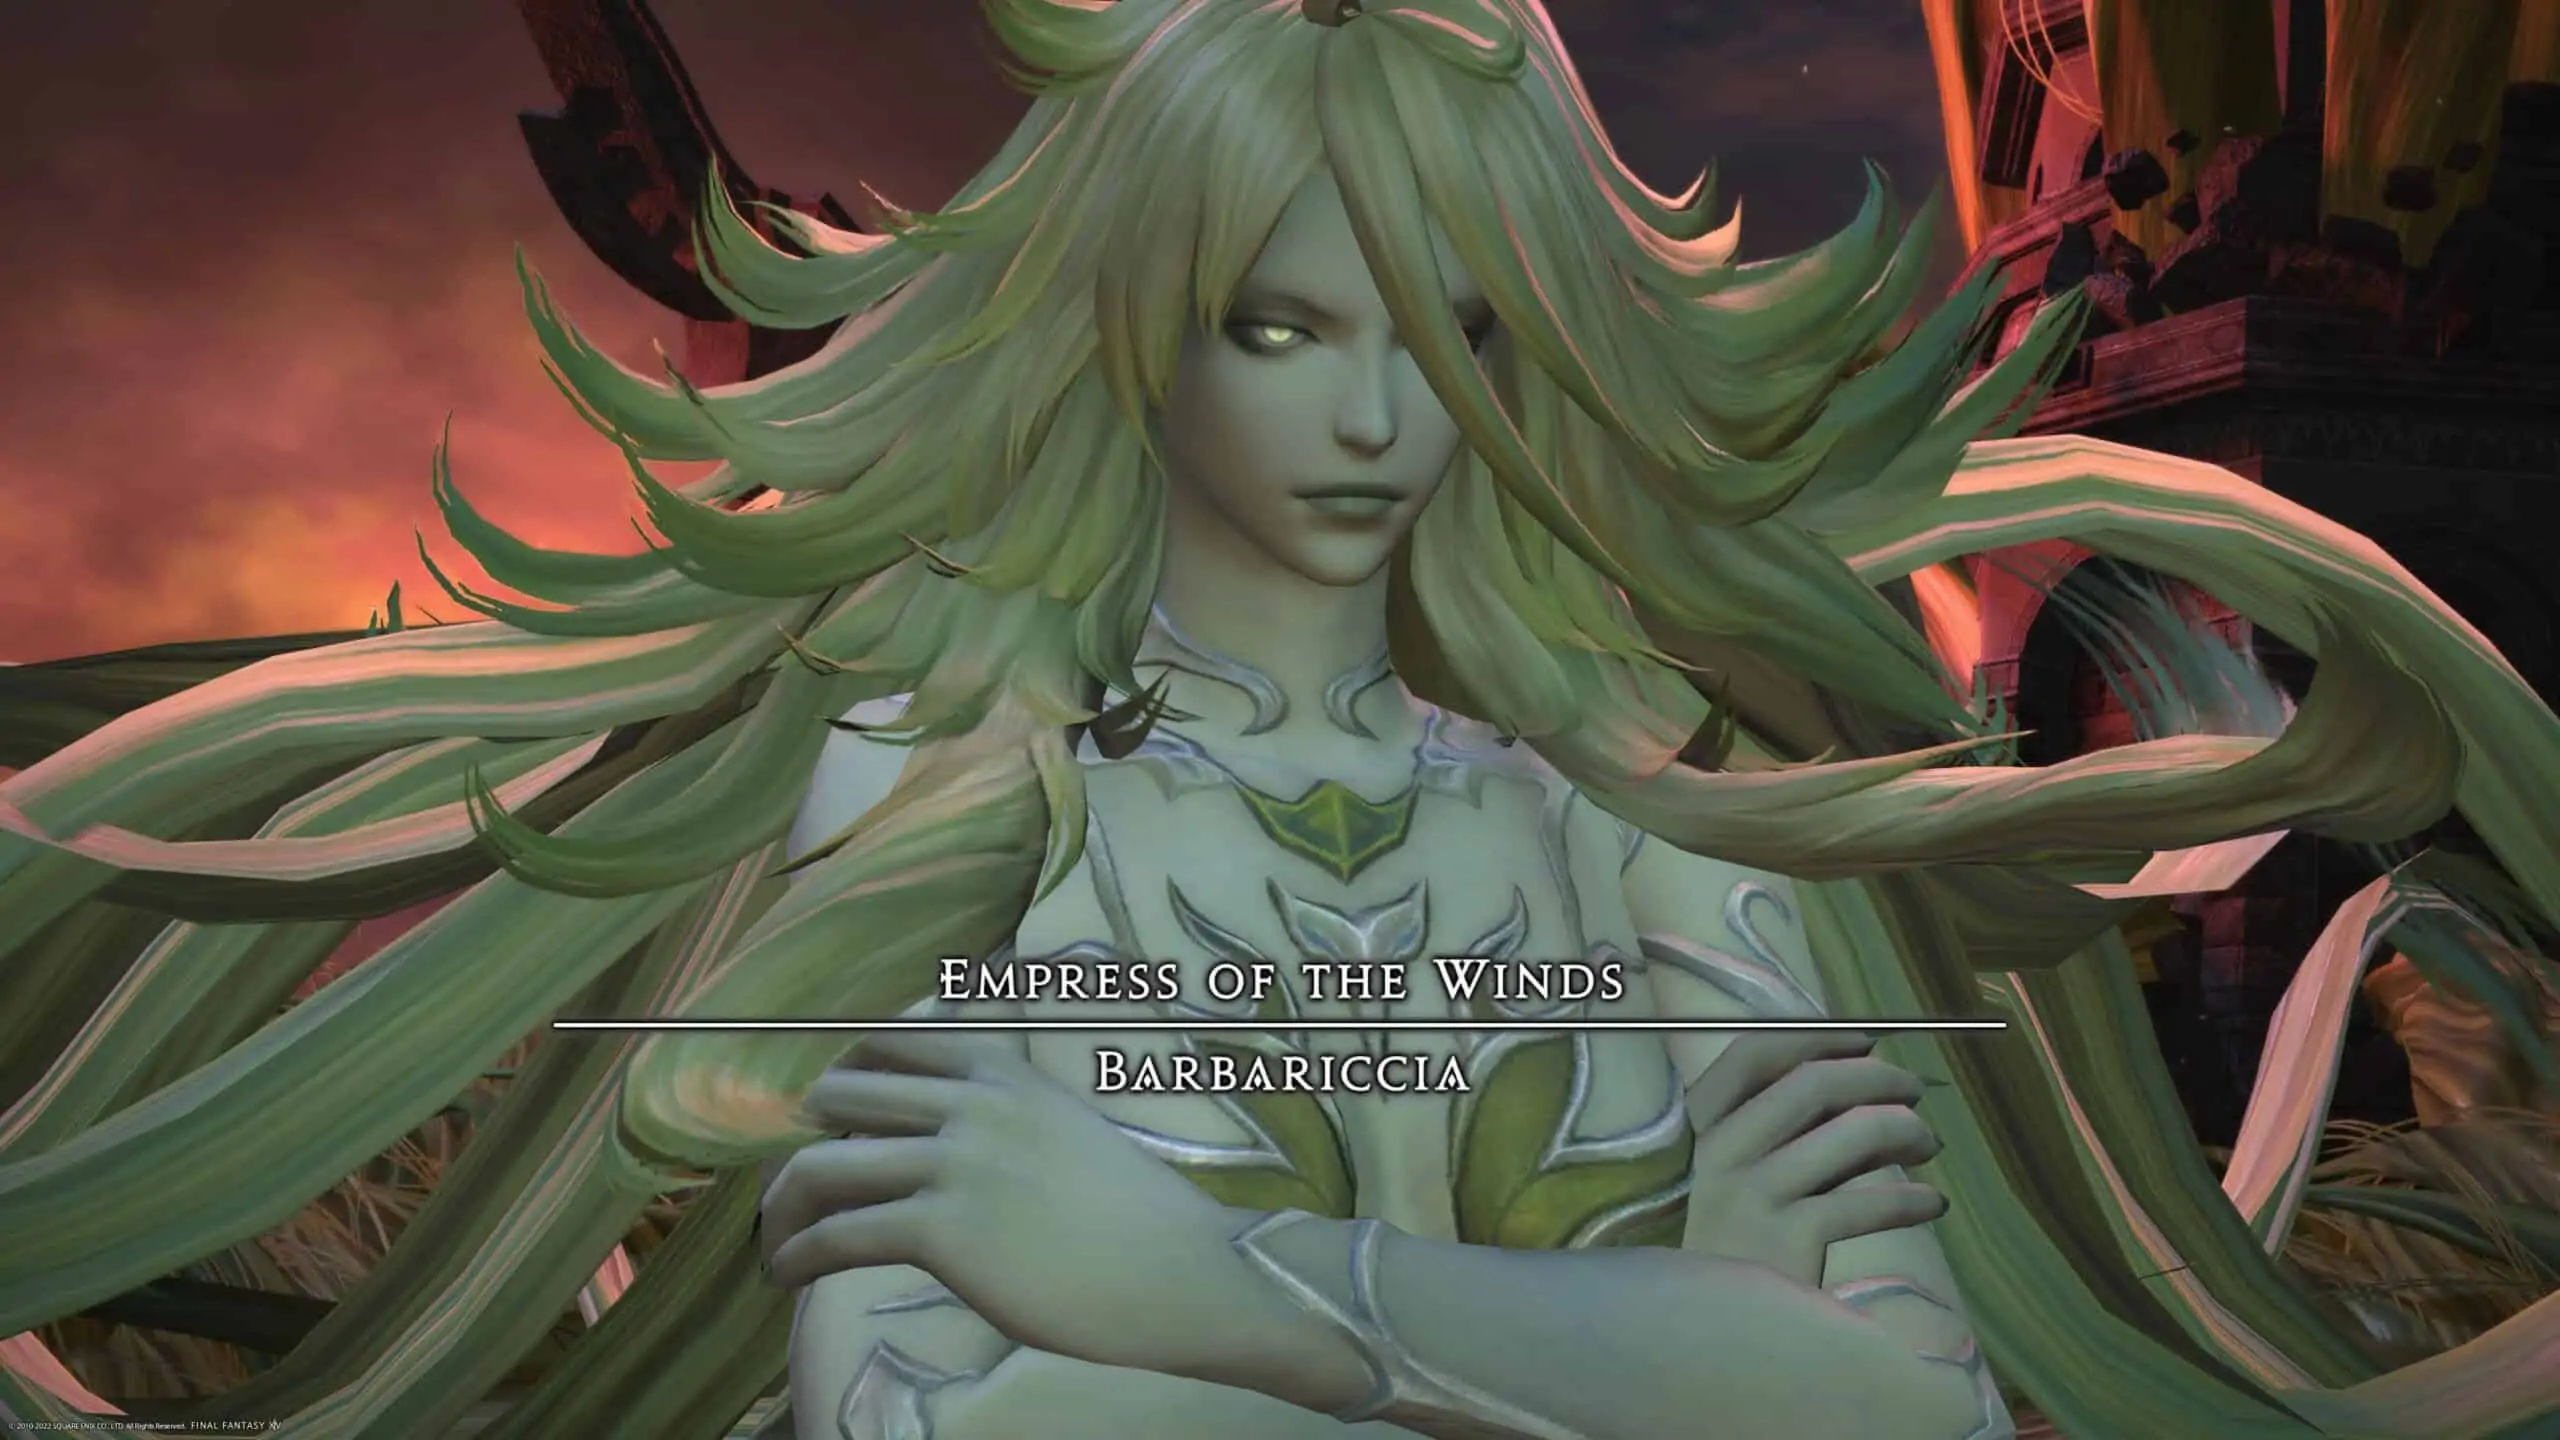
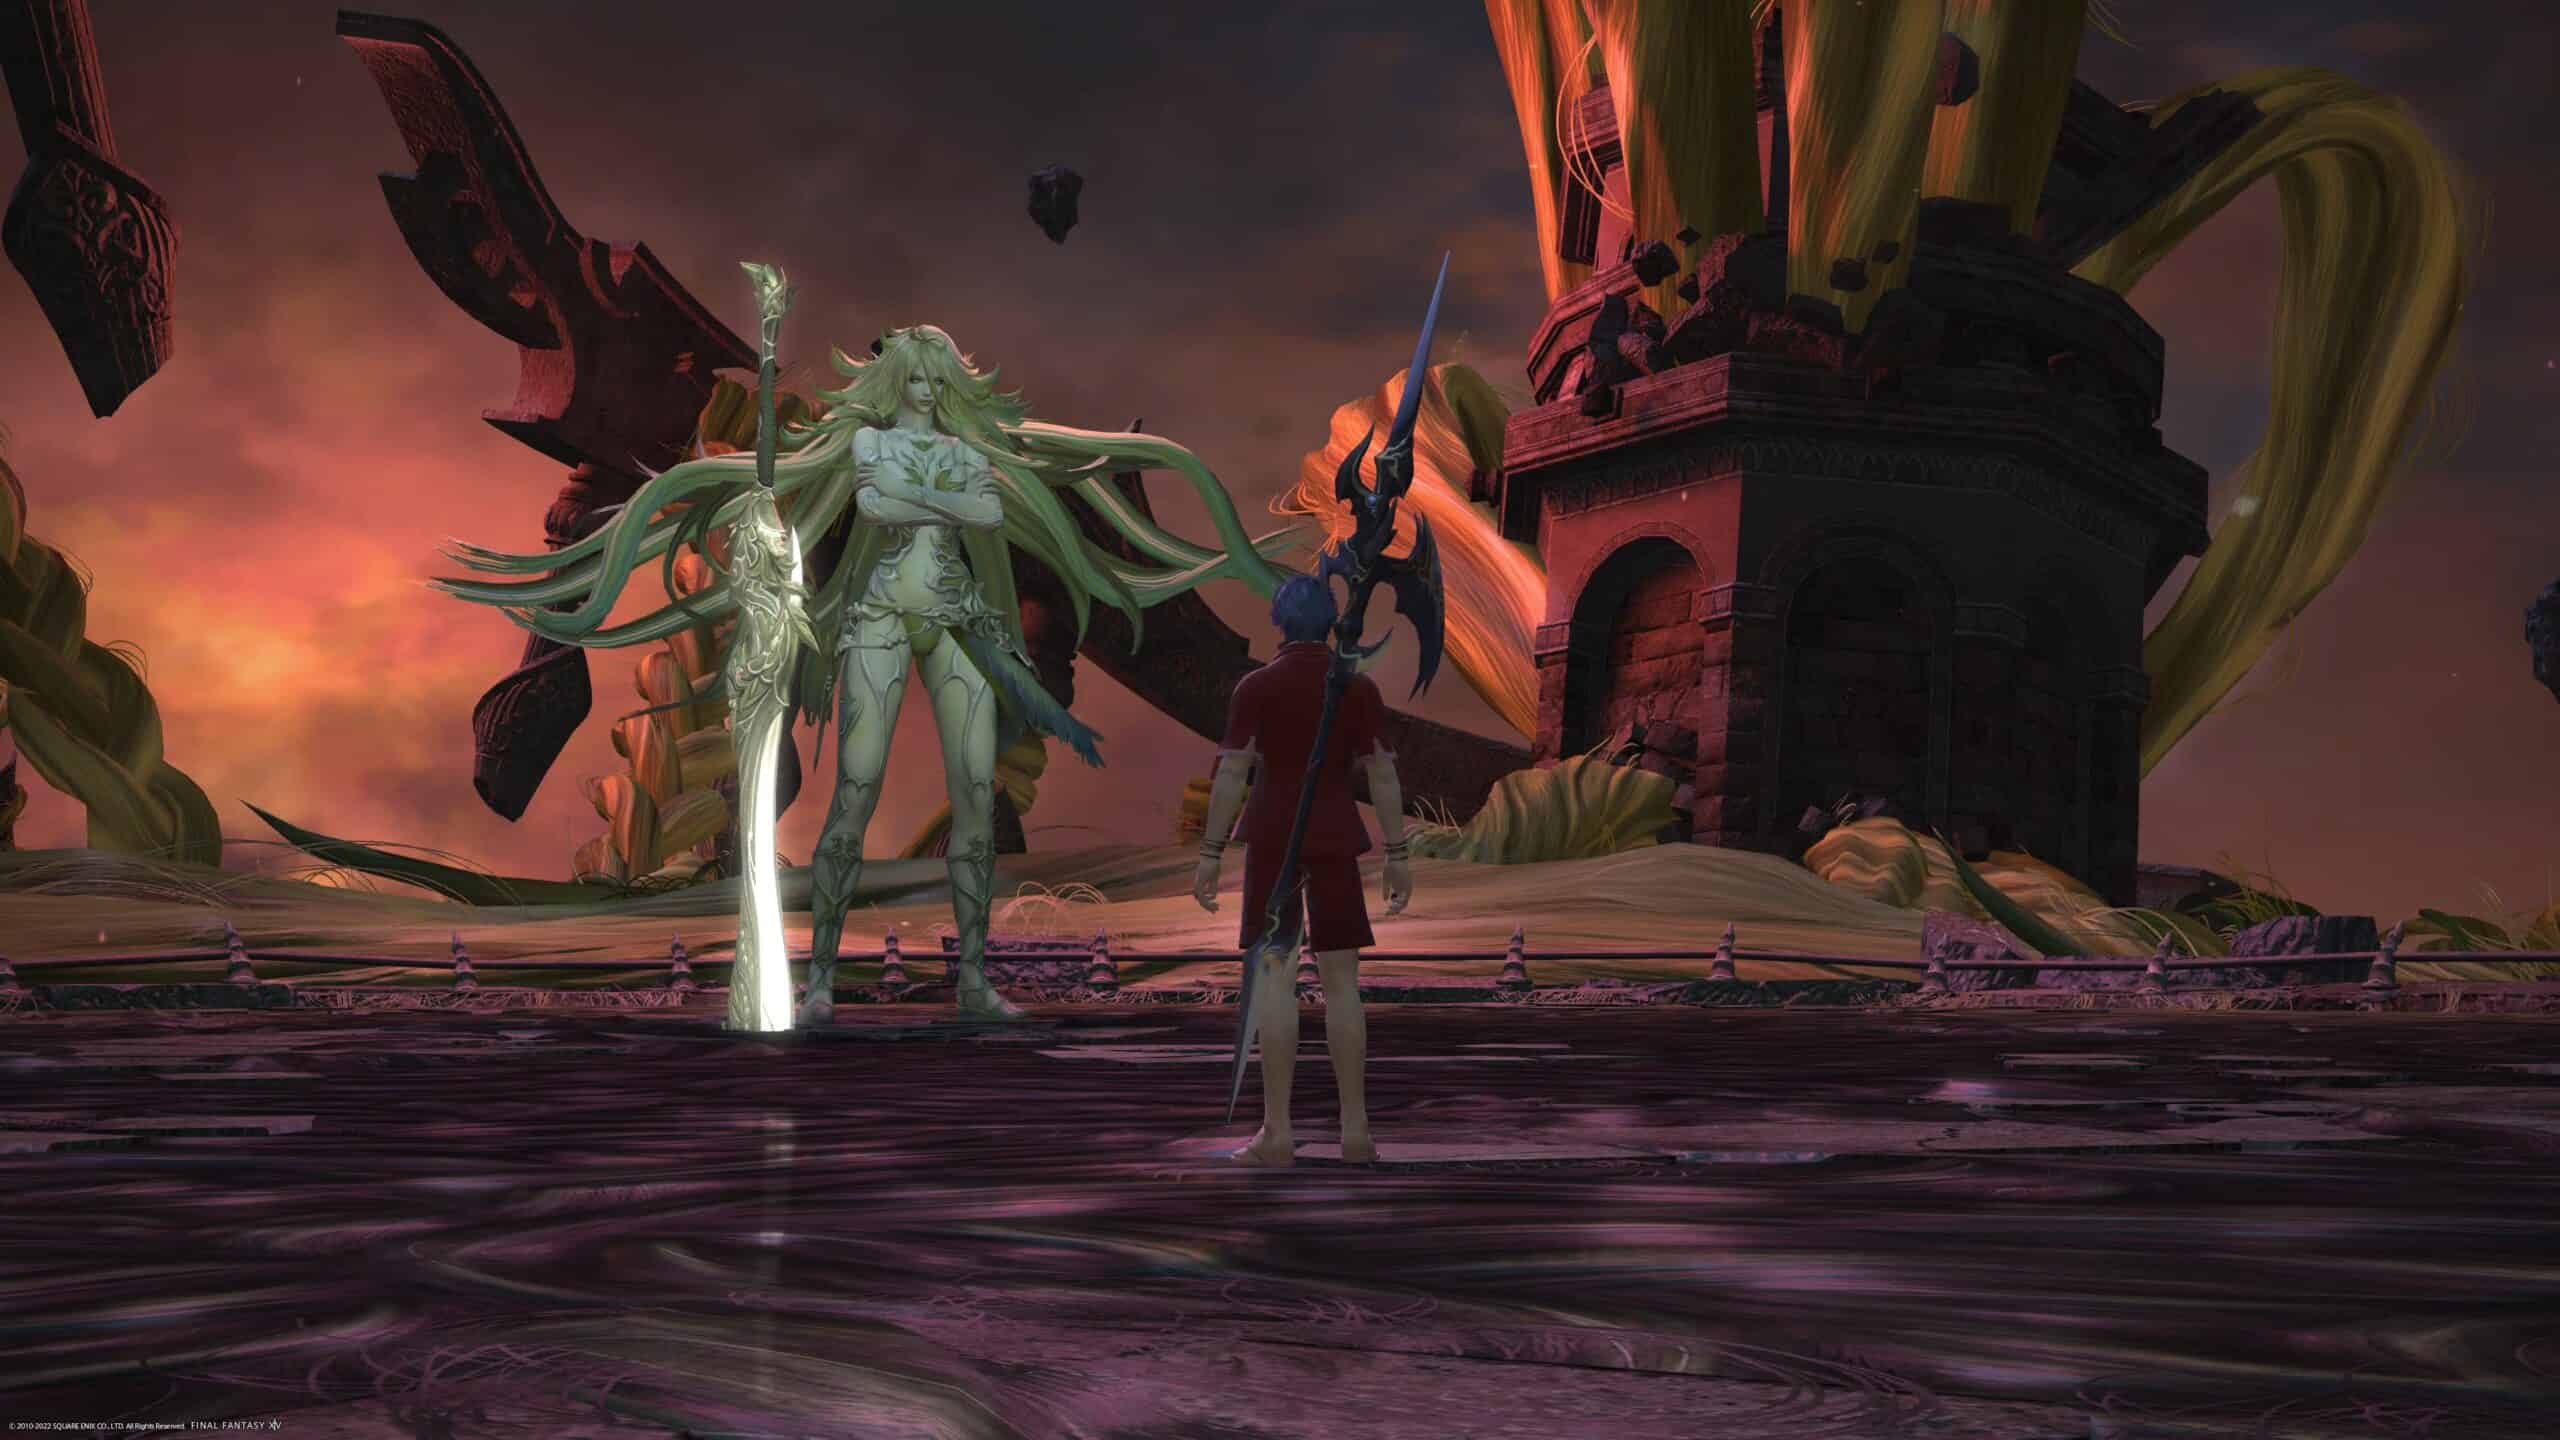
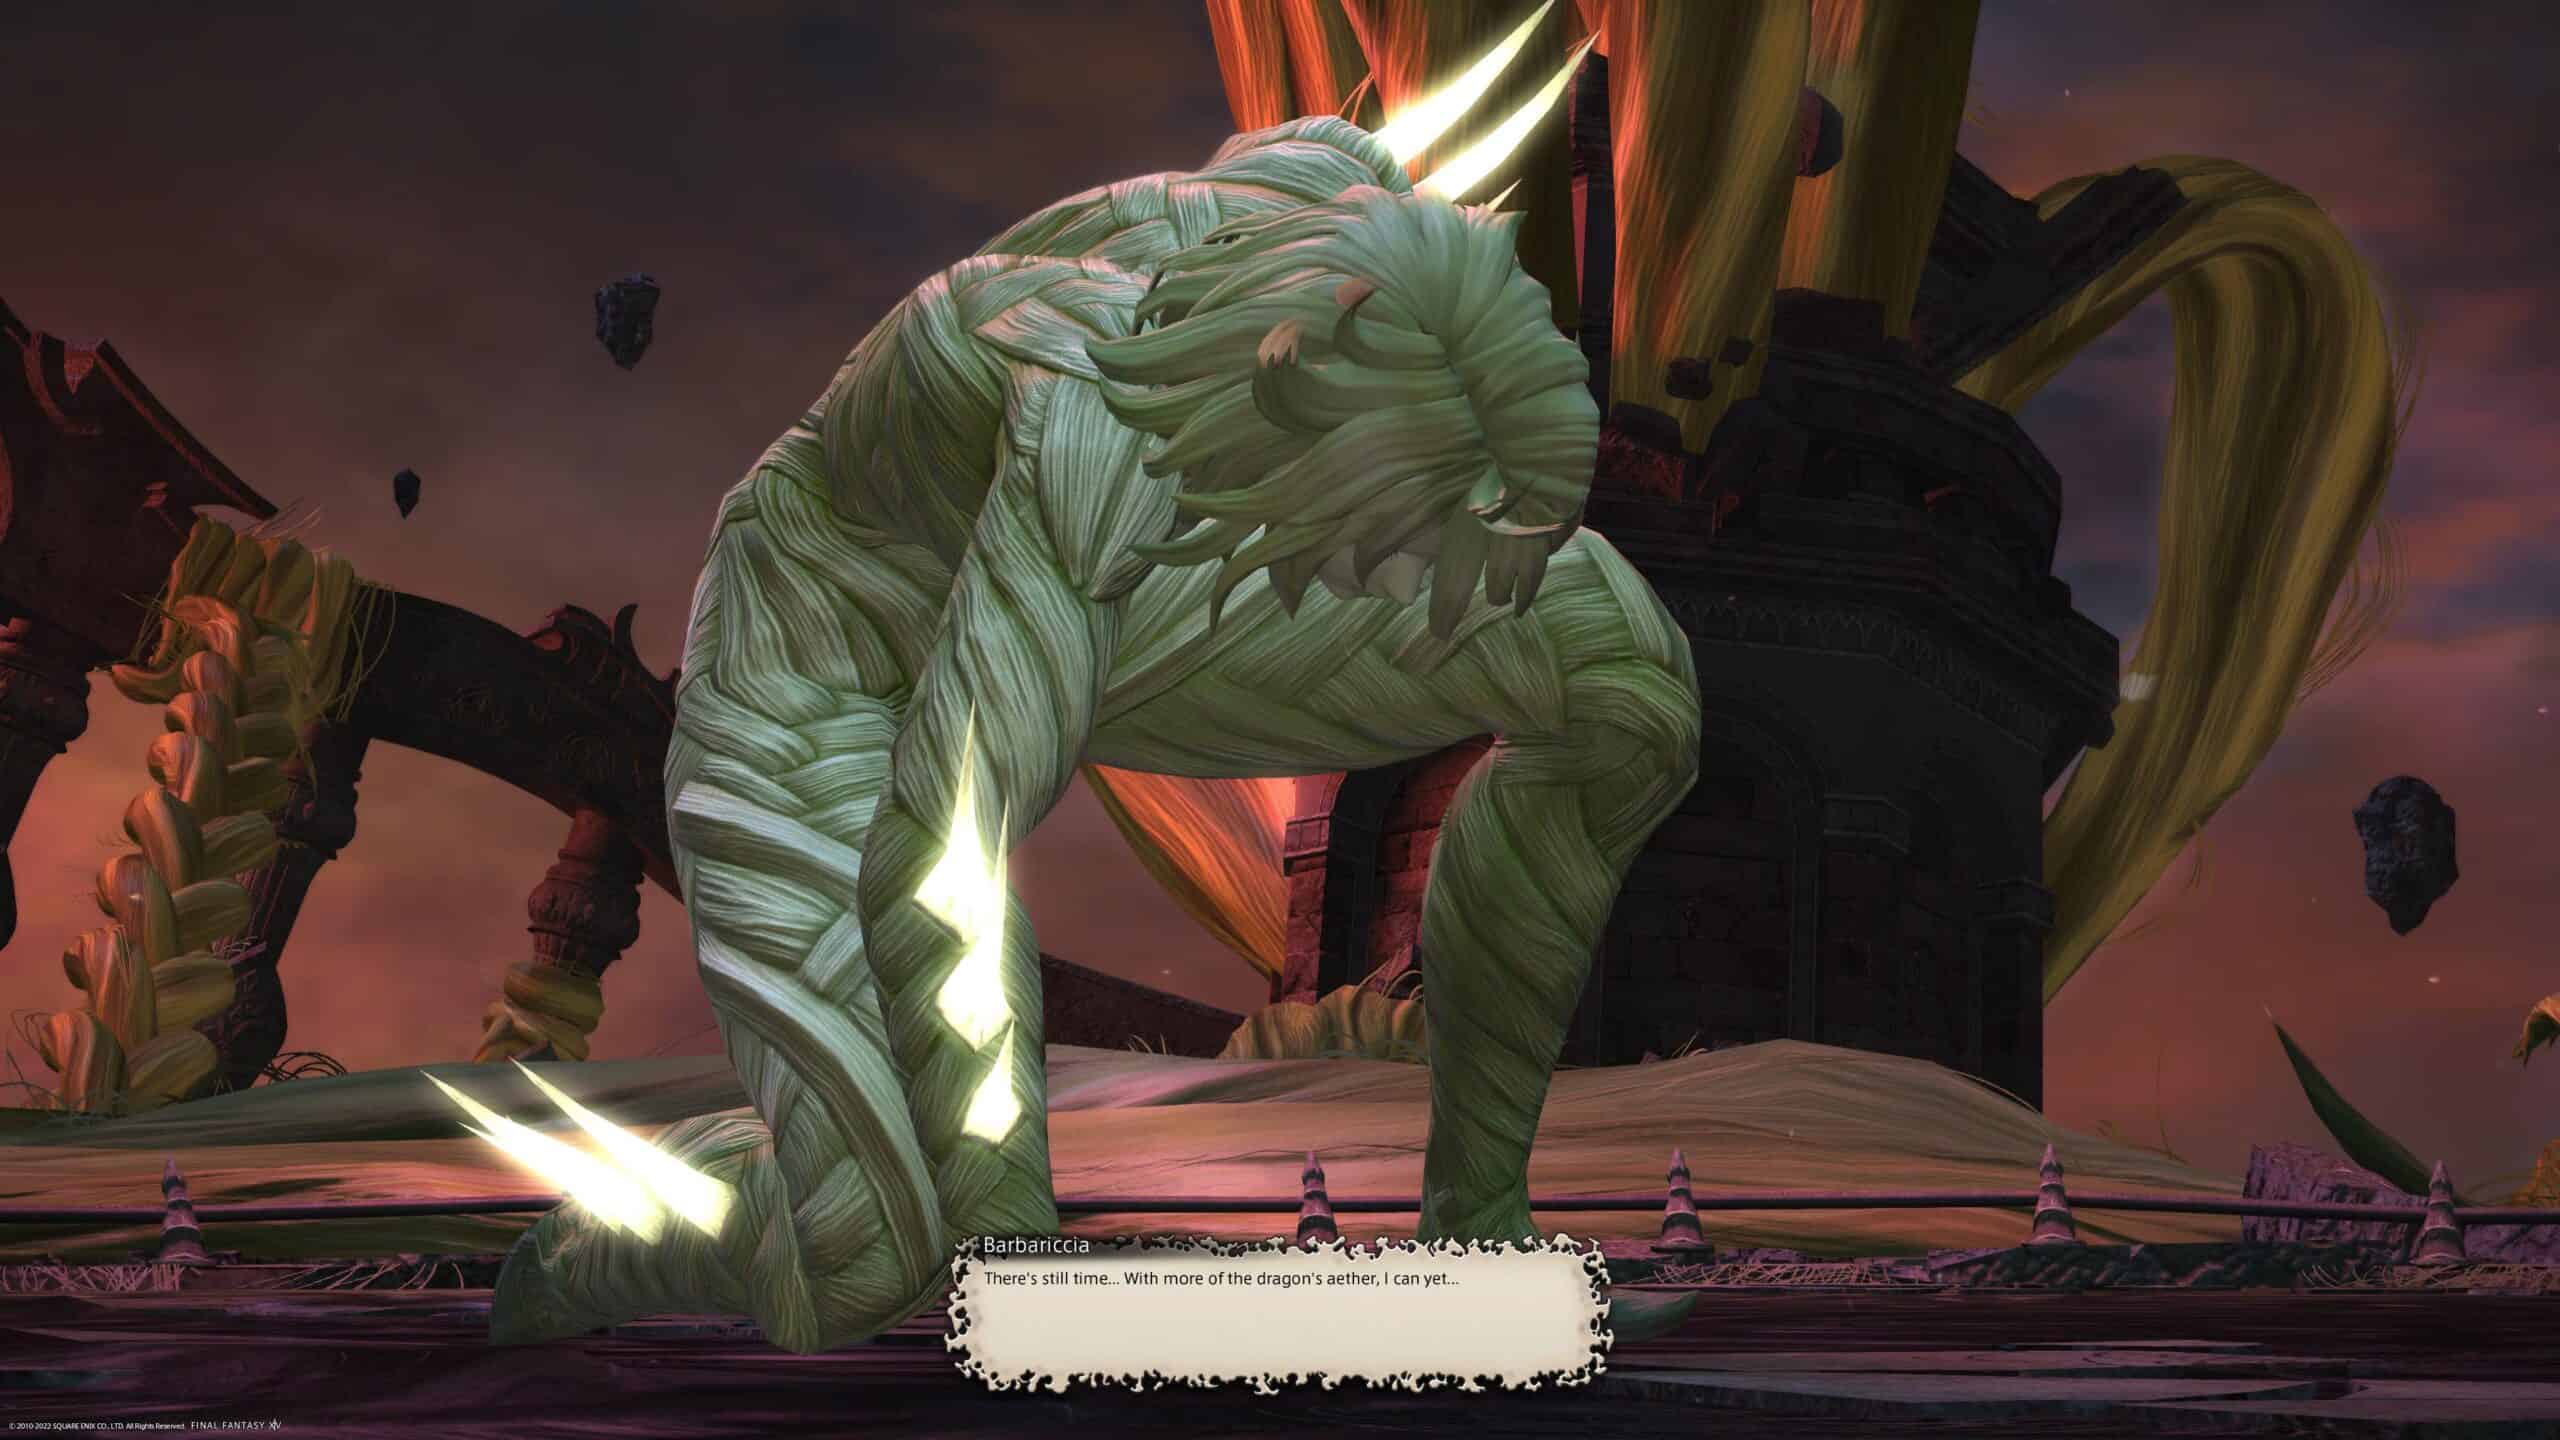
Okay, you’ve been warned. This Storm’s Crown guide will feature one of the elemental archfiends of Final Fantasy IV. Since the post-Endwalker main story puts Golbez in the spotlight, it’s only fair that his lackeys are on the payroll. The one in question here is the femme fatale Barbariccia with her deadly silky hair and windy devastation.
Unlocking Storm’s Crown
It’s pretty straightforward to unlock Storm’s Crown and face Barbariccia. You just have to play through the Main Scenario Quests of patch 6.2, and eventually, you’ll meet her, confront her, and slay her by trimming all that blondness. The quest name is “The Wind Rises,” and it’s the sixth after starting 6.2 content.
A moment of digressing, if I may. Barbariccia is incredibly well depicted ten installments later from her original appearance. A menacing yet beautiful visage that scares and excites enthusiasts of the series and otakus alike – I’m a mix of both. Barbariccia made me excited to see the remaining two, Cagnazzo and Rubicante. (Scarmiglione is horrendous, as it should be).
The normal version of Storm’s Crown only drops the Barbariccia Card, and it’s not a guaranteed drop. But the fight is necessary to progress further into the MSQ. However, after completing it, you can unlock the extreme version by talking to the Wandering Minstrel in Old Sharlayan (X:12.7, Y:14.3).
Storm’s Crown Extreme Rewards
If you’re up to the challenge and attain a victory against the more brutal version of Barbaraccia, you’ll be rewarded handsomely (which doesn’t mean your rolls will be good). Storm’s Crown extreme guaranteed drops are one Windswept Weapon Coffer (IL 615) and one random Job weapon.
Not guaranteed is a Barbariccia Card, a Faded Copy of Battle with the Four Fiends (Buried Memory), a Pearl of Wind crafting material that can be sold for a nice sum of Gil, and the ever-desired most-rare Lynx of Imperious Wind Flute that once blown calls for a green-sparkled big-cat for you to parade around.
The unluckiest bunch out of you must be thinking you’ll never get the weapon or mount. But fret not, fellow Warrior of Light. All extreme versions have something in common – they exist to make us question our time spent trying to get a mount. However, you also know they drop tokens! Luckily, since Barbariccia seems to be a long fight, she drops two 2 Windswept Archfiend Totems.
You can trade 10 of them for a weapon with Nesvaaz in Radz-at-Han (X:10.6 Y:10.0). If history taught us anything, you will eventually be able to deal 99 of them for a mount. That means you only have to face and endure her 50 times to get that mount and not rely on dice rolls.
Storm’s Crown Normal Fight Guide
I gotta hand it to Square Enix. Never thought that a normal trial would give us such a challenge as Storm’s Crown did. Damn, I died more to Barbariccia than I do on PvP. All my losses taught me how to be a winner, and I will now share all her mechanics and how you can tackle them to make this fight seem like a breeze.
First, a collection of the Empress of the Winds’ moveset so you can do a quick skim to learn what the hell is happening.
Barbariccia’s Moveset
|
Ability |
Description |
|
Void Aero IV |
Unavoidable raidwide damage. |
|
Savage Barbery |
Two variations according to Barbariccia’s position. If she’s kneeling and blades are flashing above her, she will do a north and south line AoE relative to her target ring. If she’s standing and the blades are circling around her, Barbariccia will make a donut-shaped attack. At the same time, a red arrow-shaped marker will indicate where she will drop her sword, and a circle AoE will burst. |
|
Hair Raid |
Barbariccia will dash to where she previously dropped her sword and use a conal attack in front of her. The only safe spot is behind or beside her. |
|
Void Aero III |
A shared small AoE tankbuster. |
|
Teasing Tangles |
Four circles AoE will pop up around the arena. After the cast, players will be pulled inside said AoEs in a pair and tangled together with reduced movement speed. If one of you steps outside the green marker, you will suffer sustaining damage. |
|
Secret Breeze |
Two sequential arena-length cones in-and-out attack. First a small one, then a large one. |
|
Deadly Twist |
Places a stack marker on a player. |
|
Hair Spray |
One tank, one healer, and two DPS get a marker that will turn into an AoE after a while. |
|
Curling Iron |
Phase change ability that knockbacks players inside Barbariccia’s target ring. |
|
Catabasis |
Raidwide attack directly after the phase change.6-8 |
|
Brutal Rush |
First, Barbariccia throws clones at specific roles that will cause light damage upon impact. Then they will rush in a line, causing heavy damage. |
|
Blow Away |
Several Barbariccia’s clones stand on the arena’s edge and rush forward. At the same time, a handful of spiral AoE spins from the middle. |
|
Knuckle Drawn |
A pissed-off Barbariccia will punch the ground consecutively, dealing damage for the ability’s duration. |
|
Bold Boulder |
A tank will get a flare marker that causes proximity damage to the raid. |
|
Impact |
A large knockback marker appears in the middle of the arena causing light raidwide damage and knockback. |
|
Boulder Break |
High damage AoE tankbuster hitting both tanks. |
|
Tornado Chain |
Barbariccia places a large circle AoE around her, then another on the edge of the arena. These happen sequentially. |
|
Tousle |
Small green-colored AoEs slowly move toward the edge of the arena and will toss players up if hit. |
|
Touchdown |
A knockback marker appears in the arena. When Barbariccia jumps at it, the party suffers damage and is shoved. |
If you’re like me, you’ll forget the ability names one minute in the fight, and that’s okay because, in normal mode, most abilities have a tell that you can avoid if paying attention.
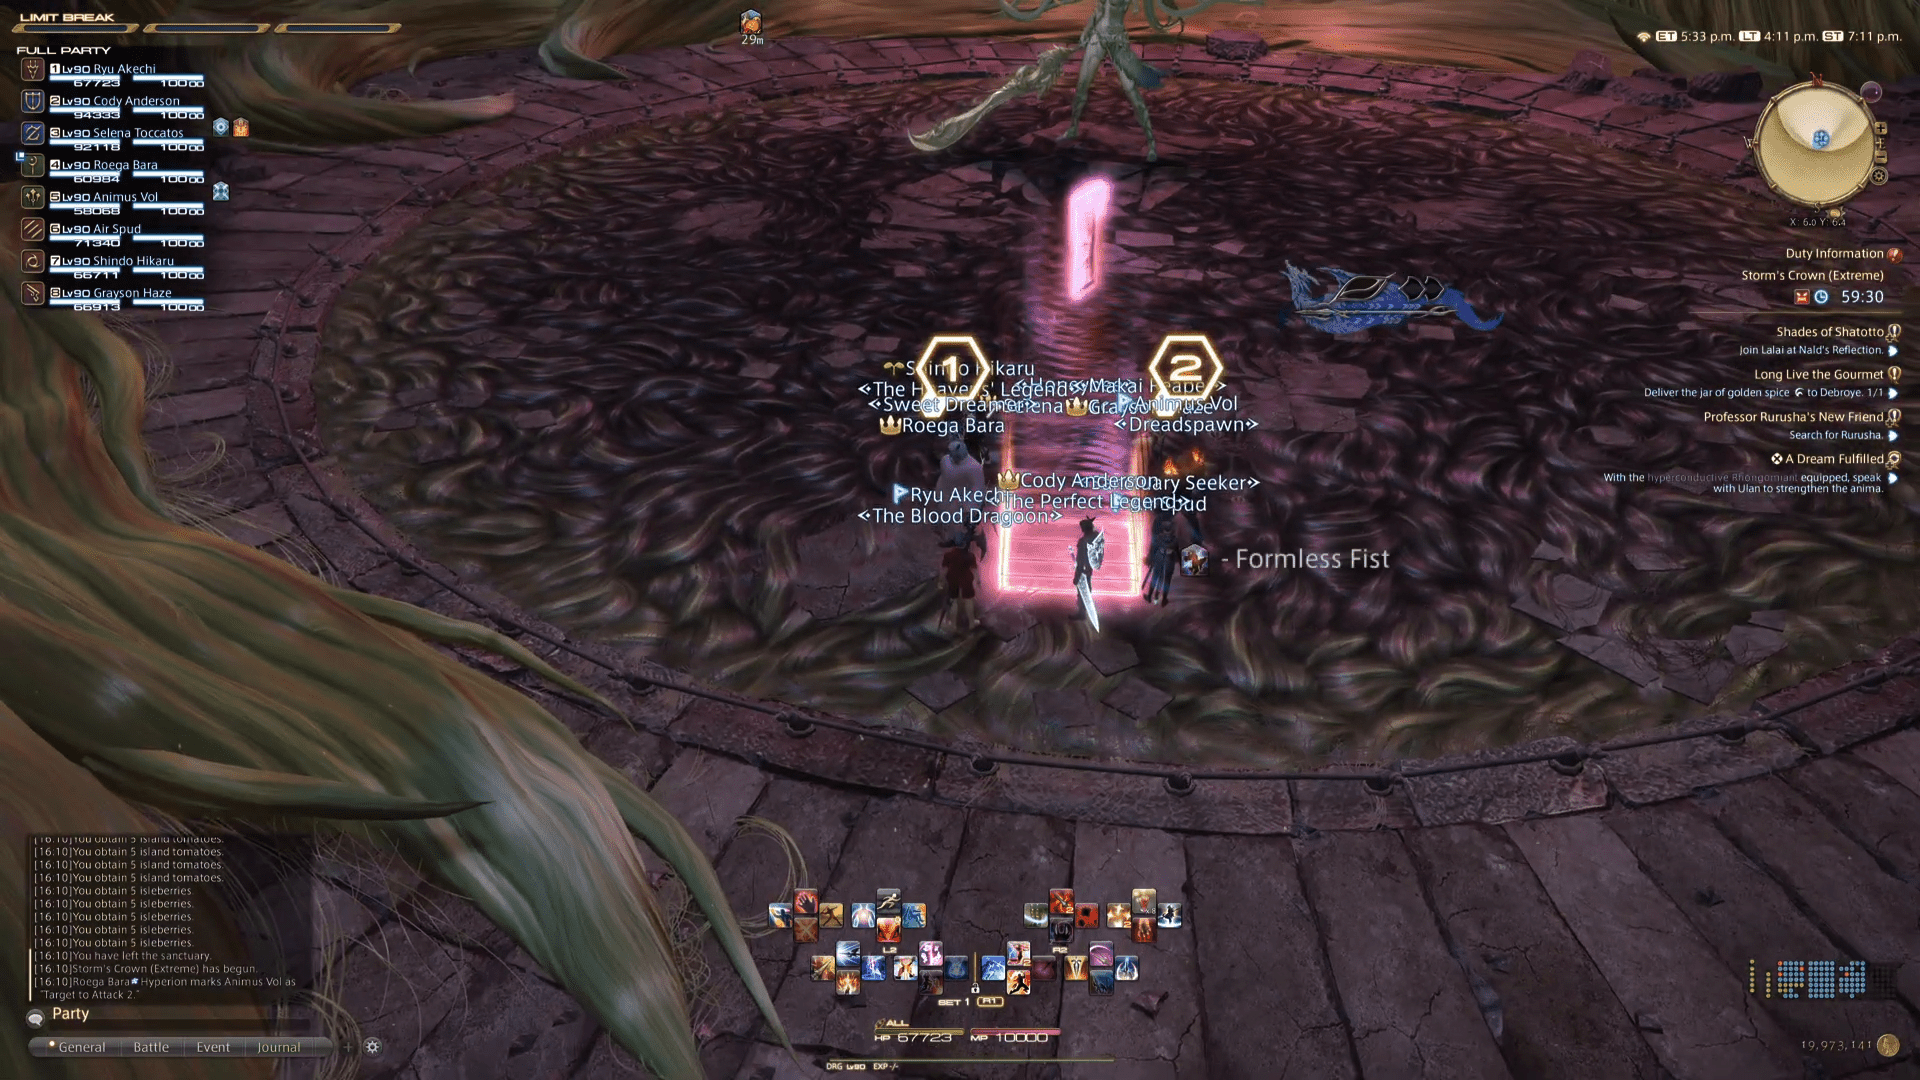
After choosing your role and queueing for the duty, the fight will start. No markers are needed in the normal fight, so wait for the tank to pull Barbariccia, or pull her if you’re the tank, and let the carnage begin.
First Phase – Silky Hair Mode

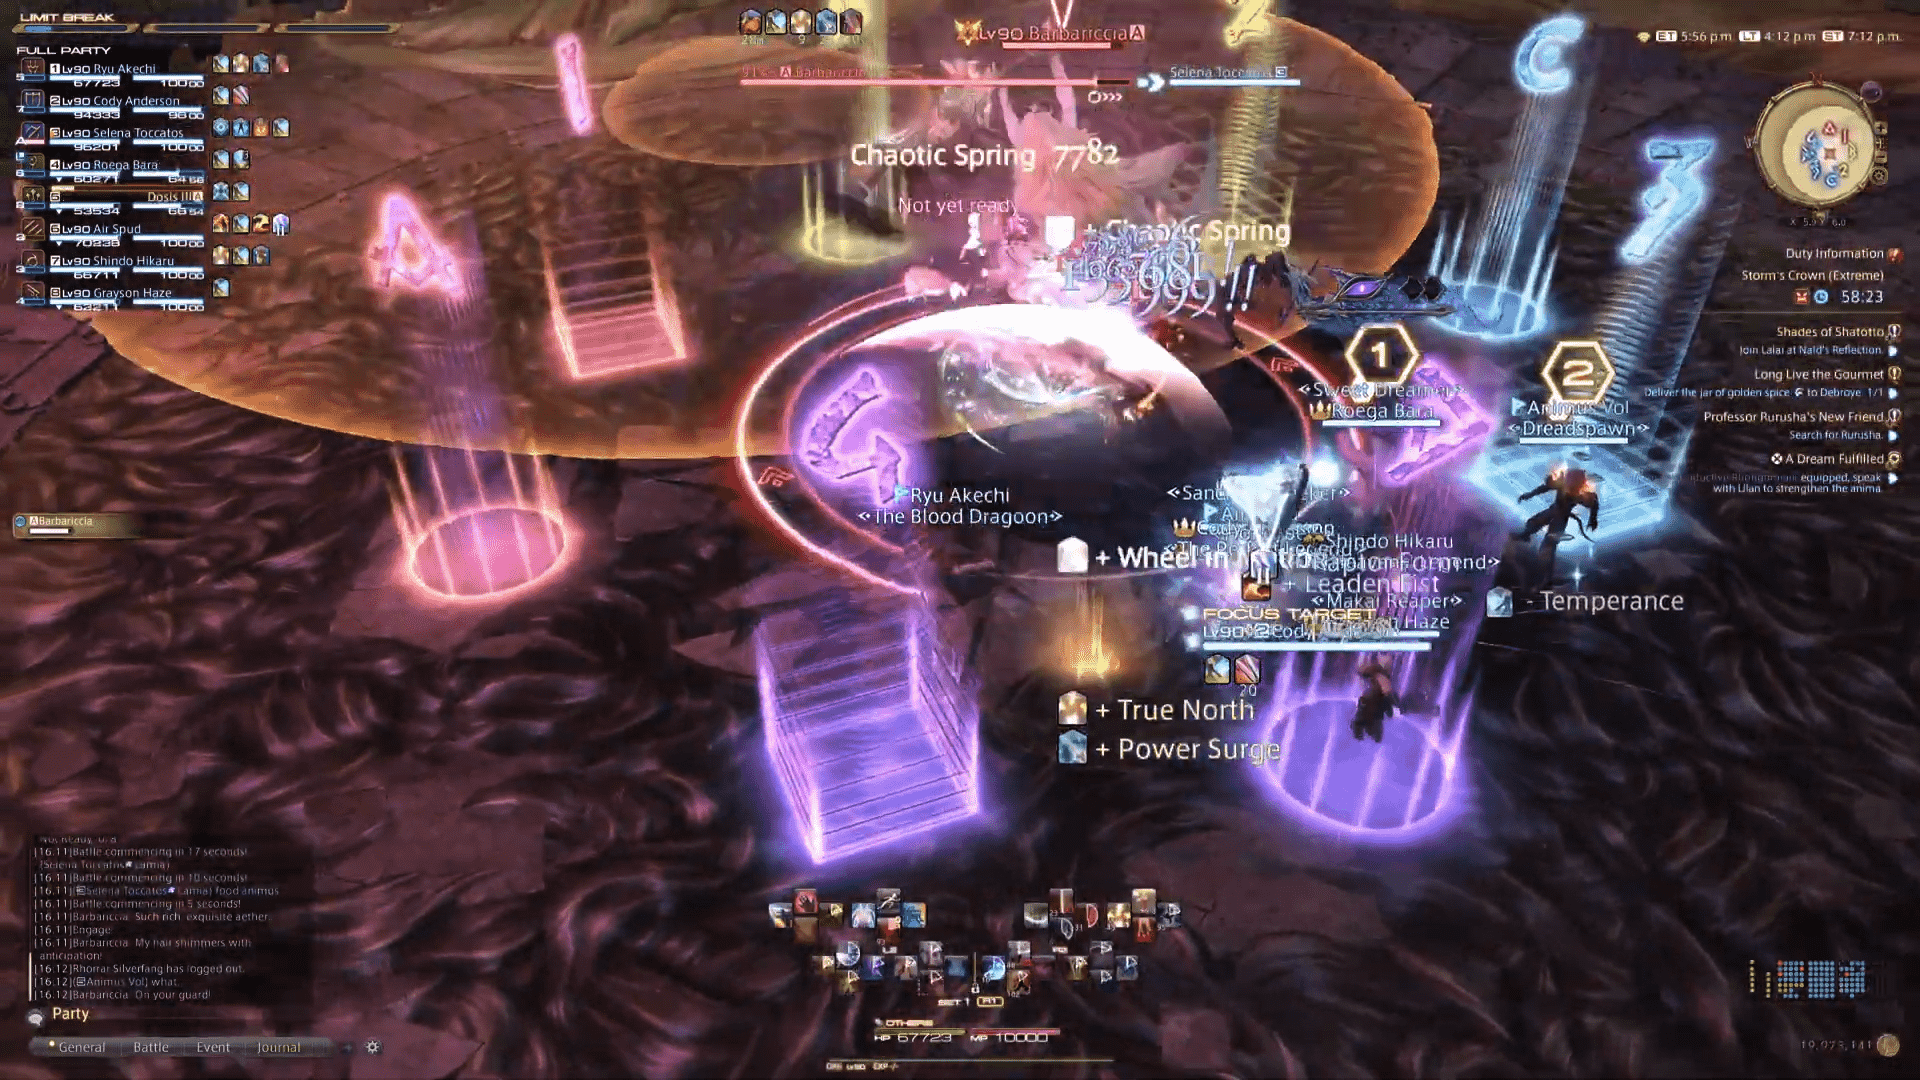
The fight will start, and while it’s routine for the tank to draw the boss target ring to the north, in Barbariccia’s first phase, this won’t matter that much. Her first attack will be Void Aero IV, raidwide damage. Next, Barbariccia will start to become nasty and will use Savage Barbery.
Pay attention to her position and/or the blades around her. If they are circling above her head and she is kneeling, the target ring sides are the safe zone. If Barbariccia is standing and the blades are rotating around her, it’s gonna be a donut-shaped AOE, so get inside her target ring.
At the same time, identify where the red arrows are targeting. Barbariccia will drop her sword there, and a large AOE circle will hit any unaware player. If it does sound complicated at first, don’t worry, it is. I was clueless and got hit from every side on my first try. To summarize: position yourself according to the animation and away from the red arrows.
Hair Raid will be cast next. The Empress of the Winds will dash to her sword, as told by a red line marker, and cleave the entire arena except for the edge close to her. So just accompany her dash, and you’ll avoid the attack. Then, Void Aero III, a shared tankbuster that can be mitigated by both tanks or one with invulnerability.
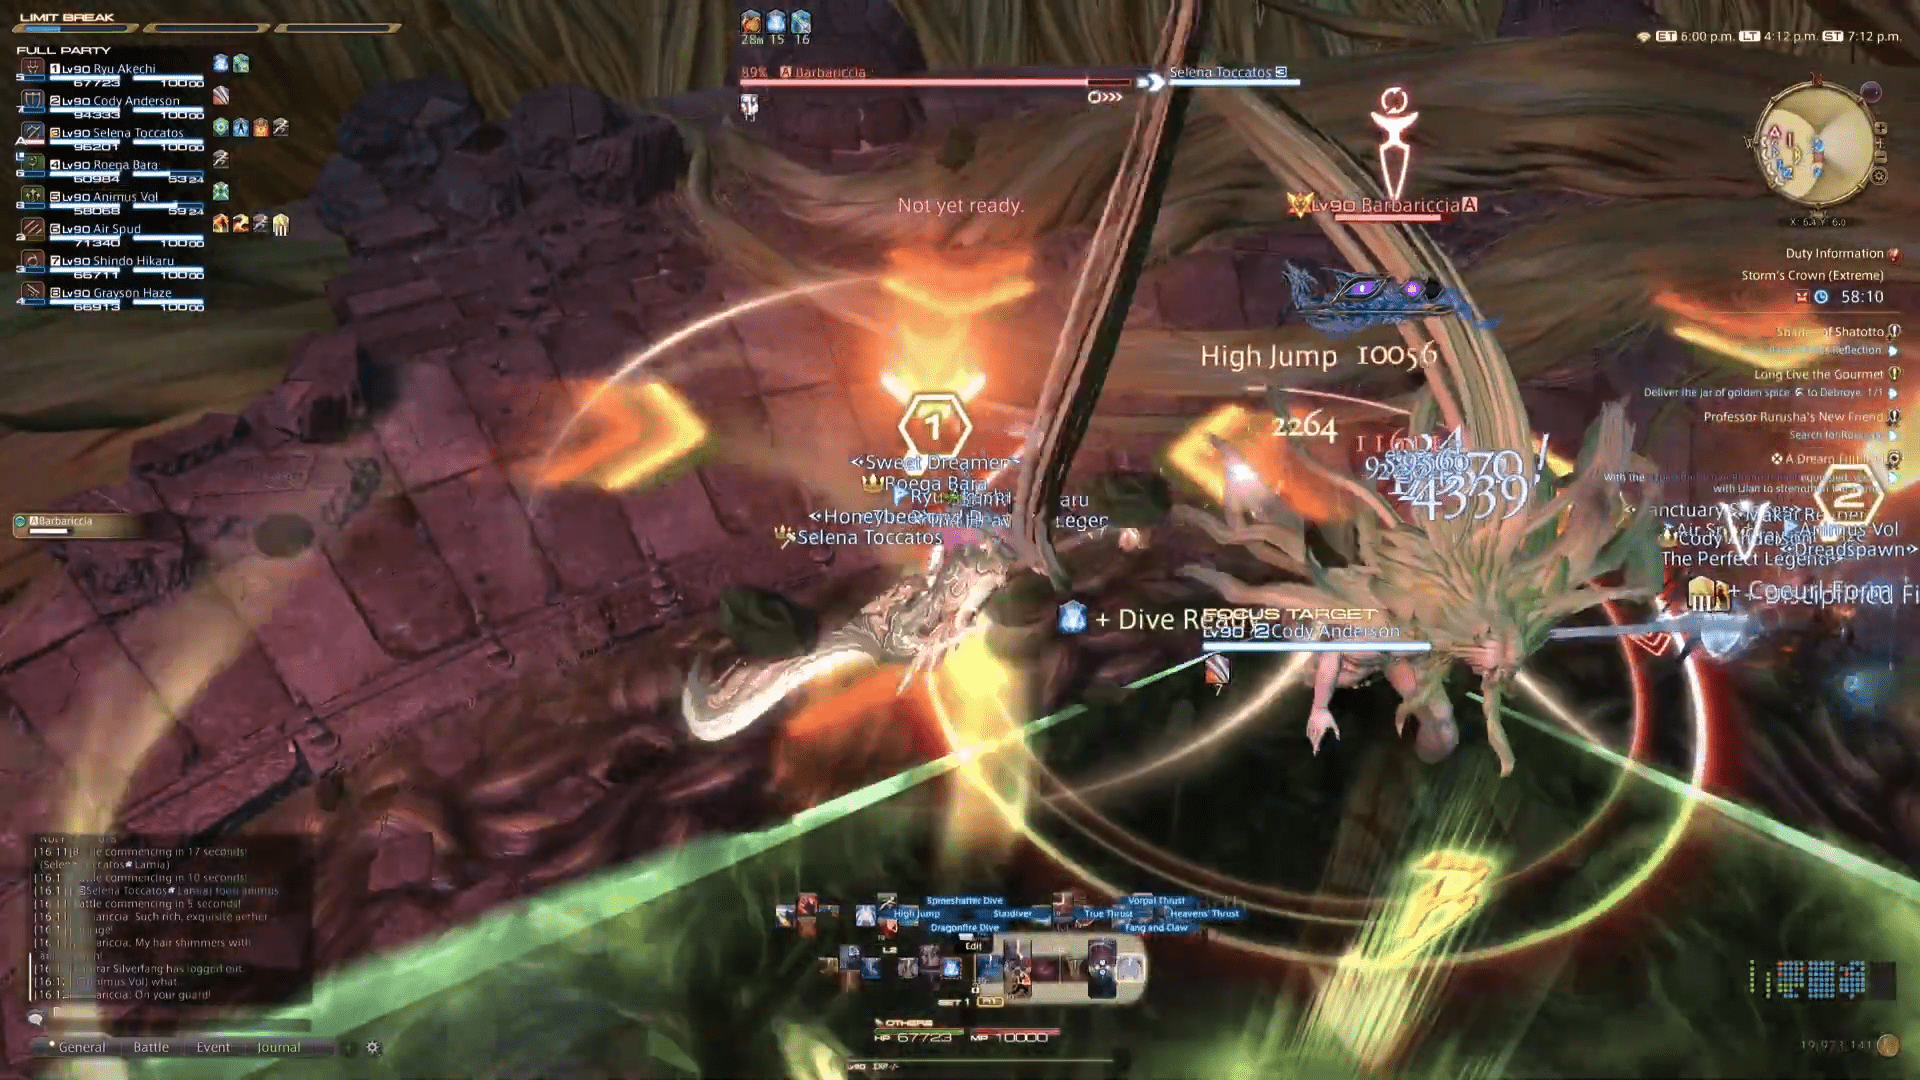
Barbariccia will once again cast Savage Barbery, but this time, she will use the pattern opposite to the first one. So if she was kneeling, now she will be standing, and vice-versa. She will use Hair Raid again after she drops her sword, so run to her voluptuous sides. Then a second Void Aero IV harms everyone.
Now, she will cast one of her most iconic moves, Teasing Tangles. Avoid the four circle AoEs around the arena and be prepared to be force pulled to one of the circled areas with a partner. You’ll have reduced movement and can’t step outside the green circle. If you do, you’ll suffer Sustained Damage and be pulled towards the center of the area.
Barbariccia will unleash Secret Breeze, two sequential conal attacks that should be avoided while moving in slow motion. It’s not hard, but it can be pretty overwhelming since the pacing of the battle is frenetic, and you’re still keeping up with everything on the screen. The deadlock(s) will end, and players will be free of the tangle, just in time to stack up for Deadly Twist.
Another Savage Barbery pattern followed by a Hair Raid. However, this time it will be a bit trickier. As soon as Barbariccia dashes, AoE circles will appear below five players. They shall spread as soon as the cleave goes off to not right any party member. Healers should mend everyone as necessary because she will cast the raidwide Void Aero IV next.
Barbariccia will repeat these mechanics until she reaches around 55% of HP. She will cast Curling Iron, knocking anyone inside their target ring, and change phases to the badass brawler/thick mode.
Second Phase – Brawler Mode
Before she changes phases, as in most Extreme fights, healers should top the party’s HP and cast shields to mitigate the incoming damage of Catabasis. After the knockback, everyone will be Down for the Count. The second stage is total mayhem, with countless AoEs jumping around and scaring the unprepared.
When Barbariccia settles in, she will attack with Brutal Rush on both healers and tanks. She will rush toward one of them and then strikes the player on a line AOE. Players should split to deal with this attack, but don’t worry about getting caught; the damage is quite lenient. Then, a spiral AOE will arise from the middle alongside a red AOE that should be avoided.
Next, clones will appear on the arena’s edge, and several lines AOE will pop on the screen. While it looks daunting and chaotic, know that if you stay in the middle, you’ll avoid every single attack from Barbariccia’s clone while smacking down the Empress. After three rounds of clone rushes, she will again cast the spiral AoEs with the red in the middle, so get out of there.
Before the clones say goodbye, one player will be marked with a stack marker and the other with a red crystal marker which will put a circle AOE beneath them. This marked-to-death player should put the AOE to the edge of the arena, and players should stack together away from it. There’s plenty of time, so no need to rush. After the stack explodes, both tanks will receive a tankbuster and must be away from friends.
After the tank busters, Barbariccia will use Knuckle Drum, repeatedly smacking the floor and causing increasing damage at each pound. Healers, time to shine! When the hammering ends, she will mark a tank with Bold Boulder. This flare marker damages by proximity, so it should be dropped far from the party, that is, at the same time, mitigating another stack marker.
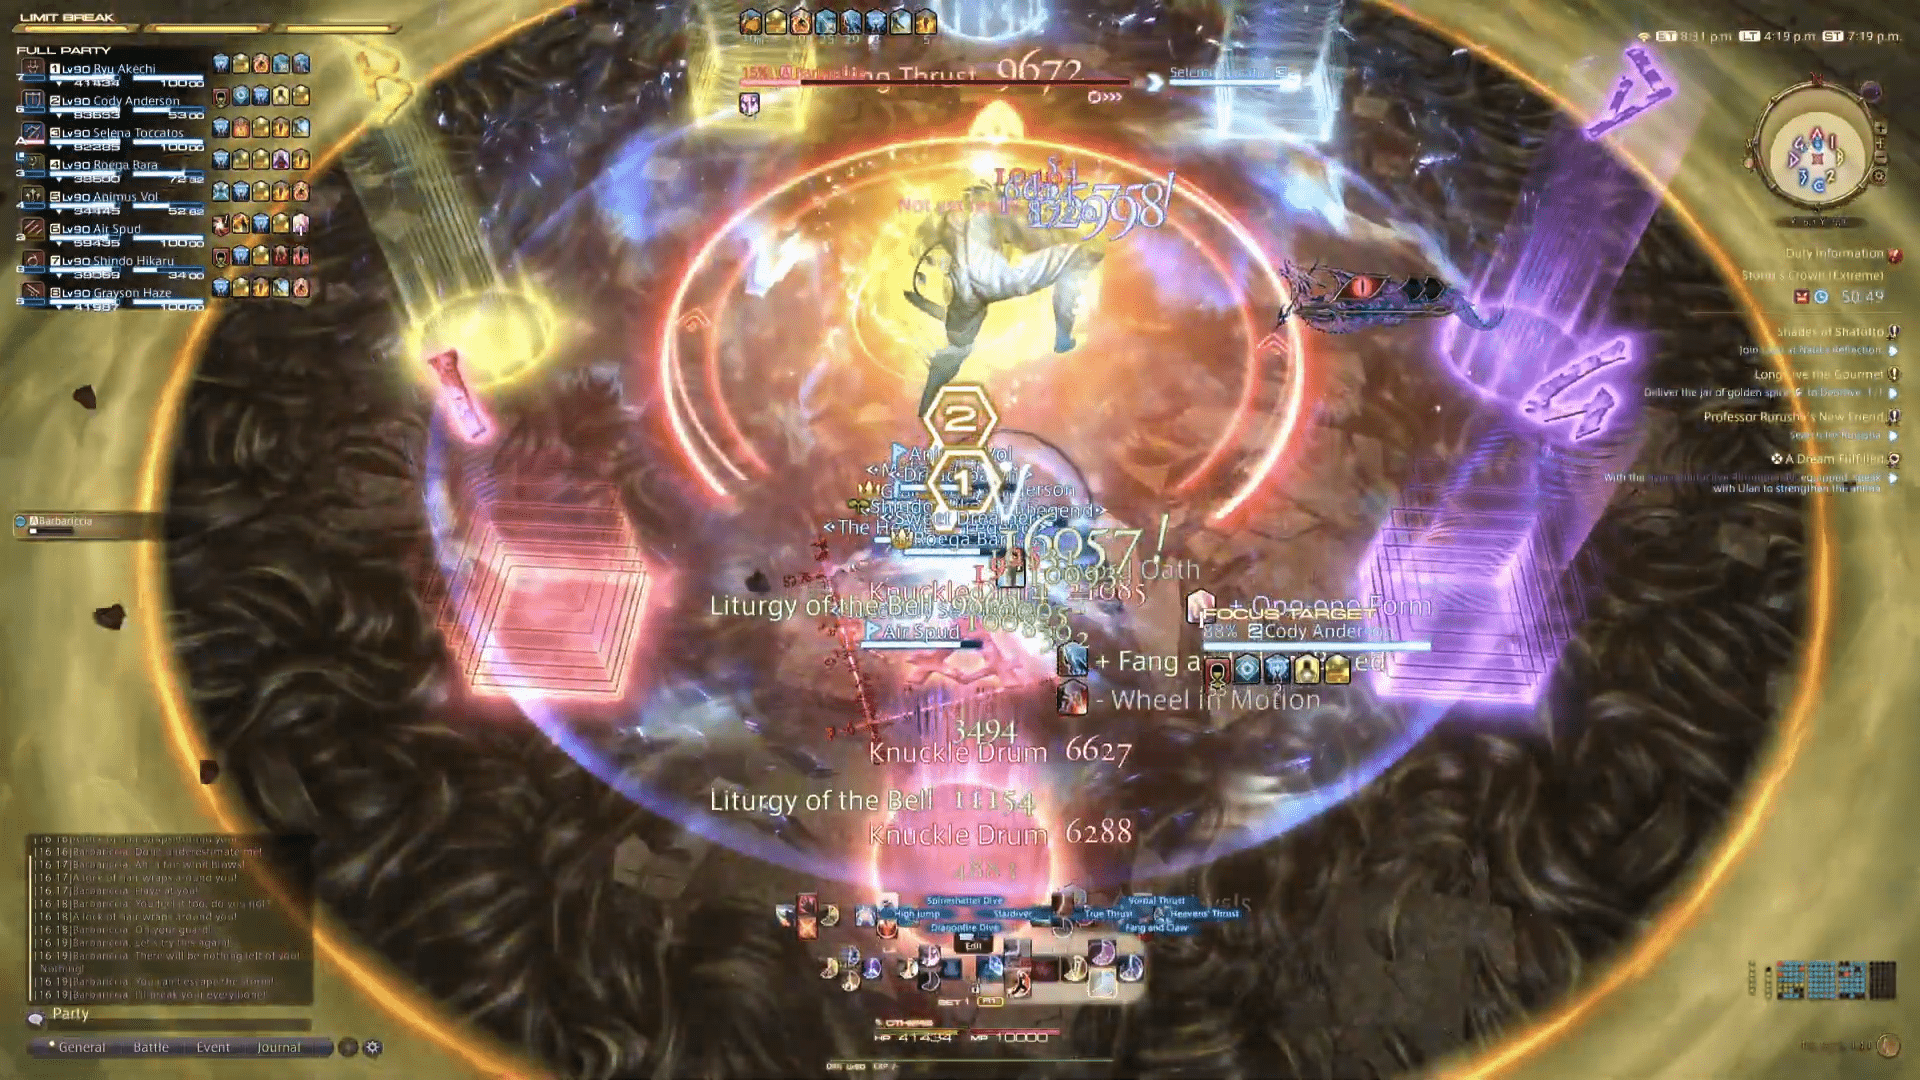
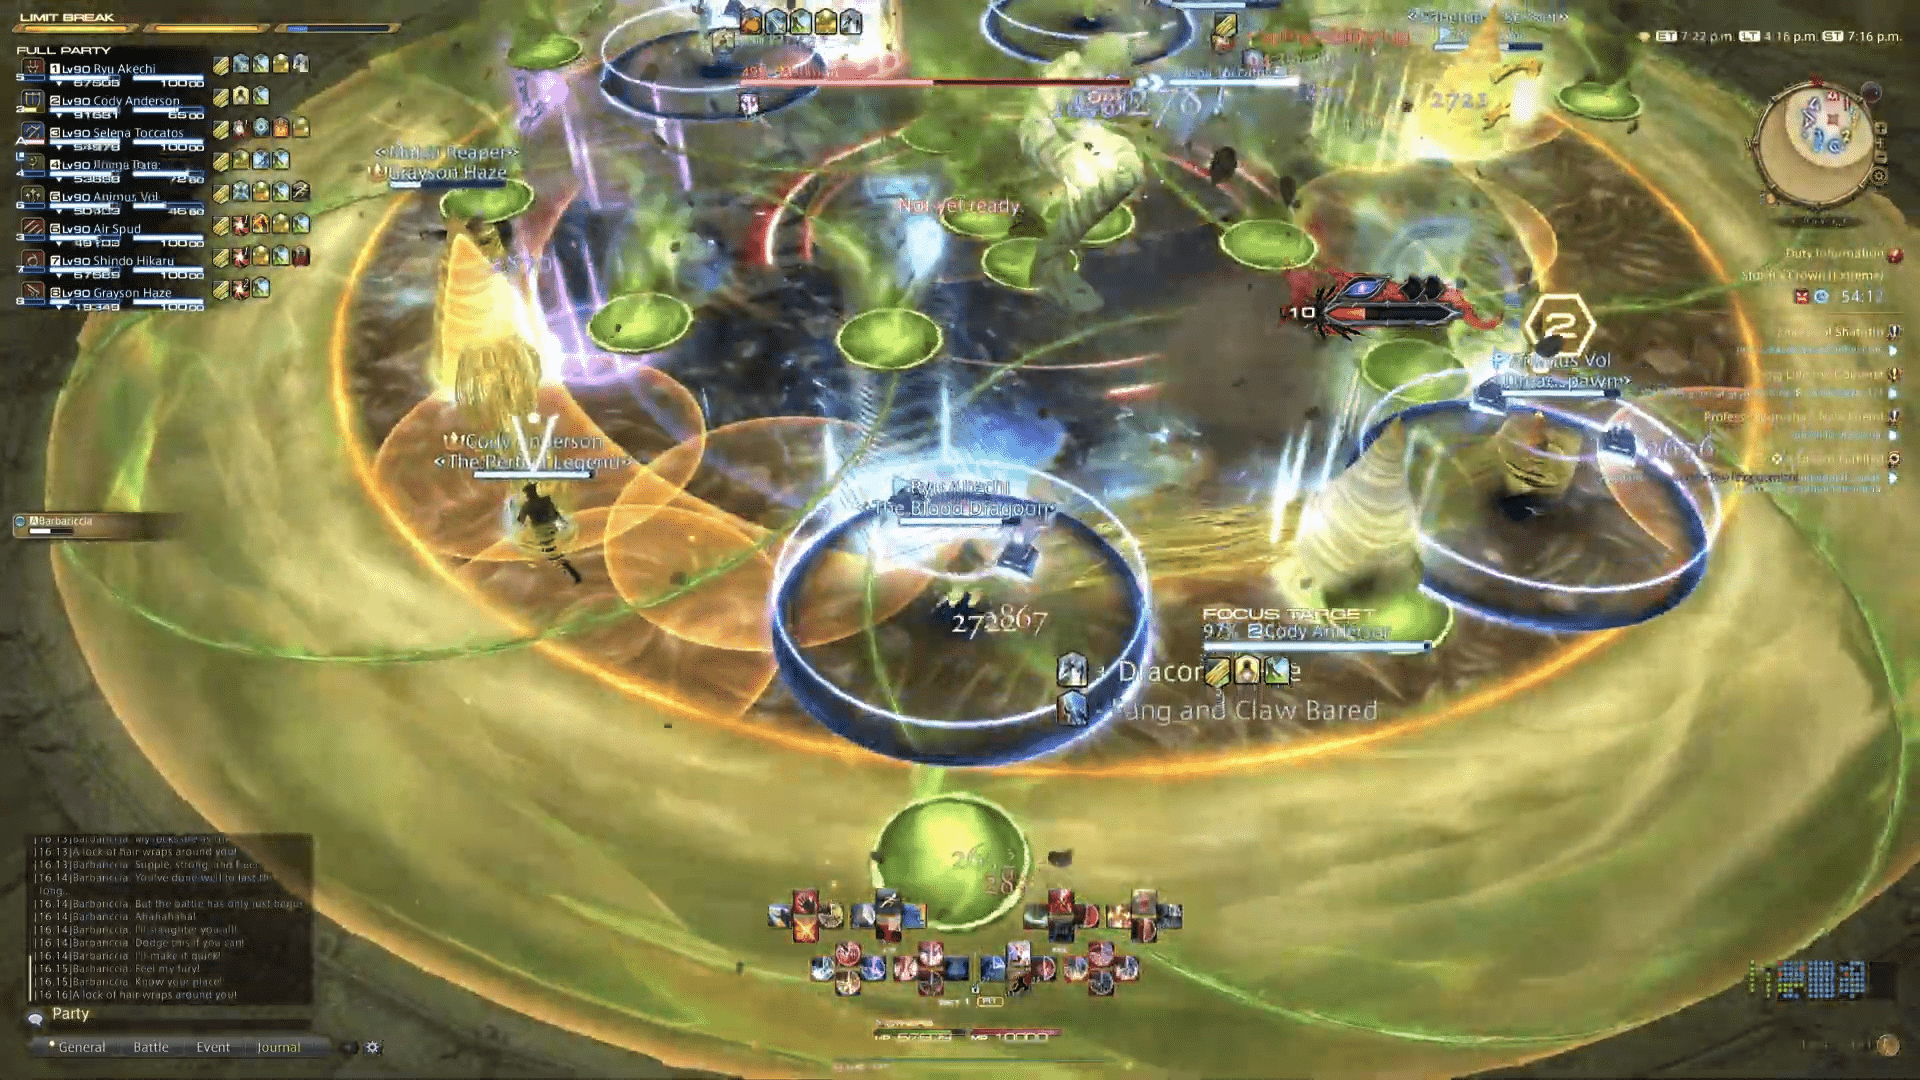
Now, more mayhem. Small green dots will start to spawn from the middle. They cause light damage but throw the player into the sky, interrupting their movement. This can be a hassle since Barbariccia will cast Tornado Chain, a circular AoE around her, then another one on top of it on the edge of the arena. A
fter the one closest to her resolves, players shall hug the boss while avoiding the five players who will get an AoE marker beneath them. There will be a lot on the screen, but you got the time to survive it all.
As crazy as it may sound, after all this flurry of abilities and markers, Barbariccia will use Knuckle Drum again, so make sure you’re in top shape to endure the strikes. Brutal Rush against some players while some guided AOEs will appear below where the players were standing and follow them up to three times.
Prepare to be locked in Teasing Tangles and evade the Tornado Chain she will cast while positioning yourself close to the knockback marker. Make sure you aren’t shoved outside the green circle to not suffer Sustained Damage. When free for her locks, another tankbuster in each tank, Knuckle Drum encore, and Brutal Rush. While rushing, Barbariccia will cast Impact, a circular knockback in the center of the arena.
Then, several small AoE circles will spawn around the arena. Just avoid them as necessary and brace for the third Teasing Tangles. Same drill, hampered move speed, while Barbariccia throws stuff at you. This time, the small green AoE that tosses you up will be part of the combo while she, believe it or not, Knuckle Drum for the fourth time. One more Tornado Chain alongside Teasing Tangles.
From then on, Barbariccia will only repeat her phase 2 mechanics, so keep your eyes peeled, evade the abnormal amounts of AOE, and eventually, you will blow her away.
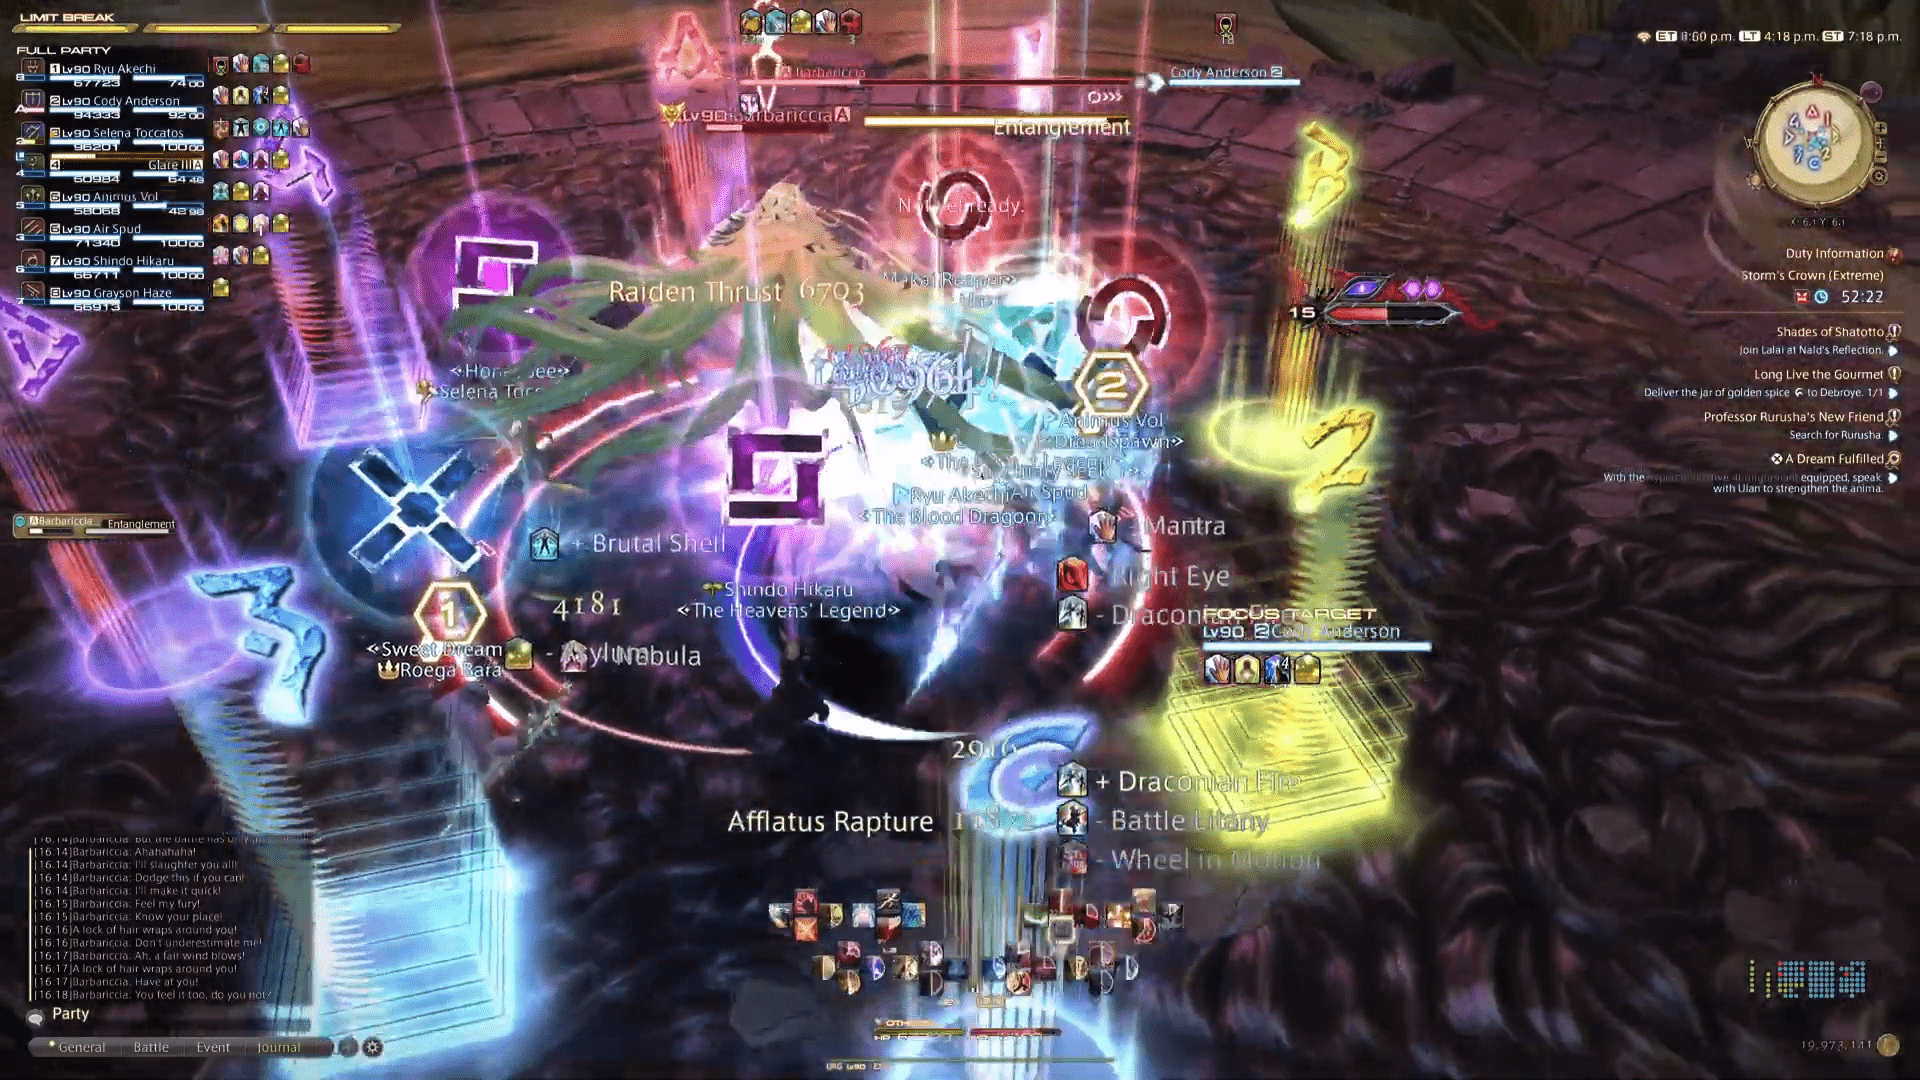
Storm’s Crown Extreme Fight Guide
Longtime Final Fantasy XIV players may be familiar with all the precautionary and pre-emptive preparation for an Extreme fight. Light parties, clock spots, markers all over the arena, food, potion, and whatnot.
To be honest, watching a video is much better for understanding what’s happening on screen. So check out this one of me killing her alongside brave warriors. Just don’t mind all my deaths.
If you prefer reading over watching or are stuck on a specific ability, you can just use the Find feature on your browser and jump straight to the mechanic. Alright, without further ado, let’s begin.
Barbariccia’s Extreme New Moveset
Most of Barbariccia’s abilities remain the same. The significant difference is that most mechanics won’t have a marker before happening or will overlap with another. There are, however, new abilities that I will list below.
|
Ability |
Description |
|
Raging Storm |
No-cast bar raidwide damage during the fight. |
|
Upbraid (Enumeration) |
Blue two-person stack marker. The marker will be given to one player, and another player must stack inside it to share damage. |
|
Hair Flay |
Gigantic AoE marker on players during Teasing Tangles. |
|
Entanglement |
Each player will receive a marker known as Playstation symbols and be pulled together. They should resolve the next mechanic without stepping outside the circle. |
First Extreme Phase – Silky Hair Mode
Barbariccia will start as the Normal version but will tie in some unannounced Raging Storm throughout the entire encounter, so healers should always be aware of preserving the party HP full. When she casts Savage Barbery, no more blade markers.
The cue will be her position, standing for donut-shaped AoE or kneeling for vertical north and south AoE.
When she prepares Hair Raid, there will be a new variation that’s still similar. Barbariccia won’t rush to her sword if she’s standing and will do the same donut-shaped AoE. If kneeling, however, she will run to her sword.
At the same time, players will either get a stack marker or a spread marker. The party should decide the clock spots and light parties before the fight to know how to handle this – if you notice in the video, we didn’t decide, so I just jumped out of harms way.
After doing one set of Savage Barbery, Barbariccia will do it again, but with the opposite pattern from the first. Void Aero III tankbuster is next, and then Teasing Tangles, which will have an added layer of complexity in the Extreme version.
While the mechanic is similar, a player in the pair will have the Hair Flay, a gigantic AoE that should be taken to one side so as not to clip your partner. The other tangled player will have the Upbraid, or as it is popularly known, Enumeration.
On a circle beside you, one player will have Hair Flay, and the other will have nothing. The unmarked player shall stick close to the circle edge and inside the Enumeration circle to share the damage, or the marked player will die.
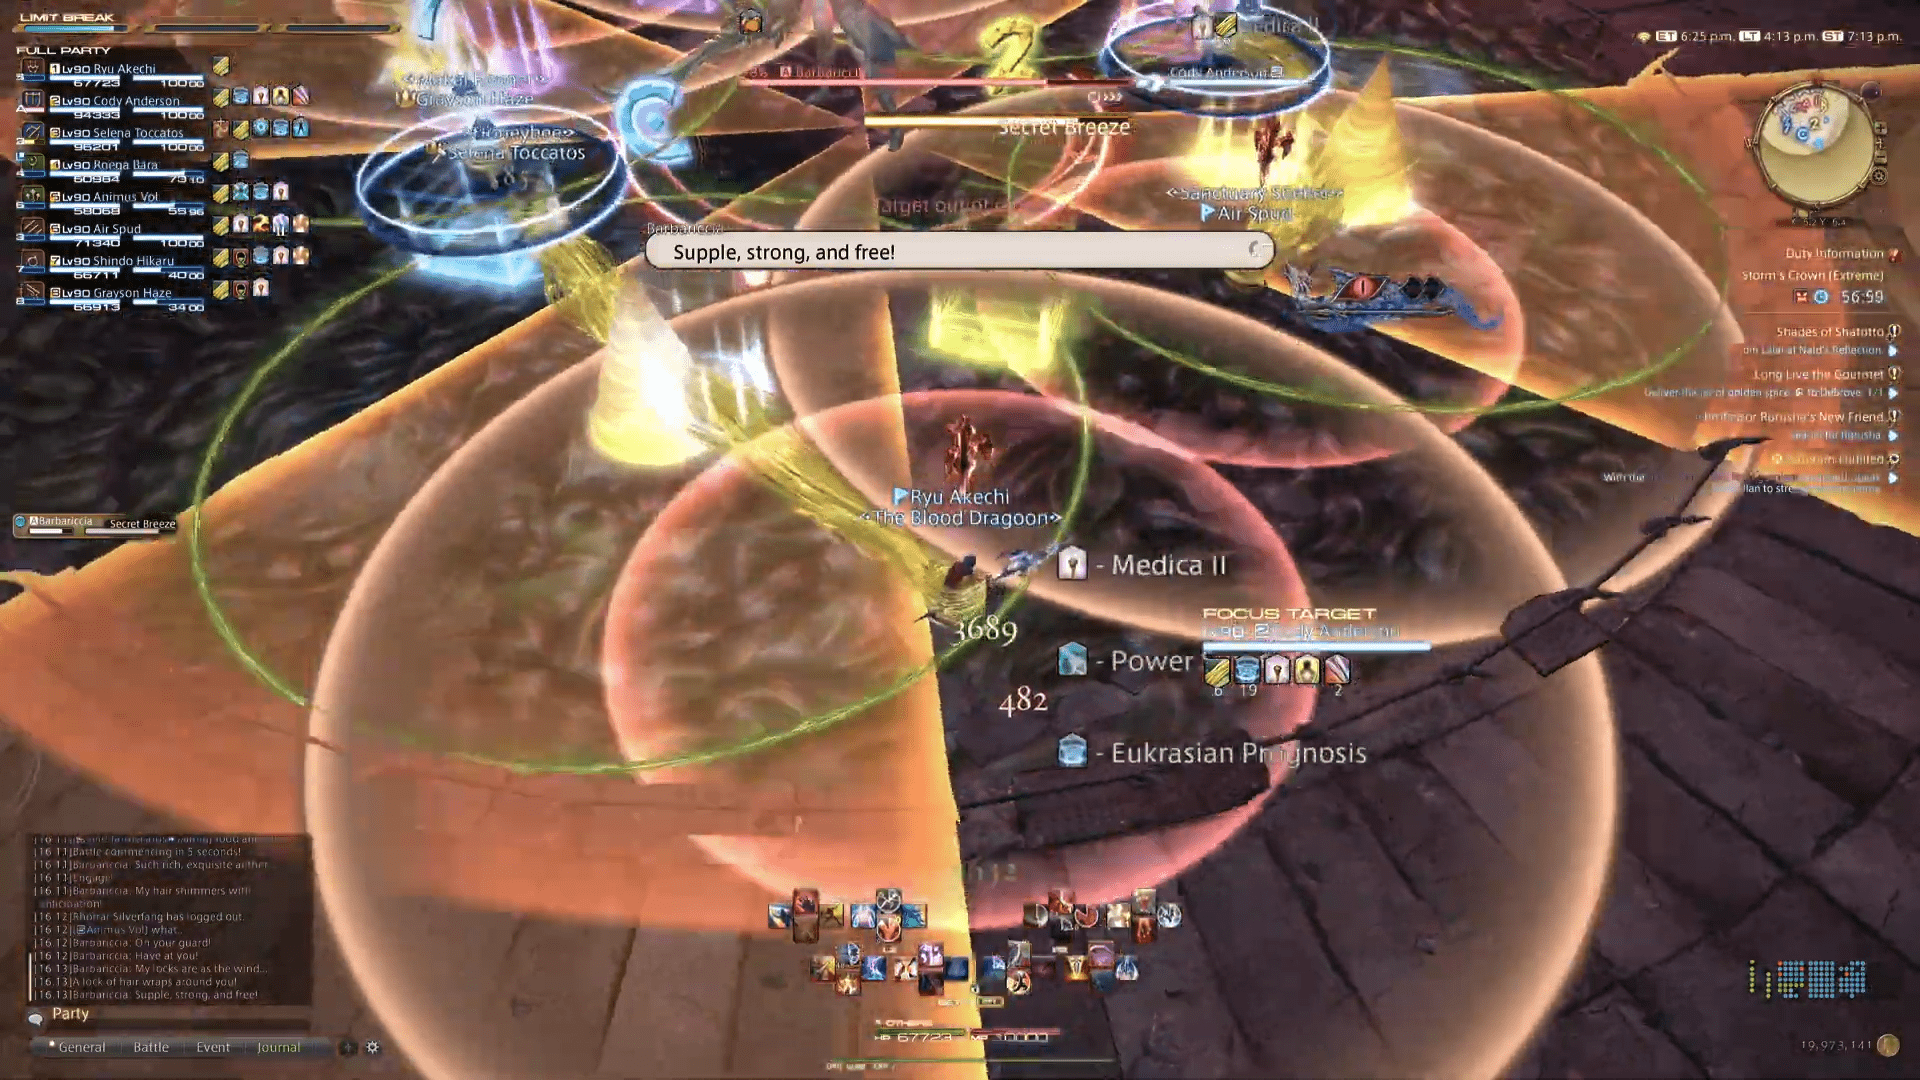
At the same time, Barbariccia will use Secret Breeze, a conal attack at each cardinal, easily avoided. But soon after, she will make a second unannounced conal attack on each player, so move away after the first conal and Enumeration conclude. Then, one more Raging Storm and Barbariccia will cast Curling Iron, changing phases for the first time.
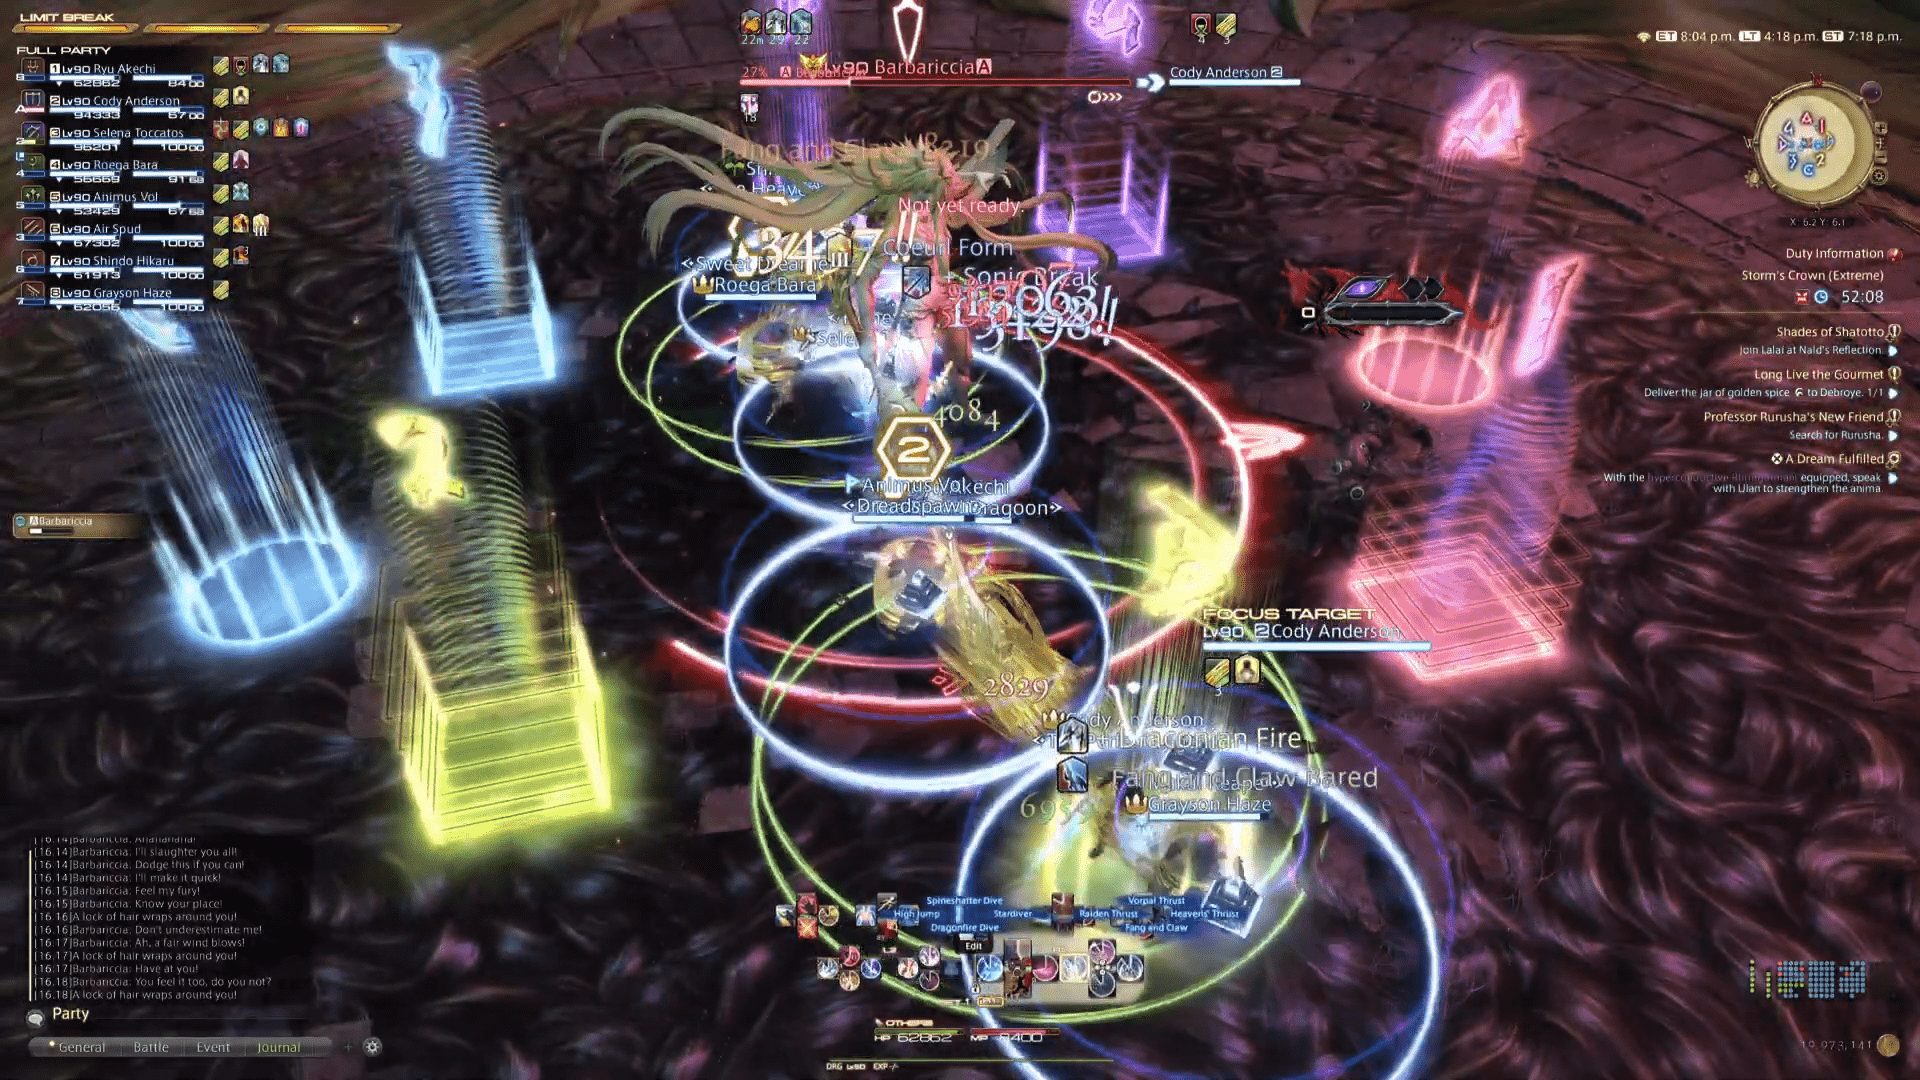
Second Extreme Phase – Brawler Mode
She will start the second phase with Brutal Rush, tethered to all tanks and healers. So spread, take the first impact, and move away to avoid the line AOE. Next, the spiral attack will appear in the middle of the arena, so evade accordingly. Tanks should pay attention because she will use Boulder Break, which must be shoved by both or invulnerability if solo.
In sequence, clones will dash all around the arena. The party must stack in the middle to avoid them and bait the next set of AOEs in the same place. After Barbariccia returns to the center and a red circle appears, the markers above each player will disappear, and a gigantic AOE will replace them.
If everyone’s in the middle, it will be easy to dodge them. But, unfortunately, at the same time, each player will have a spread AOE above them. So every member should run to the clock spots decided earlier to avoid overlapping the blasts.
When all the AOEs in the screen resolve and the spiral vanishes, each tank and healers will get an Enumeration marker that should be tackled with a DPS. Usually, the damage dealers move clockwise to the closest support. Pay heed to the Tornado Chain happening. Find your partner, evade both circular attacks, and spread after Enumeration because Barbariccia will use Brutal Rush on the four DPS.
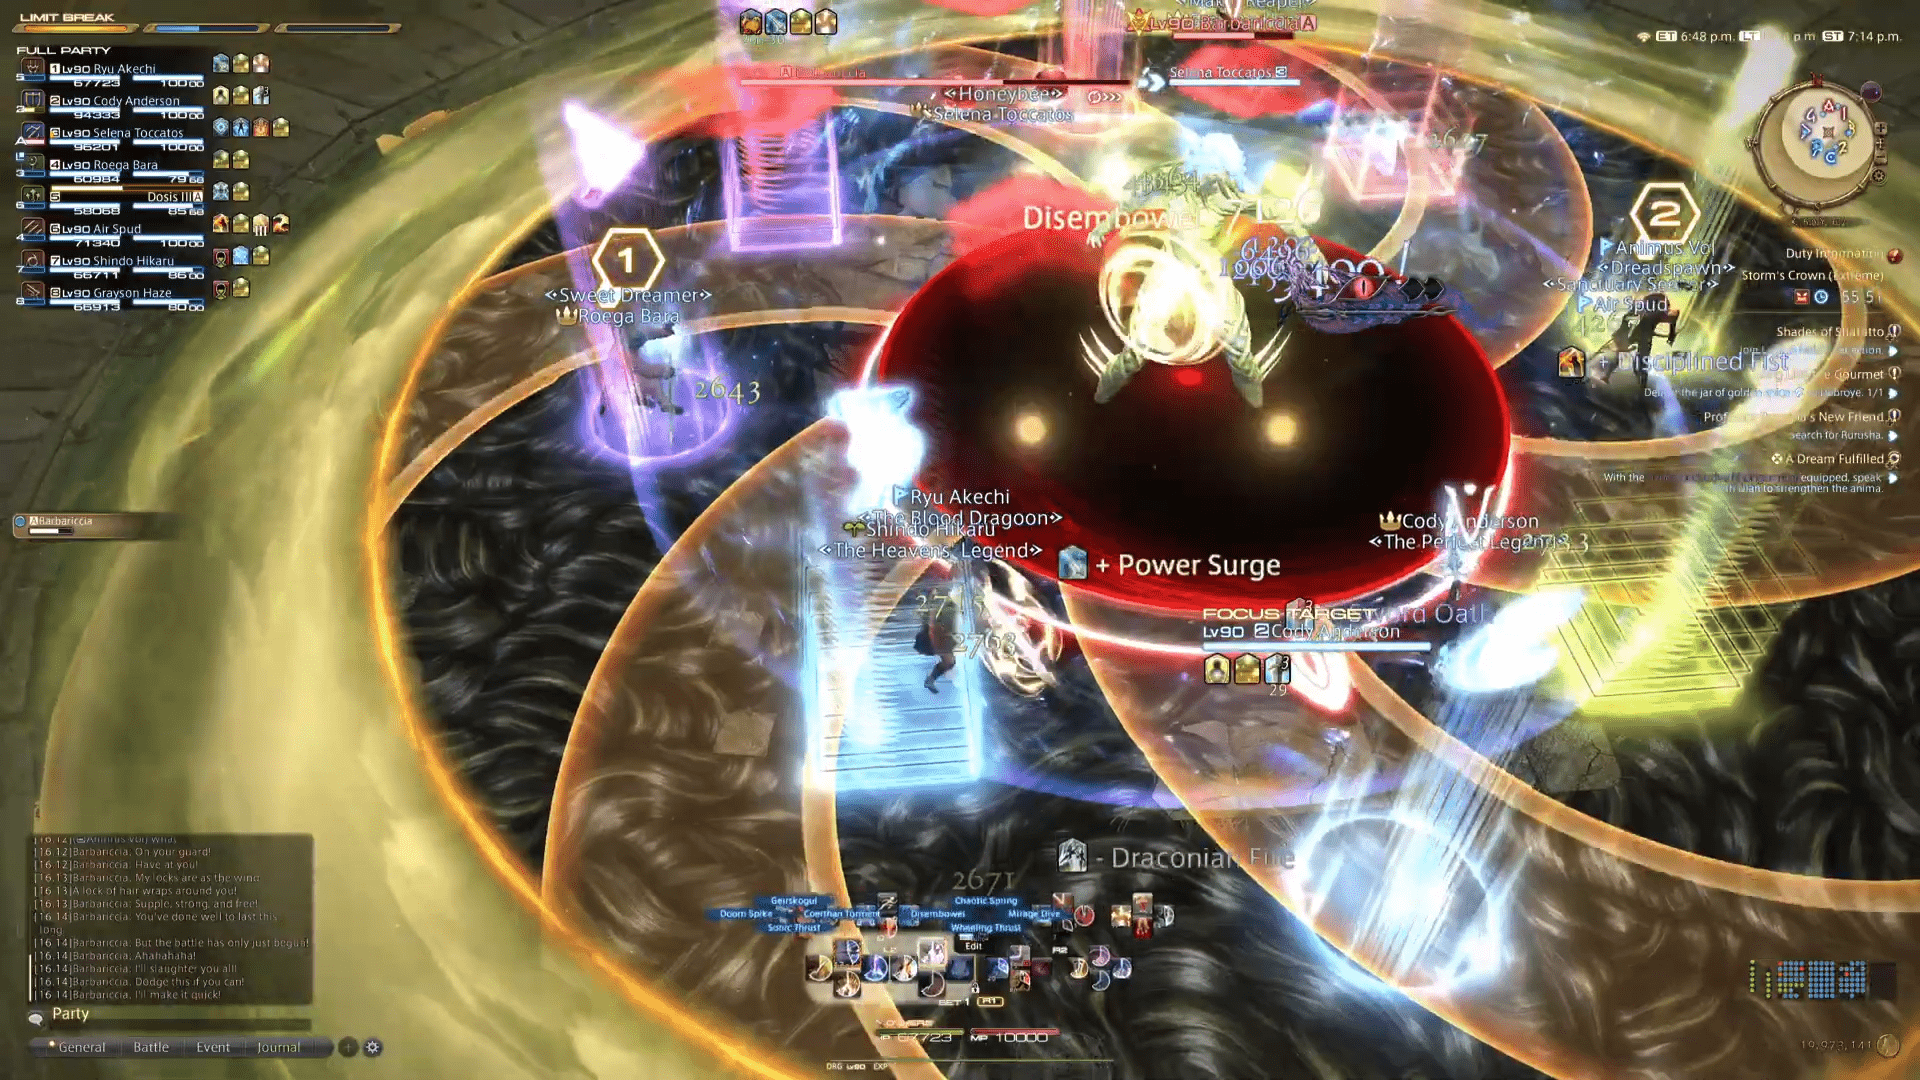
Now, onto our favorite mechanic, Knuckle Drum. Healers should stay on their toes, and the party must stack north. After the pounds, Barbariccia will do a jumping slam and spawn circle baits on each player. Using the Mario Kart strategy, players should circle around her hitbox, baiting the AOEs, and the Brutal Rush and avoiding them in a beautiful synchronization.
After Knuckle Drum finishes, both tanks will get a flare marker, and a healer will get a stack marker. Tanks should drop their flares northwest and northeast while the party soaks the stack south. Get close to the center because a small knockback will shove the party, and you don’t want to step on the harmful edge.
Another Brutal Rush on the DPS and the second Teasing Tangles will occur, pulling a pair into a circle. The couple should be distant from one another. Pay double attention because there will be simultaneous mechanics happening at once. Barbariccia will cast Tousle, waving small tornadoes at everyone.
The party will suffer light damage whenever she jumps and hits the ground, and the aftereffect will spawn more AOEs in the circle. Those small AOEs hit like a truck, so beware. When Barbariccia starts to cast Tornado Chain, four players will get an Upbraid/Enumeration marker that should be shared with a player from the adjacent circle.
Third Extreme Phase – Silky Hair Mode Again
Enumeration is resolved, the circles are gone, and another Knuckle Drum before Barbariccia turns back into her silky hair phase and presents to the party her last mechanic, Entanglement. Each player will be marked with a symbol reminiscent of the PlayStation controller.
Players with the same sign will be pulled together and meet halfway to receive a small green circle, the same as Teasing Tangles. To better position the party, players should go to a marker of the same color as the symbol (green should go to yellow).
Barbariccia will cast Secret Breeze, so avoid as necessary and be prepared to move away from other players cause the second attack will hit everyone directly, and anyone getting hit twice will die. Then, she will do the same Savage Barbery and Hair Raid mechanic as at the start of the fight and a tankbuster.
Prepare for the second Entanglement. Pairs should stick together to resolve the Enumeration that’s coming. Four of the players will be marked with a blue circle. There’s no pattern here, so the party should decide beforehand if the marked players will move CW or CCW.
Then, players with Enumeration should look for one member without the circle and soak it together without getting hit by his pair. It may look messy initially, but there’s plenty of time to adjust. Usually, DPS and Tanks go inside her target ring while healers and Ranged go outside.
Barbariccia will do Savage Barbery and Hair Raid again, the opposite pattern of the one she just did, and then transition back to the Brawler phase.
Fourth Extreme Phase – Brawler Mode Once More
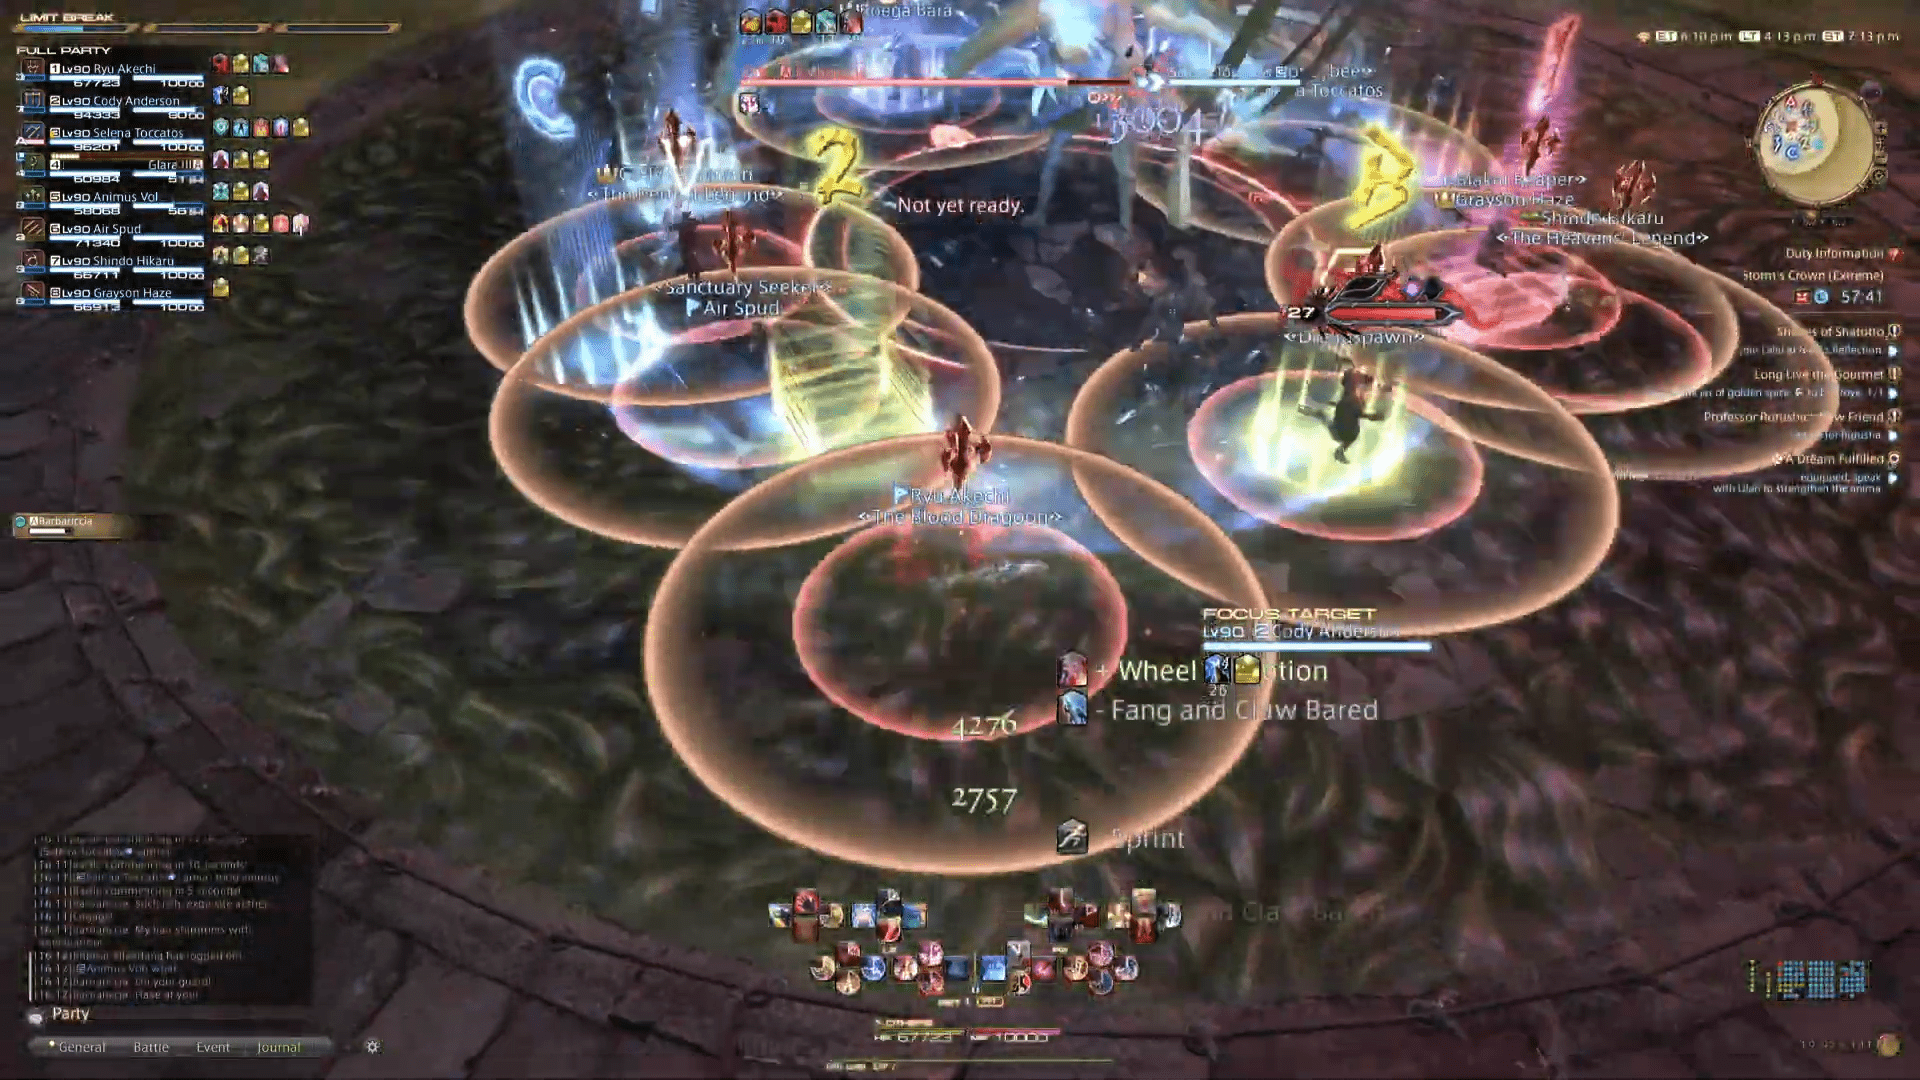
Brutal Rush for starters, so players should spread, and then fan-favorite Knuckle Drum. Mario Kart strategy again, starting from up north. But at the end of her pounding, after evading four AOEs, players should stack in the middle to bait gigantic circles.
If anyone delays or mispositions, they will steal someone’s safe spot. In case that happens, say bye-bye to that member because everyone will be marked with Brittle Boulder for medium damage, and getting hit twice is sure death.
Another Brutal Rush, Tornado Chain, Impact, and Brittle Boulder. All easily avoided and don’t require another party member’s aid (which, let’s be honest, it’s the hardest mechanic in every MMO fight). One more Brutal Rush, small tornados AOEs, and Dry Blows. Dodge as necessary.
Barbariccia will then cast the spiral AOEs from the center, one tank will receive a two-stack tankbuster – which he should use invulnerability to avoid disarray – and the remaining party members should avoid the insane amount of line AOEs deriving from the clones.
Barbariccia will use another spiral AOE; the tanks will receive the flare markers again and a healer, the stack marker. One tank goes northwest, another northeast, and the party south. No knockbacks this time. Healers should shield and heal quickly, because this insane woman will end this phase with a Knuckle Drum.
Fifth and Final Extreme Phase – I Swear
Barbariccia will return to her silky hair mode and start this phase with another Entanglement. Then a Savage Barbery combo, a raidwide blast, and finally, the enrage. Truth be told, the DPS check in this fight isn’t strictly punishing. I had a lot of deaths in my first kill and still managed to cease her winds.
FAQs
Question: How To Unlock Storm’s Crown?
Answer: Barbariccia trial fight will naturally unlock as you progress the Endwalker post-MSQ. So don’t worry about missing it.
Question: How to Unlock Storm’s Crown Extreme?
Answer: After defeating the Empress of the Winds, talk to the Wandering Minstrel in Old Sharlayan (X:12.7, Y:14.3) and tell the tale of your fight. As usual, he will use all his musical poetry to add some flair to the conflict and unlock the Extreme version of Storm’s Crown.
Question: Do I need to fight Barbariccia Extreme?
Answer: As with all of the Extreme, Savage, and Ultimate difficulty, it’s totally optional. However, Storm’s Crown extreme drops a 615 iLvl weapon, and amount, the Lynx Of Imperious Wind. Like the previous extreme difficulty mounts, you get a build-up version of the animal it represents after you earn all of them. So you only need to fight it if you’re a mount collector enthusiast.
Conclusion
Storm’s Crown is a trial fight that you, who have reached patch 6.2, are already used to. This trial is undoubtedly highlighted by the appearance of Barbariccia, one of the most recognizable bosses from Final Fantasy IV. However, I must admit that I haven’t seen a Trial with such entertaining and challenging mechanics for quite a while.
Let Cagnazzo, Rubicante, and Golbez come along for the next fights! But I wonder, will Final Fantasy XIV also deliver Zeromus? Who knows what the future holds for the players.