

- Sadu FFXIV Guide – The Azim Feminist - February 6, 2023
- Deidar FFXIV Guide - February 1, 2023
- Alisaie FFXIV Guide – More than Alphinaud’s Sister - January 30, 2023
A Tsukuyomi FFXIV guide is what I used a couple of years ago when I faced the moon goddess. At the time, I used a video tutorial, but to be honest, when I watch videos, my mind wanders.
That’s why I use written guides. After you’ve defeated Tsukiyomi a few times, her mechanics are fairly easy to follow. But that first round is killer if you’re not familiar with what she does.
Simple Walkthrough of Tsukuyomi
- Phase One: She begins with a raid-wide AoE called Reprimand. Then casts Nightfall (gun or spear). If it’s a gun, stack together. If it’s a spear, separate into groups by role. Lastly, in this face, she casts Nightbloom (80% health), a raid-wide that stuns.
- Adds Phase: If you don’t kill the adds fast enough, the party will wipe. Kill them ASAP, have tanks pick up what they can, and others focus on tethered adds. Be prepared for raid-wides.
- Phase Two: Similar to the mechanic on Angra Mainyu (World of Darkness). If you have stacks of white, get on black, and vice versa. Along with this mechanic, you must deal with meteors, which entails dropping them (preferably at three cardinals) while leaving a safe spot.
- Phase Three: Begins (35% health) with raid-wide. If she casts Waxing Grudge, stand away from her. If she casts Waning Grudge, stand by her. If she casts Bright Blade, stand to her right. If she casts Dark Blade, stand to her left. Everything else will be common mechanics.
If you’re short on time, then this simple walkthrough should be all that you need. The above info is for the extreme version The Minstrel’s Ballad: Tsukuyomi’s Pain, which will have the info for the original in it.
I know I have been in a pinch whenever I entered party finder and found myself in a group that required I know what I was doing. Take a couple of minutes and read the above if you’re in the same boat.
Tsukuyomi FFXIV Background
?file=FFXIV_Tsukuyomi.png)
Stormblood has an amazing story, but it’s easy to get the facts mixed up. Tsukiyomi is a Primal who was summoned by Yotsuyu goe Brutus. Most believe that Tsukuyomi was born on Maso Kagami, a mirror artifact, which is why she can control the moon.
She has connections to Amaterasu and Susano, and was created to balance them, leading souls to the underworld. Yotsuyu is Tsukiyomi’s mortal vessel, attempting to use the Primal’s power to rule Doma.
While it’s easy to hate Yotsuyu, I’ve always had mixed feelings. Her brother, Asahi, manipulated her. He feigned compassion when it was truly he who manipulated his sister into summoning the Primal. He, along with Zenos, are the ones who summoned the Primal and, in turn, broke the treaty.
When Yotsuyu lost her memory, she had a chance at a new life. Her true self she could have been without her family’s influence was shown whenever she subconsciously summoned an apparition of Gosetsu, the only one to show her kindness. But of course, this guide is about the Primal, not her vessel. So I shall move on.
Castrum Fluminis Walkthrough
- Unlock Quest – The Primary Agreement (MSQ)
- Level – 70
Unlocking Castrum Fluminis
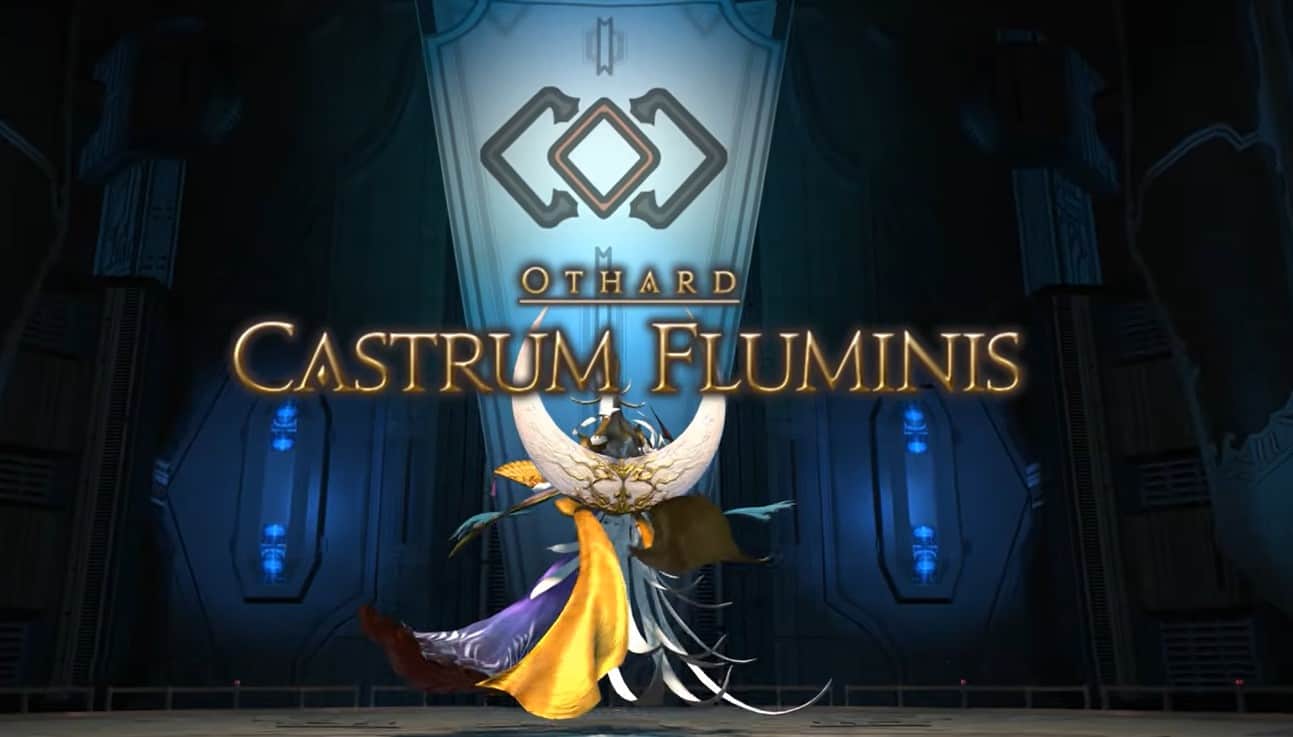
Because Castrum Fluminis is part of the Main Story Quest, it’s impossible to skip without a story skip. For this quest, you will speak to the skipper and then head to Castrum Fluminus. This is an area you can’t teleport to, so if you do leave it, then you can talk to the skipper again to re-enter. There, you talk to Hien, then use the Duty Skipper to face Tsukiyomi.
Phase 1
The first thing that Tsukiyomi will probably use is Torment Unto Death. This is a large cone tank buster. To avoid it, don’t stand in front of the boss unless you’re the main tank.
- Zashiki-Asobi will spawn fans that will explode in the same order they spawned in. To deal with this, stand in the last one to spawn, then quickly move to the empty spot once the first one explodes. During this time, Nightfall will also cast a random AoE.
- Steel of the Underworld is another large cone attack to avoid, which is usually followed by Reprimand, a raid-wide AoE that acts as a heal check.
- Midnight Haze spawns two adds that you must kill quickly. Don’t let them reach each other or charge theri abilities. Finally, Lead of the Underworld is a line AoE that must be shared.
Phase 2
Nightbloom, a raid-wide that stuns, begins this phase, followed by adds. In this version, kill the adds; not much else to think about. But you will notice a Duty Gauge that fills with Suffering. If you don’t kill the adds before it fills, you will wipe.
Phase 3
In this phase, you will see mechanics from the previous phases. The first new thing you will see is Selenomancy. This makes the platform half-white and half-black. Pay attention to your stacks and make sure you switch to the other color if your stacks get to 3 or so. But feel free to keep moving at 1 or 2.
When she casts Antitwilight/Perilune, the colors will disappear, and a raid-wide will do significant damage. Dance of the Dead does even more raid-wide damage.
If she casts Lunacy, stack. If she casts Bright Blade, stand to her right of her. If she casts Dark Blade, stand to her left. Everything else is standard dodging and common mechanics.
Loot
Tsukuyomi Card
The Minstrel’s Ballad: Tsukuyomi’s Pain Walkthrough

- Unlock Quest – Songs in the Key of Kugane
- Level – 70
Unlocking The Minstrel’s Ballad: Tsukuyomi’s Pain
This trial is easy to unlock. After you do Castrum Fluminis in the MSQ, talk to the Wandering Minstrel with the Songs in the Key of Kugane in Kugane. He will give you the Stormblood extremes.
Note: I’ve had multiple friends get lost here because they used story skips. If you use a story skip, you have to go back and do the regular trials manually. So make sure you check if you see the checkmark by Castrum Fluminis if you can’t find this extreme unlock.
Phase 1
The fight begins with, which does decent raid-wide AoE damage. Nightfall is next when the boss will either get a gun or a spear. Let’s make this easy.
Gun
- Text and voice: “Beg for mercy!”
- Ability: Lead of the Underworld
- Mechanic: stack
Spear
- Text and voice: “Your end is near…”
- Ability: Steel of the Underworld
- Mechanic: stack based on roles (Healer, Tank, DPS)
She casts this twice, alternating weapons. After that phase, she will use Nightbloom which is a raid-wide AoE stun with damage.
Add Phase
During this phase, keep an eye on the Suffering gauge. If it reaches 100, everyone will die. To start with, have a tank pick up all of the adds they can. Everyone else attacks the other adds. When Zenos spawns, he will knock everyone back with Concentrativity. Then, he will keep casting Dispersivity, which is raid-wide damage, so make sure you prioritize him. Finally, Tsukiyomi will deal out one last raid-wide, which ends this phase.
Phase 2
This is the longest nd most annoying phase. She starts it off with Supreme Selenomancy, which will give either the Moonlit or Moonshadowed stack. Stand on the opposite side of the stack you have to remove the debuff. If it gets to five, you will undoubtedly die. During this time, pay attention to the untargetable Moonlights that will cast donut-shaped AoEs called Lunar Halo.
Be careful here because the arena will have less and less of a specific color. I deal with this by making sure I have stacks of the less prominent color so that I can remove them with the prominent color whenever I need to.
After this mechanic, three players will get a large marker. They should lead these markers to four of the cardinal position while everyone else waits at the fourth. Run to the group after the marker goes away and the meteor begins to fall.
They will leave puddles you can use to remove the stacks you still have. After meteors, Midnight Rain will change the area to be one color.
Then, Tsukiyomi will either have the Full Moon or New Moon buff. If she has Full Moon, she will cast Antitwilight which deals a ton of damage to anyone without the “Veil of Shadow.” If she has New Moon, she will cast Perilune and deal a ton of damage to anyone without “Veil of Light.”
After this fiasco, Zashiki-asobi will spawn Dancing Fans that explode in the order they spawn. I recommend standing in the last one to spawn and then moving to the open area once the first one explodes.
The last mechanic I’ll mention is Torment Unto Death. When this happens, have the tanks swamp directly after because it will apply vulnerabilities, ensuring that the tank won’t last long if it remains the main tank.
Phase 3
The last phase opens up with Dance of the Dead, a heft raid-wide. Then, she will either get a white buff Full Moon or a dark buff New Moon.
Full Moon will cause her to cast Waxing Grudge. Just stand away from the boss to avoid this. New Moon will make her cast Waning Grudge, which is a simple donut attack. Stand next to her to avoid this.
At this same time, she will cast either Bright Blade or Dark Blade. Bright Blade is an AoE that covers Tsukuyomi’s left side. So stand to the right of her during this. Dark Blade casts an AoE on her right side, so stand to the left of her.
Next, Tsukiyomi will cast Lunacy. This is a party stack marker, so make sure everyone helps absorb the damage. After Lunacy, the abilityHagetsu will give three players a marker. Spread this damage by splitting into three stacks (DPS, Healer, and Tank to make things easy.)
Tsuki-no-Kakera is the last cast if things go well. She will spawn Dancing Fans in a circle. Again, just stand in the last one that spawns and then go to the open spot whenever the first one explodes.
If she casts Lunacy again in enrage mode, then you must defeat her quickly because she will keep striking players until you’re all dead. Hopefully, she never reaches this phase because it’s difficult to make it out alive.
Loot
- Tsukuyomi’s Paladin Arms (IL 365)
- Tsukuyomi’s Greataxe Greataxe
- Tsukuyomi’s Odachi Greatsword
- Tsukuyomi’s Lance
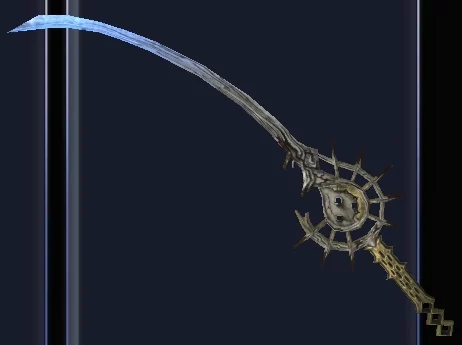
- Tsukuyomi’s Crescents
- Tsukuyomi’s Chokuto Katana
- Tsukuyomi’s Kunai
- Tsukuyomi’s Greatbow
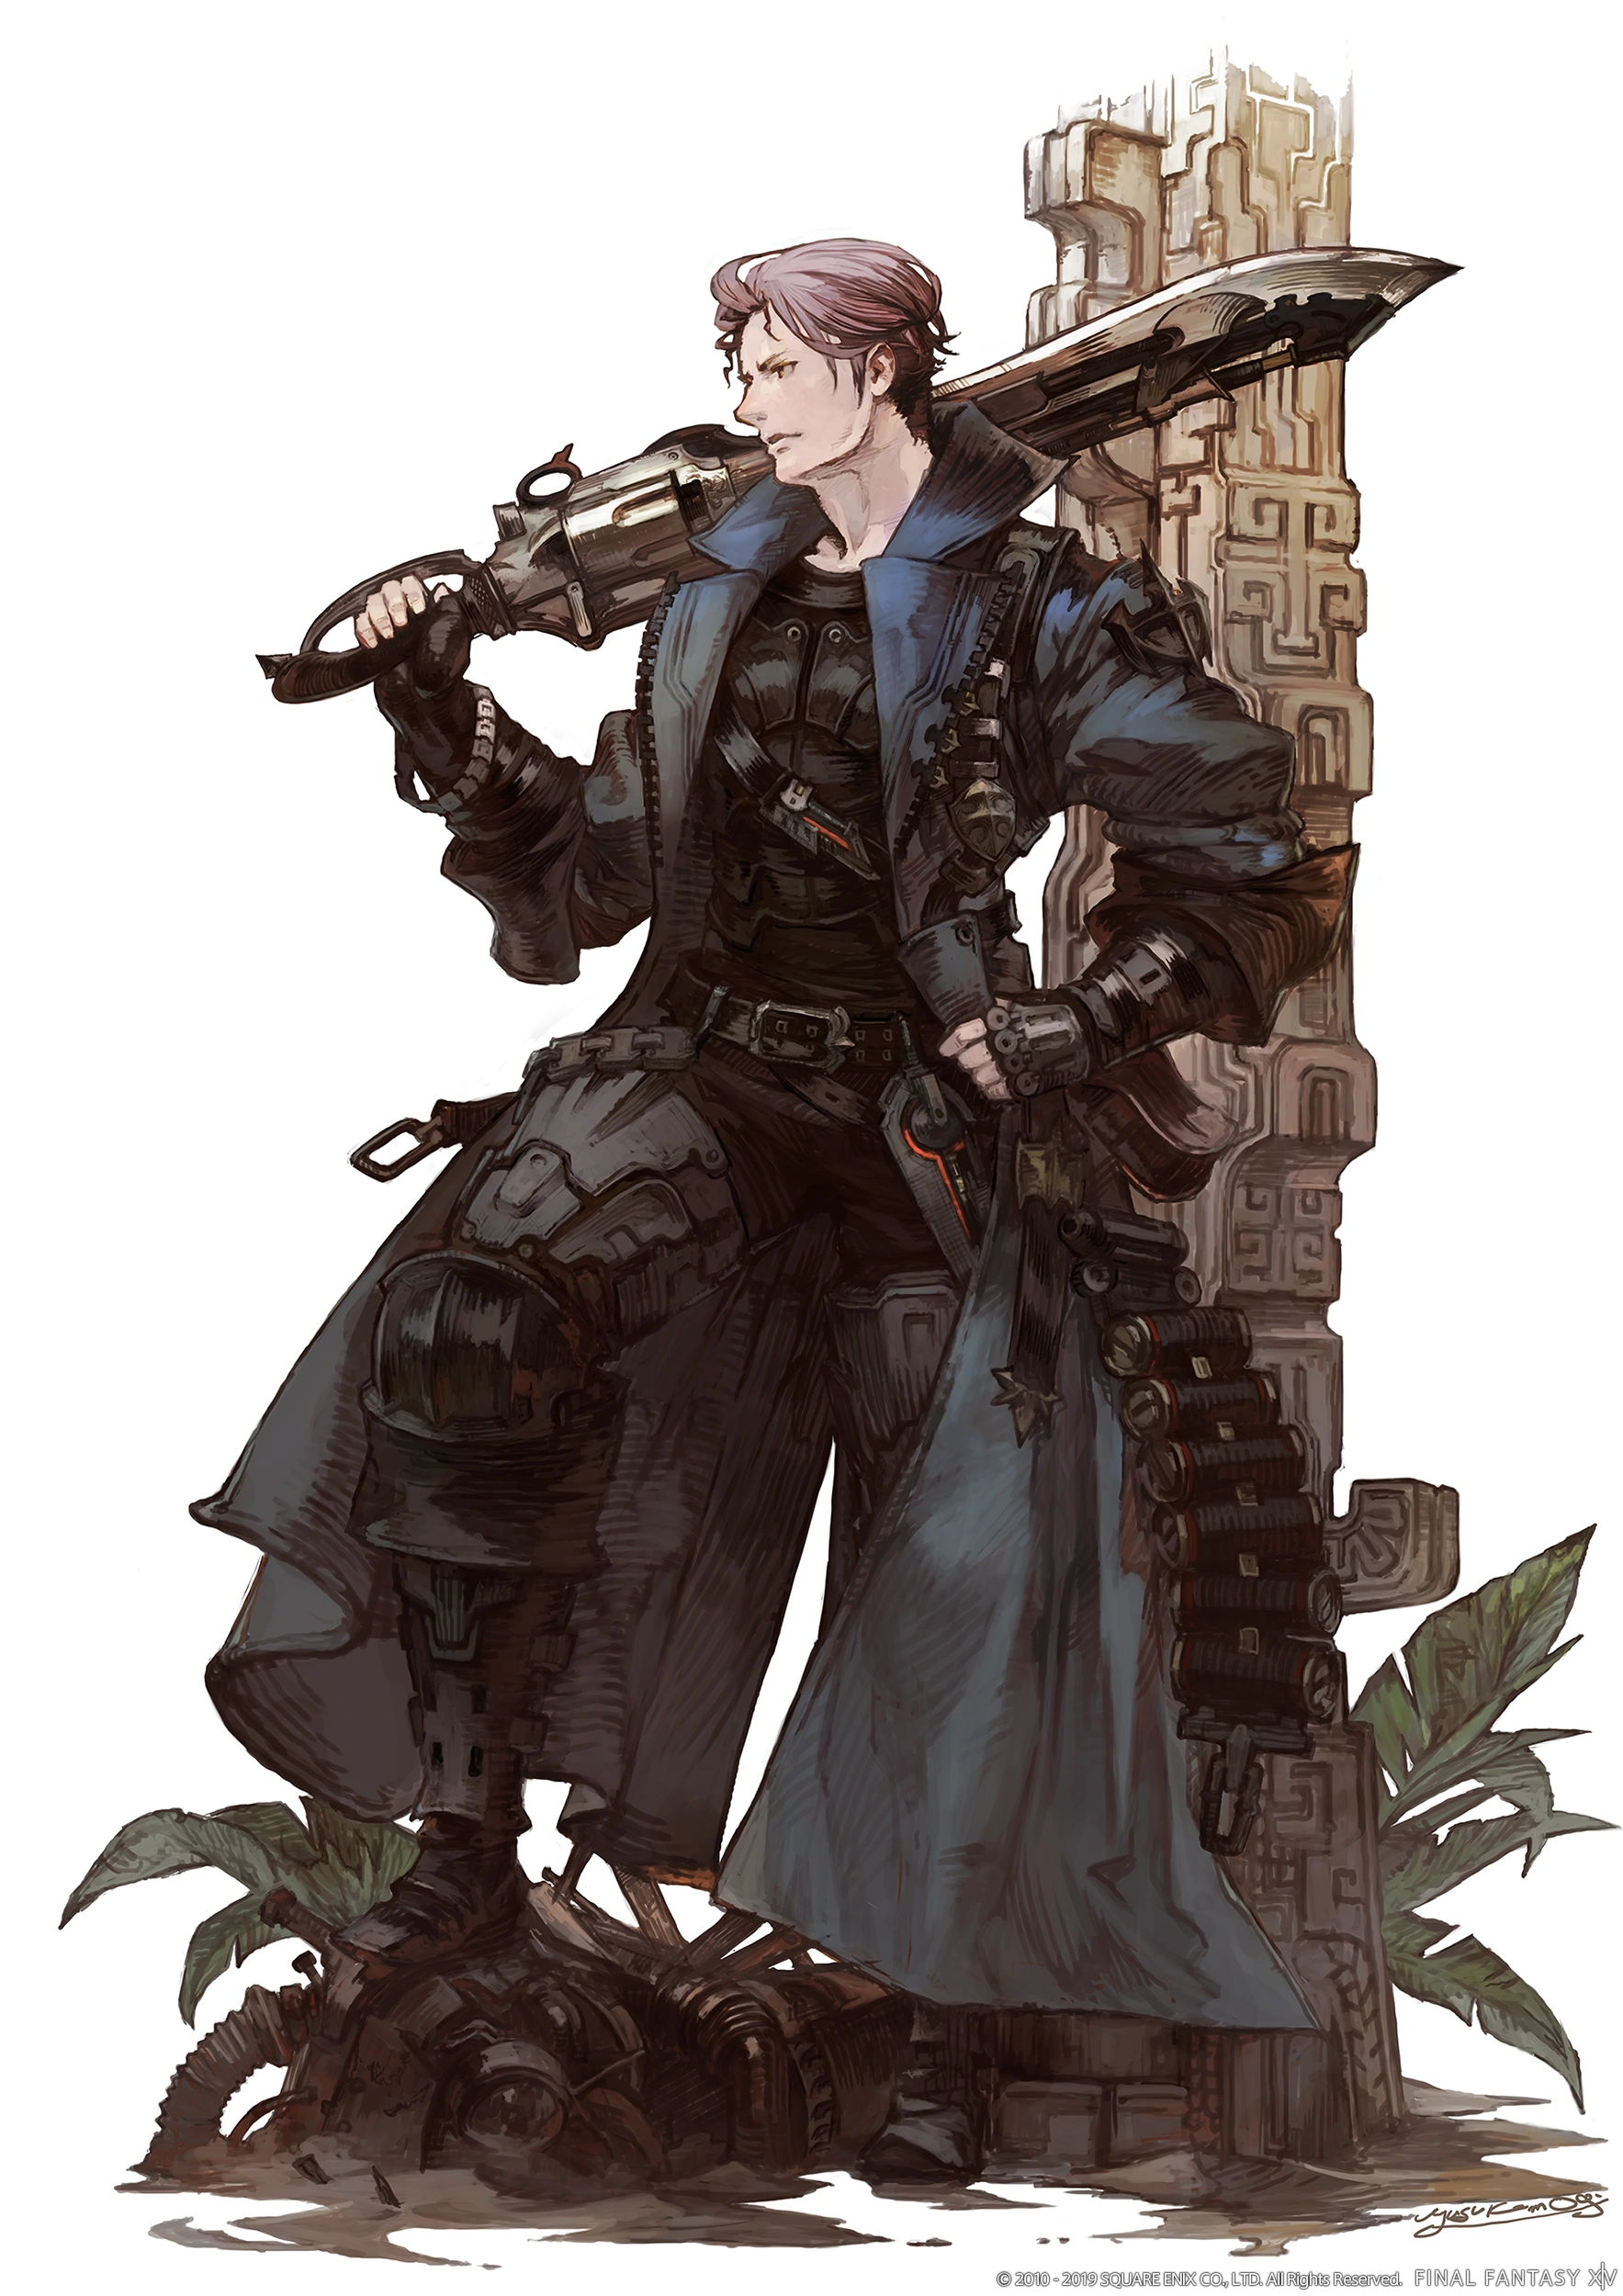
- Tsukuyomi’s Revolver
- Tsukuyomi’s Rod
- Tsukuyomi’s Grimoire
- Tsukuyomi’s Rapier
- Tsukuyomi’s Cane
- Tsukuyomi’s Codex
- Tsukuyomi’s Ephemeris
- Celestial Kimono Remnant
- Moonlit Tank Trimmings
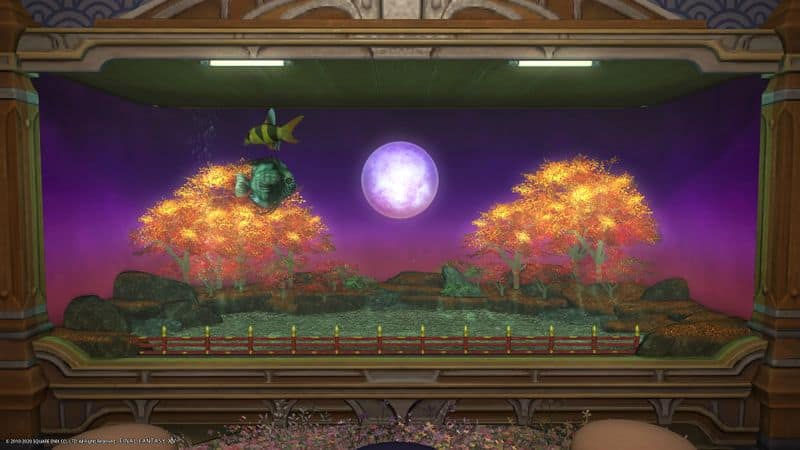
- Blue Moon Phasmascape
- Tsukuyomi Weapon Coffer (il 365)
- Lunar Kamuy Fife
- Faded Copy of Under the Moonlight Orchestrion Roll
FAQ
Question: Can You Solo Tsukiyomi in FFXIV?
Answer: While it is possible to solo Castrum Fluminis, it’s unlikely that even a tank could solo The Minstrel’s Ballad: Tsukuyomi’s Pain. It’s highly possible with two people, but unlikely with one.
Question: Why Does Tsukiyomi Have Bunny Ears?
Answer: Despite her Hyur appearance, Tsukiyomi has “Viera” ears because of the Japanese folklore of rabbits on the moon. This adds to her lunar representation.
Question: What are Tsukiyomi’s Weapons?
Answer: Tsukiyomi’s weapons that you get during the fight are called “Tsukiyomi’s.” However, you can craft Moonlit weapons, which are popular because they are gorgeous and glowing.
Question: Does Tsukiyomi Have a Blue Mage Spell?
Answer: Yes. You can get Nightbloom from defeating both Castrum Fluminus and The Minstrel’s Ballad: Tsukuyomi’s Pain with a Blue Mage. The ability “Deals unaspected damage to all nearby enemies with a potency of 400 for the first enemy, and 50% less for all remaining enemies.”
Tsukiyomi’s Pain is Now Our Pain
Whether for Kamuys, Celestial Kimono Remnants or just because it’s fun, Minstrel’s Ballad: Tsukuyomi’s Pain is one of the most popular trial farms. The Stormblood trials are by far my favorite, and Tsukiyomi is no exception.
If you want a clear party, head over to Party Finder, and you’re sure to find one, even if you have to start recruitment yourself. If you don’t make it on your first try, don’t worry, that’s not uncommon. The mood goddess is a force to be reckoned with.