

- Sadu FFXIV Guide – The Azim Feminist - February 6, 2023
- Deidar FFXIV Guide - February 1, 2023
- Alisaie FFXIV Guide – More than Alphinaud’s Sister - January 30, 2023
A Palace of the Dead FFXIV Guide is something I may have used if I didn’t have an experienced party with me during my first PotD run. This deep dungeon gets harder as you ascend, which is something I fell in love with.
But it wasn’t easy learning everything there is to know about this Final Fantasy dungeon. My Free Company leader has The Necromancer title, which means she cleared floors 1-200 solo without dying. That will never be me, but that doesn’t mean I don’t have a passion for both Palace of the Dead and Heaven-on-High.
Palace of the Dead – Quick Facts
- Palace of the Dead has 200 floors.
- You must be level 17 to enter Palace of the Dead.
- After every ten floors, there is a boss. Defeat him to save your progress.
- You can only have two saves at a time. You must enter again with the same party on each save.
- Palace of the Dead is a good way to level jobs below 60
- You can avoid most traps by sticking close to the walls
- You can’t use outside items in the PotD.
- The Cairn of Return is where you respawn, and the Cairn of Passage is where you reach the next floor.
- There are fifteen Pomanders you can get from Golden Treasure Coffers, which give you buffs.
- Keep an eye on the floor effect above the map to see what is different on each floor.
- Stay together but don’t clump in later floors, but spread on early floors to clear faster.
- Accursed Hoard is hidden treasure you can turn in for random loot outside the dungeon.
How to Unlock Palace of the Dead
To unlock Palace of the Dead, you need to head to New Gridania. That’s where the initial quest to unlock PotD can be found. You can’t accept it unless you’ve completed the level 17 Main Scenario Quests Into a Copper Hell.
Reaching this point in the game took me a day of focusing on the story. You can probably do the same, or at most spend a week to reach this point.

The House That Death Built
The House that Death Built is the quest that unlocks Palace of the Dead. To start it, head to New Gridania and speak to Nojiro Marujiro. He will send you on the short quest that ends at the Quarrymill, where you can enter PotD.
I didn’t have any trouble getting to this point, but I did have trouble when it was time to enter PotD. I left it alone until I had a party because I didn’t know how to enter the dungeon.
The Nightmare’s End
If you reach floor 50, you can’t go any further until you do this quest. It’s an easy one that is a simple speak, speak, retrieve, and speak again mission. You can start it at South Shroud by talking to Balan.
What Lies Beneath
You also must complete What Lies Beneath to reach floor 51. You don’t have to do anything to complete the quest. It’s simply a transition to the next floors complete with cutscenes at every ten floors between 50 and 100.
You can skip the cutscenes, but I enjoyed watching them, specifically the Edda Blackbosom parts. Something about her reminds me of a dark Ranni the Witch from Elden Ring.
Dead but Not Gone
This quest doesn’t unlock any more floors, but you must clear floor 100 before you can accept it. When you do complete it, you get the Dead Tired achievement which grants the Corpse Dancer title.
How to Enter Palace of the Dead
To enter the Palace of the Dead, talk to the Wood Wailer Expeditionary Captain at the Quarrymill. He will then show you an old-school interface that allows you to enter Palace of the Dead.
I admit that this part had me stumped. Maybe I was too early on in the game, and I didn’t know what I was doing, and maybe I didn’t read the instructions well. But I did have to wait until I had someone guide me through the steps before I figured any of this out.
Party
You need one to four players to enter Palace of the Dead, floors 1-100. After that, you must have a full party. Make sure all players that are joining are in a party before you enter.
You can be in any class that you want as long as it’s War/Magic. You don’t need a healer or tank, but I recommend them after the first 30 floors or so.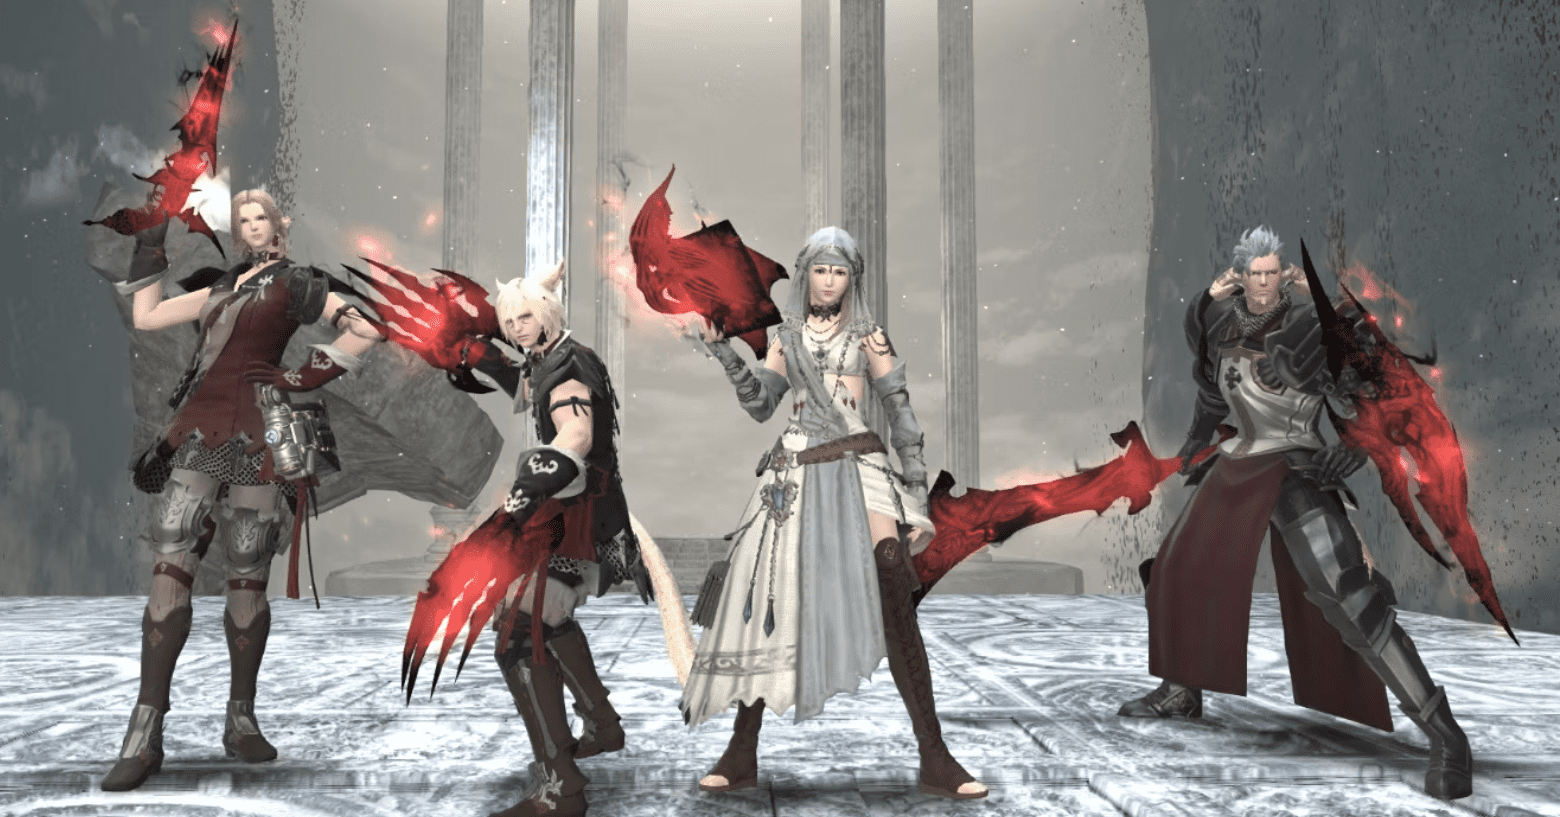
Saves
You can only have two saves in PotD. After every ten floors, your progress saves with your current party. You can then return to PotD and enter the dungeon with the same party.
You can go delete a save any time you want, and you cannot enter the deep dungeon unless you have an empty save slot available. I like to keep one with my main PotD group and one for one-shot sessions.
Gear
The gear rating for PotD is in regard to how much the player has played it. Evert ten floors, your character gains attributes which affects your stats but is not tied to your class or gear.
Some parties only accept a certain gear level. But when playing with friends, you can ignore this and level your rating up as you play with them. That’s what I like to do.
The Goal of Palace of The Dead
Palace of the Dead is a Deep Dungeon, which means it works floor-by-floor. You need to complete one floor before going to the next. At the end of each ten floors, there is a boss and a checkpoint.
Reach the Top
So the goal is to reach the top, Floor 200. But any time you reach the tenth floor, your progress saves. So your short-term goal is to defeat the next boss. Floor 100 is also a huge checkpoint and something to be proud of.
Progressing to the Next Floor
Every tenth floor, you will fight a boss. But before you can do that, you need to progress through each floor individually. To do that, you have to open the Cairn of Passage. To do that, you must defeat enemies in the area until it opens.
In order to enter the next floor, all party members must stand in the open passageway. You can look at the map, and you will see the blue key icon light up. This means you can pass through. Yellow means it is almost open.

Breakdown of PotD Floors
Every ten floors, there is a boss that you must defeat to progress. Afterward, you can either continue or save your progress and leave. I don’t like to leave after every ten floors because some parties tend to disband if you do.
But I like to turn in loot bags every thirty floors or so. This is really just a push to go further, especially if you get something good. The higher you go, the better the loot.
1-10
There aren’t many things to know about these floors because it’s an introduction to Palace of the Dead. The Hornets do a lot of damage if they sting you, so have your team focus them.
Boss – Palace Deathgaze
The boss for this level is simple to defeat. He isn’t strong but does have AoEs that you have to watch out for. His attack Bombination will slow, but you can dodge it. Aeroblast, on the other hand, is raid-wide. If you use a Pomander of Lust, you can do a ton of damage to him.
11-20
Focus Slimes and Cobras on these level, as they will do the fastest damage. Slimes will explode, and Cobras will one-shot frogs. Everything else is straightforward.
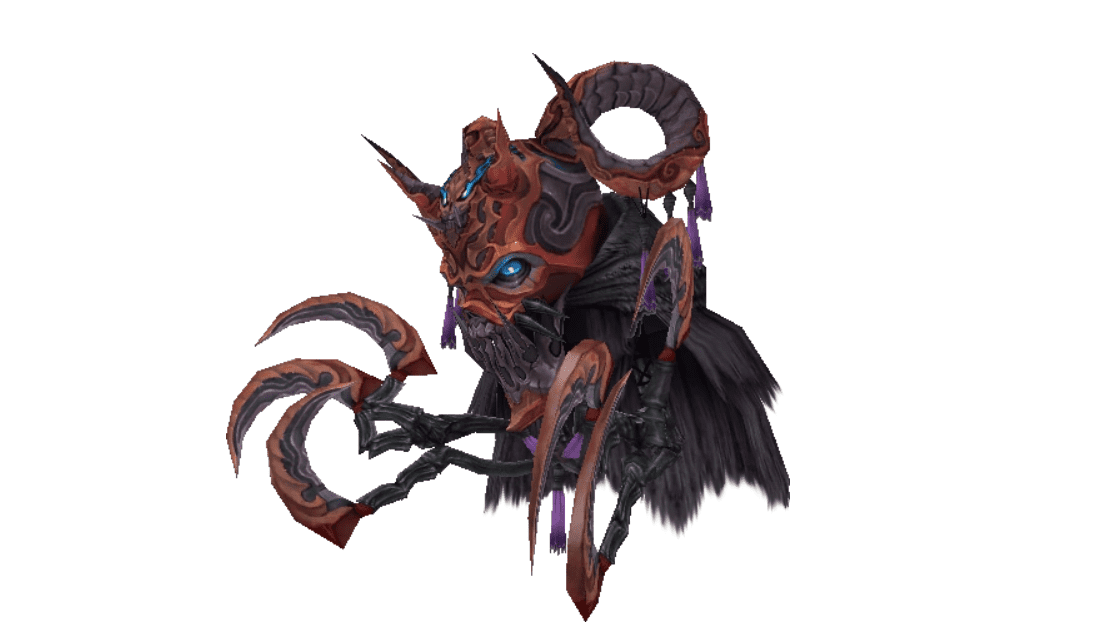
Boss – Sporge
This boss has more AoEs to dodge. He also summons hornets which you should take down quickly to avoid multiple casts of the unavoidable Final Sting. Finally, stand behind him if you’re not the tank.
21-30
The things to look out for on these floors is the Drake, which reflects damage, the Minotaur, which does tons of damage with a knockback, and the Skatene, which puts everyone to sleep.
Boss – Ningishzida
Stay away from this guy’s AoEs, moving if they spawn on you. Stay to the edge of the arena if possible, and don’t stand next to each other. The biggest thing to watch out for is Fear Itself, when the boss jumps to the center, deals damage, and terrorizes your party. Stand under the boss when this happens to avoid it.
31-40
There’s not much unusual on these floors. The Gaegenti and Gourmands do quite a bit of damage compared to others, but you should be able to stick together and avoid as many enemies as possible.
Boss – Ixtab
Again, watch out for AoEs and stand near the edge when the AoEs are about to drop. Focus the ads when they spawn if you want to avoid near-instant death. After the ad phase, Shadow Flare does tons of damage, so make sure you heal up quickly and shield if possible.
41-50
The larger patrolling enemies are fairly strong, so take them out quickly. These include the Maintcore, Wraith, and Gravekeeper. otherwise, there’s not much to worry about here.
Boss – Edda Blackbosom
The main mechanic for this boss is her In Sickness and In Health abilities, which you can avoid. For In Sickness, avoid the AoE. For In Health, stand under her. Then, for Cold Feet, turn away from her.
There’s also a side mechanic that leads up to your demise. If players get hit by her abilities, runes will light up on the floor. If five light up, your party will insta-wipe.
51-60
You won’t see many unique enemies or abilities on this set of floors, so make your way through as you normally would.
Boss – The Black Rider
This boss usually starts with AoEs around the edge of the arena or Valfodr, which charges at a player. Don’t stand between each other and the boss to avoid extra damage. If he casts Hall of Sorrow, get out of the area ASAP or take Bleed damage.
61-70
You can avoid most of the enemies on these floors, killing just enough to get through them. The big patrolling enemies are the Elbst, Blade, and Mydolon. The other enemies are dinosaurs.
Boss – Yaquaru
For this water-based boss, her Douse will make her cast abilities faster. There isn’t much you can do about this boss aside from avoiding her AoEs called Electrogenesis and Drench.
71-80
The enemies on these floors are all beasts like Bears and Aurochs. So the combat is pretty easy. Stick to gather rather than split at this point because things start getting harder.
Boss – Gudanna
Gudanna starts with Charybdis, which casts an AoE that you should avoid. She can also cast Thunderbolt which is another AoE. The less simple attacks include Trounce, where she jumps to one of the cardinals and does tons of damage. Go to her to avoid the damage.
But her strongest ability is Meteor because if she gets it off, it will wipe the party. She will only cast it when she’s about to die, so make sure you kill her quickly when she casts it.
81-90
A couple of enemies to worry about here are the Bombs, which self-destruct, and the Dragons, which randomly casts AoEs even when not in combat. Take the Dragons down when possible, and don’t group near the Bombs.
Boss – The Godmother
The Godmother summons ads that explode all around. So make sure you avoid them. If she summons Grey Bombs, take them out fast, and if she casts Massive Burst, that can take you down to 1HP.
Heal quickly if you get hit by this or interrupt it, which is a better option because it cancels the attack. If you get targeted by it, you can also move to the boss, which will stun her and interrupt it at the same time.
91-100
The Dragons come back for these floors, again casting AoEs randomly. Everything else is fairly straightforward.
Boss – Nybeth Obdilord
Nybeth casts Abyss on her primary target and Shackle on random players, which both do AoE damage, so don’t group when fighting her. She also casts World of Pain, which you can’t avoid but heal through instead.
She can also summon ads, which you should focus if early on and ignore if you’re almost defeated her. If you get hit by her Doom, on the other hand, you will die. So avoid this cone attack.

101-200
The bosses after this are the same as the previous floor bosses, only extreme versions. You can use the same tips as before, only pay closer attention than before. If you make it to floor 200, congrats, you are in the top percentage of players.
Pomanders
Pomanders are found in Golden Treasure Coffers. You can only have three of each pomander at any given time. So if you have three and open a coffer for another, go ahead and use one if it will benefit you.
- Pomander of Affluence – Increases treasure coffer numbers on the next floor.
- Pomander of Alteration – Transforms enemies on the next floor into mimics or mandragoras.
- Pomander of Flight – Decreases the number of enemies on the next floor.
- Pomander of Fortune – Increases the chance of enemies dropping treasure coffers on the next floor.
- Pomander of Intuition – Reveals hidden treasure until an Accursed Hoard is found.
- Pomander of Lust – Transforms you into a succubus.
- Pomander of Purity – Removes Pox.
- Pomander of Rage – Transforms you into a Manticore, which I think is the coolest Pomander ability ever.
- Pomander of Resolution – Transfroms you into a Kuribu.
- Pomander of Raising – Raises the next player to be KO’d.
- Pomander of Safety – Removes all traps on floor.
- Pomander of Serenity – Removes enchantments on floor.
- Pomander of Sight – Reveals the map and hidden traps.
- Pomander of Steel – Decreases damage received by 40% for eight minutes.
- Pomander of Strength – Increases damage and HP recovering by 30% for eight minutes.
- Pomander of Witching – Transforms all targets into weak creatures.
Floor Effects and Other Dangers
Each floor may have an effect which is usually a debuff or buff for your team. You can see this at the top right of the screen. Hover over the small icon to see the current effect of the floor.
Floor Effects
- Auto-heal Penalty – Your party’s HP regeneration is disabled when in combat.
- Blindness – Your party’s accuracy is reduced.
- Damage Penalty – Your party’s damage dealt is reduced.
- Gloom – Enemy movement speed, damage, and defense are increased.
- Haste – Cast times for your party are reduced.
- HP/MP Boost – Your party’s maximum HP and MP increase.
- HP Penalty – Your party’s maximum HP is reduced.
- Inability – Your party can’t use abilities.
- Item Penalty – Your party can’t use items or pomanders.
- Knockback Penalty – Neither party members nor enemies can use knockback.
- Sprint Penalty – Party members can’t use sprint.
Coffers
Coffers are usually great, but the silver coffers can explode, and the gold coffers can be mimics. To deal with this, ensure that only one person is near the silver coffers when you open them, and everyone is near the gold when you open it.
Traps
Traps are dangerous, able to eliminate the entire team in a millisecond. They are invisible unless you use the Pomander of Sight. If you don’t have one, stick to the edge of the rooms.
My team has died the most from traps compared to any other danger. While bosses and mobs are dangerous, traps can be unexpected and one Leeroy Jenkins on your team and it can be over.
- Enfeebling – Increases damage taken by players and decreases damage dealt.
- Impeding – Disables weapon skills and auto attacks, as well as prevents the use of spells.
- Land Mine – instant damage, usually around 80% of max HP.
- Luring – Spawns three enemies.
- Toading – Transforms players into toads, unable to attack.
PotD Loot
There are three types of loot you can get and take outside of the deep dungeon known as Palace of the Dead. My favorite by far is the Accursed Hoard, but the others are some great currencies too.
Potsherds
Gelmorran Potsherds are awarded to players who open Bronze Coffers in PotD. They aren’t guaranteed until floor 50. But once you have collected them, you can turn them in materia, minions, and more.
Firecrest or Glass Pumpkin
Firecrest or Glass Pumpkins are rare and are only rewarded to players that clear floor 200. You can exchange them for housing items and unique glamour. The set is known as the Glass Pumpkin set.

Accursed Hoard
The Accursed Hoard is my favorite thing about PotD. You can get them randomly. If you see the icon near the map, you know there is one hidden on that floor. To reveal it, use Pomander of Intuition.
Otherwise, you have to stand where you think it could be. There are four types of Accursed Hoard that you can turn in after you leave the dungeon. To turn them in, talk to the Expedition Bishop, who will appraise them and turn them into something. The better the sack, the better the loot. Some of the loot is worth nothing while others can be worth millions of gil.
- Bronze-trimmed Sacks – Floors 1-50
- Iron-trimmed Sacks – Floors 51-100
- Silver-trimmed Sacks – Floors 101-150
- Gold-trimmed Sacks – Floors 151-200
FAQs
Question: What Level Do I Have to Be To Enter Palace of the Dead?
Answer: You have to be level 17 to enter Palace of the Dead because the unlock quest is level 17. When inside, you begin at level 1 and level up the same regardless of your level on the outside.
Question: Does Palace of the Dead Level You Up?
Answer: Yes. Palace of the Dead is a great way to level to 60. You gain outside experience as you progress through Palace of the Dead. Once you reach level 60, head too Heaven-on-High to level.
Question: How Long Does the Palace of the Dead Take?
Answer: With a light party, it will take hours to finish Palace of the Dead, more than likely over eight hours, but it depends on your party classes. The likelihood of finishing it in one sitting is slim.
Conclusion
Palace of the Dead is a fun addition to Final Fantasy XIV that is unlike anything else in the game. If playing alone, it’s a great challenge to try for the Necromancer title. But I prefer to play with a party of four.
You can rack up an insane amount of loot, level jobs, and have fun. These days, I prefer Heaven-on-High because of the bigger loot, but Palace of the Dead is still my favorite way to level low-level classes.